
















Reel mowers, also known as manual or push lawn mowers, provide a quiet, eco-friendly way to maintain your lawn. However, like any cutting tool, their blades gradually dull with regular use. This can result in uneven cuts and unnecessary stress on your lawn. So, how do you sharpen a reel lawn mower blade? This comprehensive guide covers the most specific information. You can learn why sharpening matters, when it’s needed, the tools required, and the detailed steps of reel mower sharpening. Keep reading to discover everything you need to know to maintain a sharp mower!

Why Reel Mower Sharpening Matters?
Sharpening reel mower blades is a crucial maintenance task that directly impacts lawn health and mowing performance. Here are the key reasons why it matters:
- Healthier Grass Growth: Sharp blades create clean cuts that heal quickly, reducing the risk of disease and promoting stronger and more resilient lawn growth over time.
- Improved Cutting Performance: Proper reel lawn mower sharpening ensures smooth, even mowing results. It effectively prevents patchy areas and delivers a well-manicured lawn.
- Reduced Physical Effort: Sharp reel mower blades require less force to push, making mowing easier and more efficient.
- Extended Equipment Lifespan: Regularly sharpening manual lawn mower blades reduces strain on the mower’s components, which minimizes wear and tear, extending the overall lifespan of your equipment.
- Better Lawn Appearance: Clean cuts prevent grass tips from turning brown, resulting in a more attractive lawn with a lush look.
When Does a Reel Mower Need Sharpening?
Even the best reel mower needs sharpening when you see torn grass tips, uneven cutting, increased pushing effort, or visible blade wear. The signs below help distinguish routine dulling from more serious damage.
- Torn or Frayed Grass Tips: If grass appears shredded, with brown or ragged edges forming shortly after mowing, it means the blades are dull and no longer slicing effectively.
- Uneven Cutting Results: The mower leaves inconsistent patches of grass height, with some areas shorter or taller than others, indicating that the blades are not cutting evenly across the full width.
- Increased Pushing Effort: If you notice the mower becoming harder to push during operation, it’s time to sharpen the blades. Dull edges create more resistance, requiring greater physical effort to maintain smooth movement.
- Visible Blade Wear or Damage: When the reel blades or bed knife show signs of dullness or nicks, it clearly signals the need for sharpening.
- Dull or Unhealthy Lawn Appearance: If your lawn begins to look yellowish or uneven after mowing, it is often a sign of reel mower sharpening. This is because dull blades are tearing the grass rather than cutting it cleanly.
- Unusual Noise or Vibration: Watch for grinding sounds, vibration, or irregular movement during mowing. These signs usually indicate dull edges or improper contact, suggesting that sharpening and adjustment may be required.
Tools and Materials for Backlapping
Backlapping is the most common DIY method for sharpening reel mower blades, although an electric reel mower must be disconnected from its battery or power source before the reel is handled. Gather the following tools and materials:
- Backlapping Compound (typically 80-120 grit): The manual lawn mower blade sharpener. Acts like liquid sandpaper to sharpen manual mower blades.
- Brush or Spatula: Ensures even application of the compound.
- Backlap Crank or Drill Adapter: Allows reverse rotation of the reel.
- Protective Gear: Gloves, safety glasses, and work clothes.
- Basic Tools: Screwdrivers, wrenches, or sockets for adjustments.
- Cleaning Supplies: Rags, water, and soap for cleanup.
- Optional Equipment: Mower stand, additional grit compounds, or a flat file for bed knife touch-ups.
How to Sharpen a Reel Mower at Home (Backlapping)
With the right tools and materials ready, reel mower sharpening can be a simple DIY task. Here’s how to sharpen a reel lawn mower at home step by step.
Step 1. Prepare the Mower
Thoroughly clean the reel and bed knife to remove grass clippings, dirt, and debris. Place the mower securely on a stable surface or stand. Carefully adjust the reel-to-bed knife contact so the blades lightly touch or nearly touch evenly along their entire length.
Step 2. Apply the Compound
Apply a thin and even layer of backlapping compound across each reel blade with a brush. Ensure full coverage without overapplying, as excess compound can create an unnecessary mess and reduce efficiency during the sharpening process.
Step 3. Spin in Reverse
Attach a hand crank or drill adapter to the reel mechanism. Rotate the reel backward, opposite the normal mowing direction, at a steady pace for one to two minutes. Reapply compound if needed. The grinding noise will gradually soften as blades sharpen.
Step 4. Clean and Repeat
Wipe away the used compound with a clean rag, then apply a fresh layer. Repeat the process two to four times until the grinding sound becomes minimal and the blade edges feel noticeably sharper and more refined.
Step 5. Final Adjustments
Rinse and clean all components thoroughly using water and cloths to remove any remaining compound. Readjust the reel-to-bed knife gap to achieve light contact without resistance.
How to Check the Results and Fine-Tune the Cut
After completing reel mower sharpening, it is important to verify the results and make minor adjustments if necessary. Use the following methods to ensure optimal cutting performance:
- Paper Test: Hold a strip of paper against the bed knife and rotate the reel slowly. The blades should cut the paper cleanly and evenly across the entire width without tearing or snagging.
- Visual Inspection: Examine the reel blades and bed knife closely for consistent sharpness, smooth edges, and even contact along the full length. Any irregularities may indicate the need for additional sharpening or adjustment.
- Test Mow: Mow a small section of your lawn and observe the results. The grass should appear evenly cut with clean edges, without signs of tearing, fraying, or uneven height across the mowing path.
- Fine-Tune: If necessary, make small adjustments to the bed knife screws to ensure parallel alignment and proper contact. Avoid over-tightening because excessive pressure can cause binding, increased wear, and reduced mowing efficiency.
Common Reel Mower Sharpening Mistakes to Avoid
With the instructions above, it should not be too difficult to sharpen a reel mower blade. Meanwhile, it’s best to avoid these common mistakes to achieve better cutting results:
- Too Much Compound: Excessive backlapping compound reduces efficiency and can wear components unevenly. Always use a thin, even layer for effective reel mower sharpening.
- Incorrect Reel Direction: Do not spin the reel in the normal mowing direction, as this prevents proper sharpening. Always rotate backward during backlapping to ensure the blades grind correctly against the bed knife.
- Over-Tightening the Bed Knife: Excessive contact pressure causes binding, increased wear, and difficult operation. Maintain light, even contact to preserve blade longevity and ensure smooth reel movement.
- Ignore Blade Damage: Backlapping cannot fix deep nicks or bent blades. At this point, it’s better to address the damage via professional services instead of sharpening.
- Skip Cleaning Between Cycles: Always clean and reapply fresh compound between cycles to achieve sharper cutting edges.

When to Use a Professional Reel Grinding Service
While backlapping is effective for maintaining sharp edges, it cannot address severe wear, cone-shaped reels, or damaged bed knives. If your mower shows deep nicks, noticeable vibration, or continues to perform poorly even after multiple backlapping attempts, these are clear indicators that basic maintenance is no longer sufficient. In such cases, professional servicing becomes necessary, as grinding services use specialized equipment to restore precise blade geometry and proper relief angles, which DIY methods simply cannot achieve.
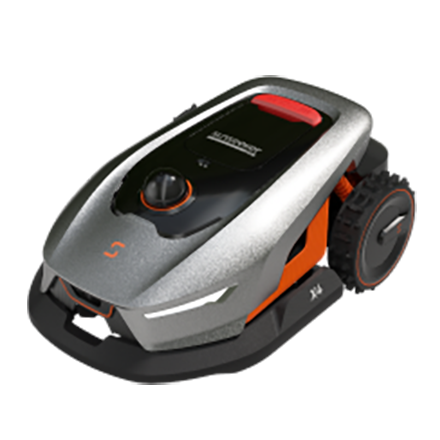
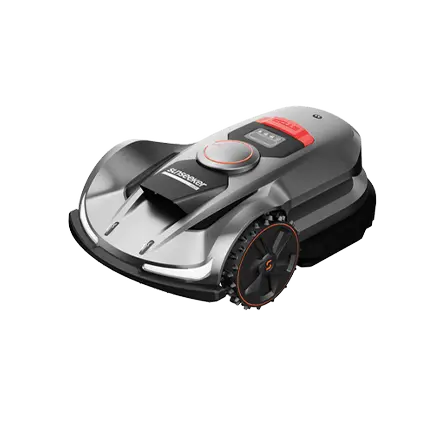
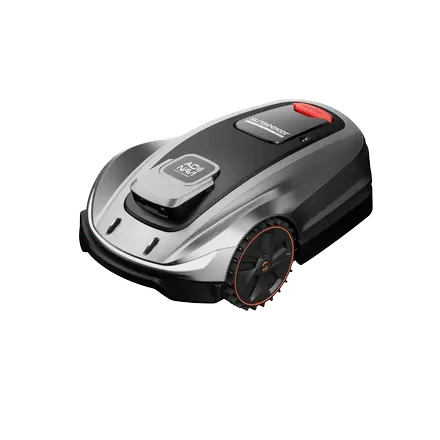
For homeowners seeking a low-maintenance alternative, robot lawn mowers are an excellent solution. These innovative machines require minimal blade care; usually, just a simple replacement of the cutting blades is enough. They are ideal busy users who want a pristine lawn without the hassle of traditional maintenance.
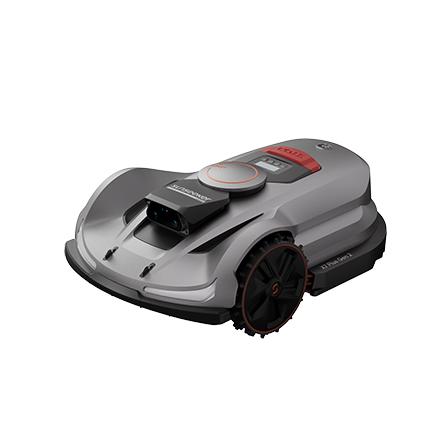
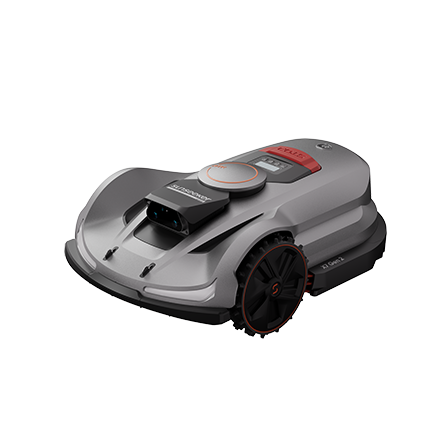
If you are looking for premium performance, consider the Sunseeker Elite X7 Plus Gen 2. These advanced mowers feature a floating dual-cutting disc equipped with six evenly distributed blades, delivering a cleaner and more uniform cut. They also include easy-to-swap replacement blades and durable components designed for long-term reliability. Combined with smart AI-powered navigation, they ensure consistent, high-quality results with minimal effort.