






FAQs
8/13/2026
Contents
Products
Residential Lawns










Explore
Where to Buy


Blowing out a lawn sprinkler system removes trapped water before freezing weather can crack pipes, valves, sprinkler heads, and backflow parts. The safest method is to shut off the water, open valves, use controlled compressed air, clear one zone at a time, and protect exposed components before winter arrives.
A sprinkler system is easy to forget once growth slows down. Then the first hard freeze arrives, and any water left inside buried lines, valve boxes, or exposed fittings can expand fast. That pressure can split pipe, damage heads, or cause expensive spring repairs.
That is why learning how to blow out lawn sprinkler system equipment matters before winter. The job is simple in theory, but it requires the right timing, safe air pressure, and a steady zone-by-zone process.

A sprinkler blowout is a winterization step. Its job is to push water out of irrigation lines with compressed air so the system has room to handle freezing temperatures. Even a small amount of trapped water can create trouble if it freezes inside a closed pipe or valve.
Water expands as it turns to ice. In an irrigation system, that expansion can crack PVC or polyethylene pipe, split fittings, damage solenoid valves, and break sprinkler head bodies. The damage may not be obvious until spring startup, when zones leak, heads lose pressure, or one section of the yard stays dry.
Blowing out the system also helps protect above-ground parts. Backflow preventers, copper pipes, exposed shutoff valves, and hose bibs are especially vulnerable because they face colder air directly. A proper winterization routine lowers the chance of freeze breaks and makes spring activation smoother.
You may need a blowout even with manual drains. Gravity drains can miss low spots, long pipe runs, and uneven areas where water collects.
The best time to winterize sprinklers is after the main growing season slows but before your first hard freeze. In many cold-winter areas, that means early to mid-fall. The exact timing depends on your local climate, soil temperature, and how quickly nighttime temperatures drop.
A good rule is to schedule the blowout when night temperatures are starting to approach 32°F, but before the ground freezes. If your area often gets sudden October or November freezes, do not wait until the last warm weekend. Irrigation companies get booked quickly during the first cold forecast.
Do not blow out too early if the lawn still needs regular watering and the weather remains hot and dry. Warm-season lawns may need moisture into fall, and newly seeded areas often need careful watering until they establish. Still, the system should be shut down before freezing weather becomes likely.
If a hard freeze already hit while the system held water, avoid forcing air through frozen lines. Shut off the water and call a professional if you suspect ice inside valves or pipes.
A sprinkler blowout uses compressed air, so safety matters as much as the steps themselves. Too much pressure can damage fittings, launch debris, or create a hazard around sprinkler heads.
Gather everything before you start, and check your sprinkler system manual if you still have it. Different pipe materials, backflow setups, and zone designs may need slightly different handling. If you are still planning the system, reviewing how to install a lawn sprinkler system can also help you understand where shutoffs, valves, and a future blowout connection should be located.
Never stand directly over a sprinkler head during the blowout. Keep children, pets, and loose objects away from the spray area. If your system has a backflow preventer, avoid pushing air backward through it unless the manufacturer allows that setup.
The safest way to handle a sprinkler blowout is to work slowly and treat each zone separately. The goal is not to blast the system with maximum pressure. It is to move water out of the pipes in a controlled way.
Before starting, read the controller labels and walk the yard. Find the shutoff, backflow assembly, valve boxes, and blowout connection. If anything looks cracked, loose, or unfamiliar, stop before adding air.
Turn off the main irrigation water supply first. This valve may be inside a basement, garage, crawl space, utility room, or underground valve box. Once the water is off, open a manual drain or hose bib if your system has one to release pressure.
Next, turn the controller to off or rain mode until you run zones manually. If the backflow preventer has test cocks and ball valves, follow the manufacturer’s winter position instructions. Do not force old handles, because brittle valves can break.
Connect the air hose to the designated blowout port. Start with the compressor turned off or the air valve closed. Set the regulator low before adding air, then increase slowly only if needed. A pressure gauge is important because the compressor tank pressure is not the same as the pressure entering the sprinkler lines.
Open one irrigation zone before introducing air. This gives the compressed air a path out through sprinkler heads and reduces stress on the pipes. If you connect air while all valves are closed, pressure can build quickly in the line.
Run one zone until the sprinkler heads stop pushing steady water and begin releasing mostly mist or air. Then shut off that zone and move to the next one. Most zones need only a short run, often a few minutes, but heavy or long zones may take longer. Avoid running air through a dry zone for too long because moving air can heat plastic parts.
Repeat the cycle across the entire system. If water keeps coming out of one zone after several passes, there may be a low point holding water, a valve issue, or a design problem. Do not compensate with unsafe pressure. Use shorter repeat cycles or call a professional if the water will not clear.
After all zones are cleared, disconnect the compressor and open any remaining manual drains. Set valves to their recommended winter position. Some backflow assemblies need handles left at a partial angle, but this depends on the device.
Insulate exposed pipes, backflow preventers, and above-ground valves with foam covers or pipe wrap. Do not seal them in a way that traps standing water. Check valve boxes for mud, water, or debris, and make sure lids sit properly so cold air and runoff do not create extra problems.
For large lawns with multiple irrigation zones, winter preparation is only one part of keeping the property in good condition through the seasons. After the sprinkler system is protected for winter, the next priority comes when temperatures rise and the grass begins active growth again. Regular mowing at that stage helps maintain an even lawn as the turf recovers.
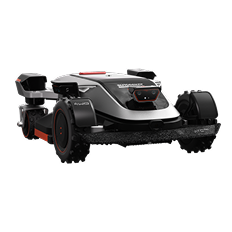
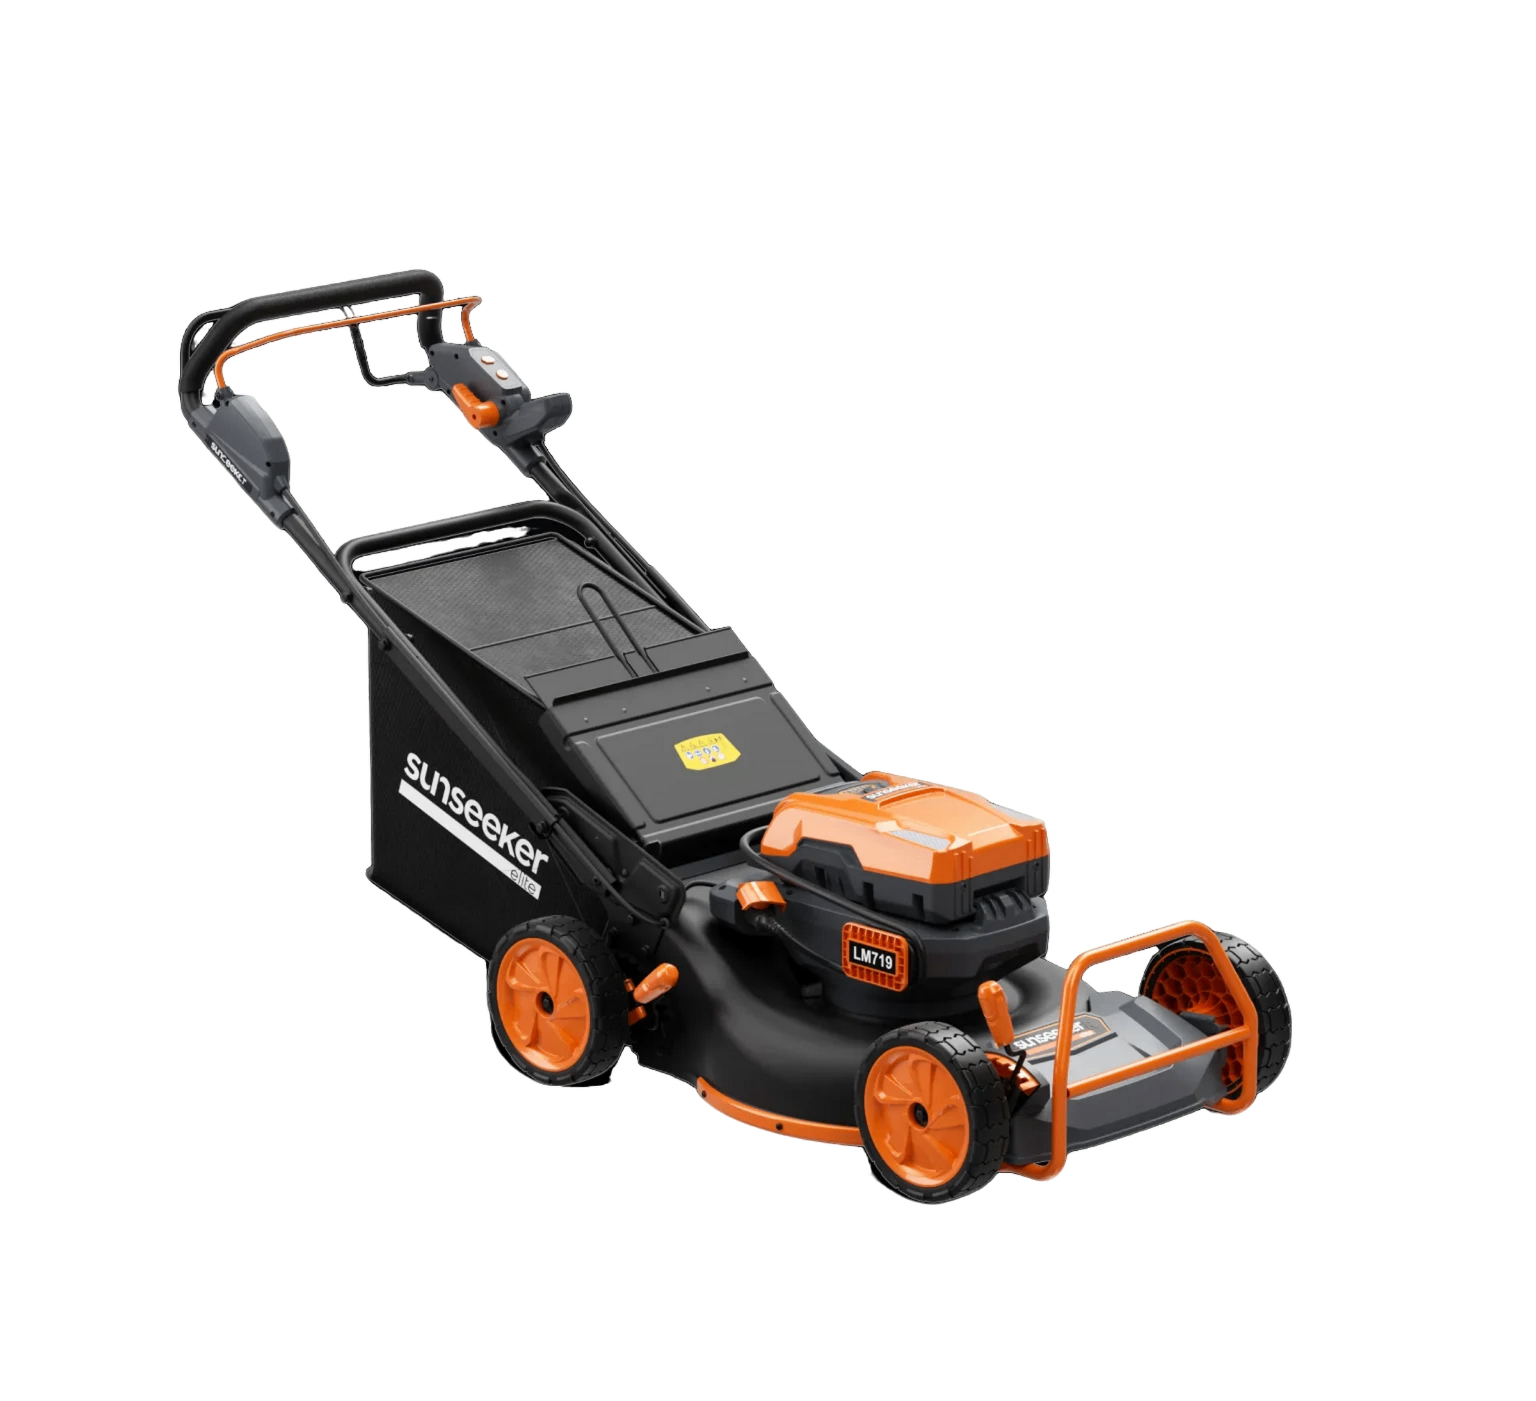
For ongoing mowing on larger established lawns, the Sunseeker Elite X9 can make this routine easier to manage. Its all-wheel-drive system helps it move steadily across slopes and uneven sections, while large-area route management supports more organized coverage across complex lawns. This makes it useful for maintaining a consistent mowing routine once normal spring growth returns.

Many homeowners can handle a simple sprinkler blowout, but some systems are safer in professional hands. Call a sprinkler technician if you do not know where the main shutoff is, cannot identify the blowout port, have a complex backflow setup, or own a large multi-zone irrigation system.
Professional help is also wise if your compressor cannot provide enough air volume. A small compressor may build pressure but fail to move enough air through long lines. That can leave water trapped in low spots. A technician can use the right equipment and clear zones without relying on unsafe pressure.
You should also call a pro if the system has already frozen, if you see cracked fittings, if zones do not activate properly, or if water keeps flowing after several blowout passes. Paying for winterization is usually cheaper than replacing broken pipes, valves, or backflow parts in spring.
Knowing how to blow out lawn sprinkler system lines before winter helps protect pipes, valves, sprinkler heads, and backflow components from freeze damage. The key is timing the job before hard freezes, using controlled air pressure, clearing one zone at a time, and insulating exposed parts afterward. Safe winterization protects the irrigation system and sets your lawn up for easier spring care. For ongoing turf maintenance after winter, Sunseeker’s AWD Robotic Mowers offer another way to keep established grass looking steady through the growing season.
Yes, you can use an air compressor if it has enough air volume and you can control the output pressure safely. Use a regulator and gauge, clear one zone at a time, and avoid high pressure. Many small compressors work slowly on small systems but may not clear large systems well.
You can do it yourself if you know the shutoff location, blowout connection, zone controls, and safe pressure range for your system. If yours is a do it yourself lawn sprinkler system and the backflow setup, pressure rating, or blowout port is unclear, professional winterization is safer than guessing. If the setup is unfamiliar, complex, or already frozen, hire a professional. Compressed air can damage sprinkler parts when used carelessly.
Water left inside sprinkler lines can freeze, expand, and crack pipes, valves, fittings, backflow parts, or sprinkler heads. Damage may stay hidden until spring, when zones leak or lose pressure. In freezing climates, winterizing the system is one of the simplest ways to avoid costly irrigation repairs.