









FAQs
7/25/2026
Contents
Products
Residential Lawns










Explore
Where to Buy


A good sprinkler system starts with water pressure, zone planning, head spacing, and safe digging. Most DIY installs need a clear layout, marked utilities, trenches about 6 to 12 inches deep in mild climates, a backflow preventer, valves, pipes, sprinkler heads, and careful testing before backfilling.
Winterize before hard freezes; in cold climates, follow the correct process for how to blow out a lawn sprinkler system so trapped water does not damage pipes, valves, or heads. In cold climates, many systems need the water shut off and lines blown out with the right air pressure.
That is why many homeowners search for how to install a lawn sprinkler system once hand watering no longer feels practical. The job is possible for many DIYers, but it needs planning before digging. You need to know your water supply, divide the lawn into zones, choose the right heads, and test everything before soil goes back in place. Read this article to learn everything you need to know!
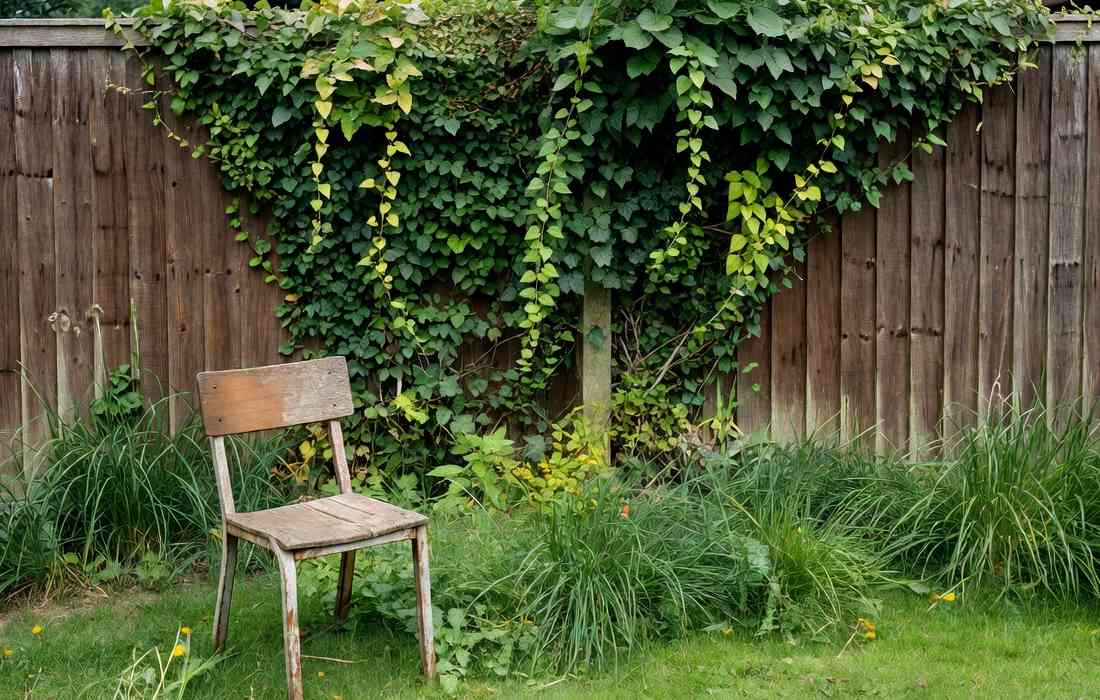
A lawn sprinkler system is useful when your yard needs regular, even watering and a portable sprinkler no longer gives reliable coverage. Before learning how to install lawn sprinkler system parts, check that your lawn size, water access, and local rules support a permanent setup.
Built-in sprinklers work best for medium or large lawns, sunny yards that dry out quickly, and clear lawn areas without too many odd corners. They can also help new seed or sod settle in because water can be applied in controlled cycles. For a very small lawn, shaded yard, or landscape with mostly native plants and mulch beds, a hose-end sprinkler or drip irrigation may be simpler.
Check local rules before connecting anything to the home water supply. Some areas require a permit, a specific backflow preventer, or set watering days. A sprinkler system should support healthy grass, not send water onto sidewalks, driveways, fences, or low spots that already drain poorly.
Gathering the right parts before digging saves time and keeps the layout cleaner. Your list depends on yard size and pipe type, but most sprinkler installations use the same core items.
For a do it yourself lawn sprinkler system, this is the main part of the project, so take your time with layout, safe digging, connections, and testing before anything is buried. Take your time with the layout and testing, because buried mistakes are harder to fix later. These steps also help when you want to know how to put in a lawn sprinkler system for an existing lawn rather than a new landscape.
Start with a simple drawing of the yard. Mark the house, driveway, paths, trees, planting beds, slopes, and utility markings. Divide the lawn into zones based on sun exposure, soil type, and water demand. A hot front lawn usually should not share a zone with a shaded side yard.
Choose sprinkler heads next. Spray heads suit small or narrow areas. Rotor heads suit larger open areas because they throw water farther and apply it more slowly. Avoid mixing spray heads and rotors on the same zone. Space heads so the spray from one head reaches the next head, which helps prevent dry stripes.
After the layout is marked and utilities are cleared, cut trenches along the planned pipe routes. In mild climates, many residential lateral lines sit about 6 to 12 inches deep. In freeze-prone areas, local practice may call for 12 to 18 inches or deeper, plus winter blowout access.
Use a flat spade to cut clean sod sections and set them aside in order. Dig a steady trench bottom so pipe rests evenly instead of bending over rocks or hard clumps. Hand dig near marked utilities, and change the route if large tree roots or drainage lines are in the way.
Place the valve box near the water source in an accessible spot. Install the backflow preventer according to local code and manufacturer instructions. Then connect the manifold, valves, and zone pipes, and run sprinkler wire between the controller and each valve.
For PVC pipe, cut square ends, remove burrs, dry-fit the layout, then use primer and cement on clean pipe and fittings. For polyethylene pipe, use the correct insert fittings and clamps. Install risers and sprinkler heads level with the finished soil surface so heads are not buried or exposed to mower damage.
Before attaching final nozzles or closing trenches, flush each zone to push out soil, pipe shavings, and grit. After flushing, install nozzles, turn on one zone at a time, and watch the full spray pattern.
Look for weak heads, misting, leaks, puddles, and overspray. Weak spray may mean low flow, a partially closed valve, a kinked pipe, or too many heads on one zone. Use a simple catch-cup test for 10 to 15 minutes to see if coverage is even before you bury the lines.
Backfill only after every zone runs properly. Place soil under and around pipes first, remove sharp stones, and tamp lightly in layers. Replace sod sections in their original positions and water them well so roots reconnect with the soil.
Set the controller for short early-morning cycles. Clay soil or sloped lawns often do better with cycle-and-soak watering, such as two shorter runs with rest time between them. Watch the lawn for the next two weeks and adjust run times based on soil moisture, weather, and grass response.
A sprinkler system is not a set-and-forget project. Seasonal checks keep water going where it belongs and help protect the lawn, pipes, and sprinkler heads.
After trenches settle and the lawn is established, steady mowing helps irrigation work more evenly because tall, uneven patches can shade damp soil and hide damaged heads. For routine care, Sunseeker Elite X7 Gen 2 supports mapped mowing with AONavi RTK and VSLAM 2.0, smart path planning, and a floating dual cutting-disc system.

Most sprinkler problems begin before the system is buried. A careful plan lowers the chance of dry zones, constant repairs, and wasted water.
The best mindset is simple: test before hiding anything. A sprinkler system may look finished once pipes are in the ground, but its real quality shows when every head sprays evenly and the soil absorbs water without puddles.
Learning how to install a lawn sprinkler system is mostly about planning, safe digging, correct zones, and patient testing. A neat layout, proper trench depth, head-to-head coverage, and seasonal maintenance help your lawn get steady water without constant hose work. Once the system is in place, long-term care also matters. For light, frequent mowing on established grass, explore Robot Mowers with Mulching Blades to keep everyday lawn care more consistent alongside smart watering habits.
Yes, many homeowners can install a sprinkler system themselves if the yard is not too complex and local rules allow it. The hardest parts are zone design, safe trenching, backflow protection, and leak-free connections. Hire a pro for low water pressure, steep slopes, large yards, or code-sensitive plumbing work.
Many residential sprinkler lateral lines are buried about 6 to 12 inches deep in mild climates. Freeze-prone areas may need 12 to 18 inches or more, plus winterization. Always follow local code, soil conditions, and manufacturer guidance. Keep heads level with the finished soil surface after backfilling.
DIY sprinkler installation often costs less than professional work, but the total depends on yard size, zones, pipe type, controller, permits, and backflow requirements. Small DIY projects may stay in the low thousands, while larger professional systems often cost several thousand dollars. Get local quotes before buying major parts.