



FAQs
7/17/2026
Contents
Products
Residential Lawns



Explore
Where to Buy


A basic two-zone DIY sprinkler system can be installed for $1,000–$2,500 in materials, compared to $2,000–$8,000 or more for professional installation. Simple flat lawns are the most DIY-friendly. Complex slopes, irregular shapes, or large properties benefit from professional design even if you handle the installation yourself.
For many homeowners, a do it yourself lawn sprinkler system is a practical way to automate watering while controlling costs. This guide covers whether DIY is the right approach for your yard, what system types are available, how to design and install the system, and how to keep it working well season after season.
Before committing, these factors determine how straightforward the installation will be.
Lawn size and shape. Small, rectangular lawns are the most DIY-friendly. Larger or irregularly shaped lawns require more complex zone planning and may benefit from professional design even if you handle the installation yourself.
Water pressure and flow rate. Attach a pressure gauge to an outdoor hose bib to measure PSI. Below 30 PSI, some in-ground systems may not perform reliably. These numbers determine how many heads each zone can support.
Terrain and obstacles. Slopes, large trees, and irregular hardscaping complicate zone design and head placement.
Local permits and codes. Many municipalities require permits, especially where a backflow preventer must be installed. Check with your local building department before starting.
Time and physical effort. Simple above-ground systems take 2–4 hours. An in-ground system can take 8–16 hours including trenching.
The system type determines installation complexity, cost, and how well it suits your lawn.
Hose-end sprinklers. The simplest option, attach to a garden hose, place on the lawn, and move manually as needed. No installation required. Best for small areas or temporary coverage. Oscillating sprinklers cover rectangular areas; impact and rotary types work for larger circular coverage.
Above-ground automatic systems. Use permanent hose connections and timers with surface-mounted heads or pop-up heads on flexible supply lines. Easier to install and modify than in-ground systems, and more affordable. Suitable for small to medium lawns. Less aesthetically pleasing and more prone to damage from mowing.
In-ground sprinkler systems. Underground supply lines connect to pop-up heads that retract when not in use. Divided into zones controlled by a timer and valve manifold. The most effective and long-lasting option, with a system lifespan of up to 20 years. Requires trenching and more planning, but produces the most consistent coverage.
Drip irrigation. Delivers water slowly directly to plant roots via emitters on surface tubing. Not suited for lawn areas but ideal for garden beds, borders, and individual plants. Often installed alongside a lawn sprinkler system to cover non-turf areas.
System Type | Best For | Approx. DIY Cost | Installation Complexity |
Hose-end sprinkler | Very small areas, temporary use | Under $50 | Minimal |
Above-ground automatic | Small to medium lawns | $200–$800 | Low |
In-ground system | Most residential lawns | $1,500–$2,500 | Moderate to high |
Drip irrigation | Garden beds, borders | $300–$800 | Low to moderate |
Good results start with a complete plan before any materials are purchased or holes are dug. Work through the design phase fully, then gather all materials before starting installation.
Materials needed:
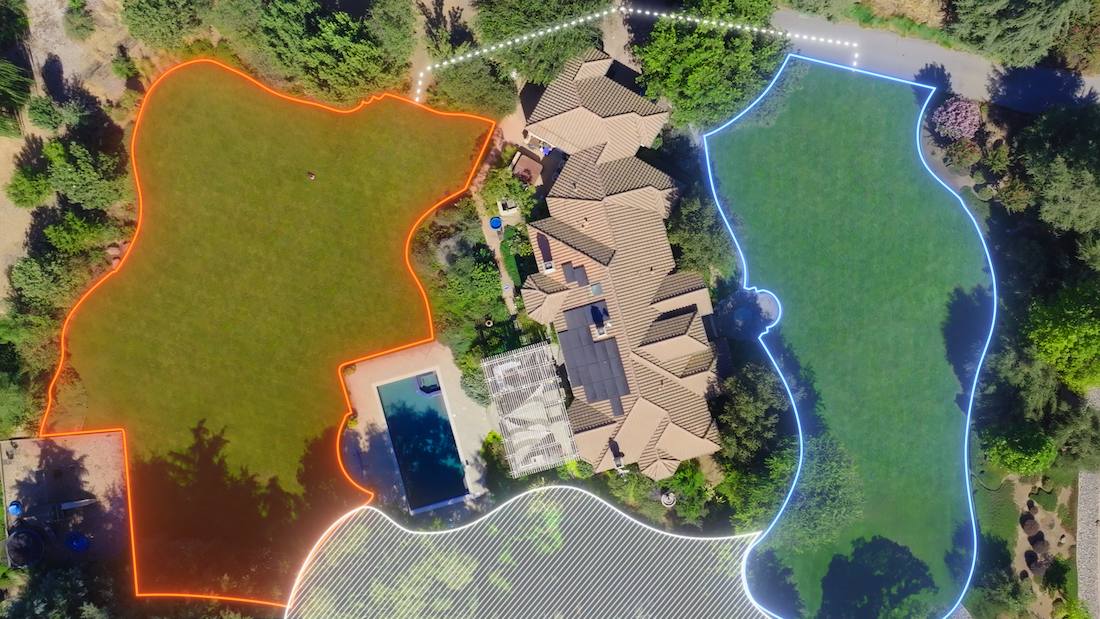
Step 1: Measure and sketch the lawn. Draw your property to scale, including the house, driveway, beds, and obstacles. Satellite mapping tools can speed this up. Note slopes, shaded areas, and any zones with different water needs.
Step 2: Check water pressure and flow rate. Attach a pressure gauge to an outdoor hose bib to measure PSI. Most residential supplies run 40–80 PSI. To measure GPM, time how long it takes to fill a 5-gallon bucket from a fully open outdoor faucet (5 ÷ seconds × 60 = GPM). Write both numbers down before planning zones. They determine how many heads each zone can support.
Step 3: Divide into zones. Each zone runs at one time based on your total GPM. A typical zone supports 5–6 rotary heads or 8–10 spray heads. If your home provides 10 GPM, a zone with six rotary heads drawing 1.5 GPM each uses 9 GPM, just within capacity. Separate sun and shade areas. They have different water needs. Never mix rotary and spray heads in the same zone; one type will always over- or underwater.
Step 4: Place heads using head-to-head coverage. Each head's spray radius should reach the next. If a head sprays 12 ft, space heads no more than 12 ft apart to eliminate dry spots. Mark positions on your sketch.
Step 5: Plan the pipe layout and build a materials list. Connect heads within each zone via lateral lines from a zone valve. All zone valves connect back to a manifold near the water supply. Polyethylene (poly) pipe is the standard DIY choice: flexible, easy to cut, and freeze-resistant. Count heads, valves, pipe length, and fittings from your sketch and purchase everything before starting installation.
Step 6: Select a controller. A timer activates each zone on a schedule. Smart controllers adjust watering based on local weather and cost $100–$250. Basic timers start around $30.
Step 7: Install the backflow preventer. Turn off the water supply first. The backflow preventer connects inline between your outdoor water shutoff and the irrigation manifold. It has an "in" and "out" port, so flow direction matters. Required by code in most areas.
Step 8: Trench the supply lines. (In-ground only) Dig trenches 6–8 in deep. Shallower trenches risk damage from aeration or dethatching equipment. Rent a trenching machine for lawns larger than a quarter acre.
Step 9: Lay pipe and connect heads. Run poly pipe through trenches (in-ground) or along the surface (above-ground), connect to zone valves, and install head risers. Before attaching heads, flush the system by running water briefly to clear debris and grit that would clog nozzles.
Step 10: Install the controller and test. Wire zone valves to the controller following the manufacturer's diagram, then run each zone. Walk the zone while it's running and check for dry spots, overlapping coverage, and leaks. Adjust arc and radius settings as needed.
Step 11: Backfill and restore. (In-ground only) Compact soil over trenches and overseed disturbed turf. Allow 2–3 weeks before running a normal schedule.
A well-maintained in-ground system lasts up to 20 years. Above-ground and hose-end systems have shorter lifespans but benefit from the same seasonal maintenance routine. Annual maintenance typically costs $75–$200, most of which is DIY-manageable.
Spring startup. Open the main valve slowly to avoid water hammer. Check each zone for broken or clogged heads. Reset the controller schedule for the season and test the backflow preventer.
In-season checks. Run the tuna can test periodically: place several cans in a zone, run for 15 minutes, and confirm all collected similar amounts. Clean clogged nozzles with a pin or replace them. Heads cost $1–$15 each.
Winterization. In freezing climates, blow out supply lines with compressed air before the first hard frost. A compressor with 20–50 CFM is needed. Most homeowners rent one or hire a professional for this step ($50–$130). Failure to winterize is the most common cause of cracked pipes.
Annual inspection. Check valve seals for wear, inspect controller battery backup, and review zone timing for the season's watering needs.
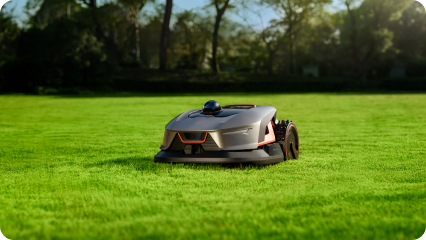
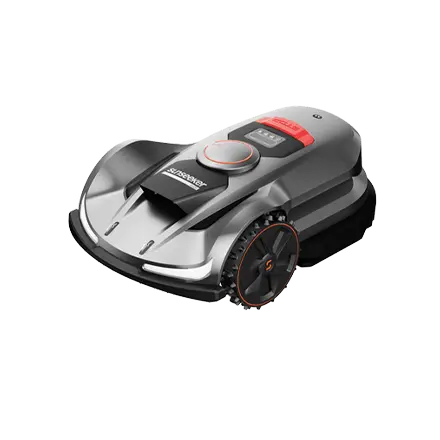
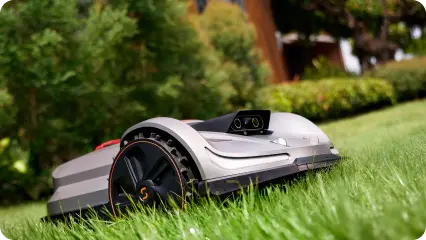
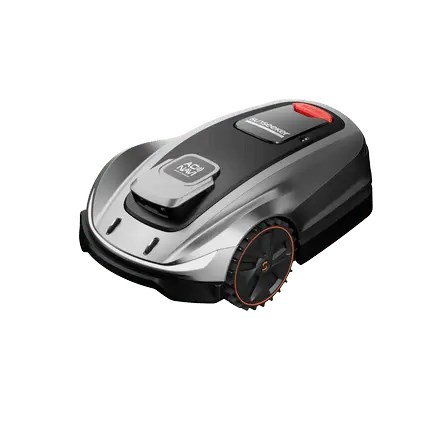
Sprinkler maintenance should also shape the mowing routine, since running a mower over saturated soil or exposed repair areas can undo the work. The Sunseeker Elite X5 lets each lawn zone follow a separate mowing schedule, so cutting can be planned outside irrigation windows. Temporary no-go zones can also protect damaged heads, open valve boxes, or freshly repaired sections until they are ready for normal use.

A do it yourself lawn sprinkler system is most practical for small to medium, relatively flat lawns where water pressure is adequate and permits are straightforward. In-ground systems offer the best long-term performance at a DIY material cost of $1,500–$2,500, compared to $2,000–$8,000 or more for professional installation. The critical steps are calculating water pressure and GPM before designing zones, never mixing rotary and spray heads, installing a backflow preventer as required by local code, and winterizing annually in cold climates. Get the planning right and the installation follows logically. Once your lawn is watered consistently, the next step is keeping it well-mowed. A robot lawn mower handles that automatically without any manual effort. Find the right model for your lawn size and let it handle the upkeep.
Yes, in most cases. DIY installation is most practical for simple, flat lawns with straightforward zone needs. In-ground systems are more demanding but manageable with the right preparation. Check local regulations first, some jurisdictions require a licensed contractor for irrigation installation or specific backflow preventer types. Permits are commonly required and typically cost $35–$200.
For most homeowners, yes. Labor accounts for the majority of professional installation cost. DIY saves $100–$1,600 or more on a typical residential project. The trade-off is time, expect 8–16 hours for an in-ground system, and the risk of design errors that create dry spots or overwatering. A do it yourself lawn sprinkler system kit is a good starting point for smaller lawns, with most kits covering two zones for $150–$400.
For most lawns, gear-drive rotary heads (rotors) provide the best combination of coverage and water efficiency. They cover larger areas with fewer heads and apply water more slowly than spray heads, reducing runoff on clay soils. Spray heads work better for smaller areas or tight spaces where rotors would overshoot. Never mix the two in the same zone, they operate at different precipitation rates and one type will either overwater or underwater if combined.