



















If you have ever removed a mower blade for sharpening or replacement, you’ve probably wondered: Which way do mower blades go on? This is one of the most common questions during installation, especially when both sides of the blade look similar at a glance. But don’t worry; it’s not as complicated as it seems.
While there can still be slight variations depending on mower type and blade design, the general rule applies to most standard rotary lawn mower setups. This guide will introduce how to identify the correct lawn mower blade position easily. Just read on to learn the safe removal and reinstallation steps and the most common mistakes to avoid!

Why Does Correct Mower Blade Installation Matter?
Proper lawn mower blade installation direction matters because even small orientation errors create big problems when blades are spinning at high speeds. Here are the key reasons to get it right:
- Cleaner cuts: The correct lawn mower blade direction allows the sharp edge to slice grass cleanly, reducing brown tips and lawn stress.
- Optimal airflow and mulching: The blade’s lift wings or curved edges generate the suction needed to lift grass upright and discharge clippings efficiently.
- Reduced vibration and wear: Proper blade balance minimizes engine strain, reduces vibration, and helps prevent premature wear on critical components.
- Improved safety & efficiency: A properly mounted blade stays secure during operation, which reduces the risk of damage and enhances overall fuel efficiency.
Which Side of the Mower Blade Goes Up?
Generally, for most rotary lawn mower blades, the curved or lift side (wings/sails) of the blade faces up toward the mower deck. The sharp, beveled cutting edge faces down toward the grass. This orientation is standard for most straight and high-lift blades. The upward curve generates airflow that lifts grass for a better cut and helps eject clippings.
The rule applies to mulching blades as well: lift features up, sharp edges down. You should always double-check your mower manual for confirmation. But in most cases, the lift side up and sharp edge down is the correct lawn mower blade side up rule.
How Can You Tell Which Way a Mower Blade Goes On?
Even the best push mower blade will cut poorly if it is installed upside down, so use the methods below to confirm the correct orientation before tightening it in place.
- Visual inspection: Check the blade carefully. The sharp, beveled cutting edge faces down toward the grass, and the curved lift wings point upward toward the deck.
- Manufacturer markings: Look for stamped instructions such as “This Side Up,” “Grass Side,” or “Bottom.” These indicators show the correct blade orientation and prevent mistakes.
- Compare with old blade: Take a photo or note the orientation of the old blade before removing it. Install the new blade in the same way.
- Rotation direction check: Observe the blade rotation. The sharp edge should cut into the grass first, and most mowers spin clockwise when viewed from above.
- Test fit and balance: Mount the blade on the spindle. It should sit flat without forcing. If it feels uneven or unbalanced, flip it over.
For multi-blade setups:
- Blade position on 2 blade mowers: The orientation stays the same as a single blade; only the spacing between blades differs.
- Blade position on 3 blade mowers: Blades are offset for full deck coverage, but each blade still follows the same up-and-down orientation rule.

How Do You Remove and Reinstall a Mower Blade Safely?
Lawn mower blade direction is only one piece of the puzzle. Now let’s take a closer look at the blade removal and reinstallation.
Tools You'll Need
Before starting, gather these tools to ensure the process goes smoothly and safely:
- Socket wrench or ratchet (common sizes are 15/16 inches or 13/16 inches)
- Torque wrench (highly recommended)
- Block of wood or professional blade lock tool
- Safety glasses and heavy-duty work gloves
- Spark plug wrench (gas mowers) or battery disconnect (electric)
Step-by-Step Instruction
Mower blades are extremely sharp, so extra caution is essential. Meanwhile, work in a well-lit area, keep protective gear on, and prioritize your safety throughout the entire removal and installation process. These steps apply to most standard rotary lawn mowers, but blade design and mounting details can vary slightly depending on the mower type and manufacturer.
Step 1: Disconnect the Power
For gas mowers, remove the spark plug wire. For electric mowers, disconnect the battery. Tilt the mower to make the carburetor/motor side stay up to prevent fuel or oil leaks.
Step 2: Secure the Blade
Place a block of wood or a blade lock tool between the deck and the blade to prevent spinning. Wear heavy-duty gloves to protect your hands from the sharp edges while loosening or tightening the central bolt safely.
Step 3: Remove the Old Blade
Carefully loosen the blade bolt and remove it with a socket wrench or ratchet. Keep track of any washers, spacers, and other hardware; note their position. Store them safely to reuse during the installation of the new blade.
Step 4: Clean & Install
Remove dirt and debris from the blade mounting area and spindle. Place the new blade on the spindle with the lift side up and the sharp edge facing down. Align any holes and pins according to the manufacturer’s instructions.
Step 5: Tighten the Blade Securely
Hand-tighten the bolt first, then use a torque wrench to achieve the manufacturer’s recommended torque. Avoid over-tightening, which could damage threads. Make sure the blade sits flush against the spindle.
Step 6: Test for Proper Installation
Check that the blade sits flat, spins freely, and feels balanced. Reconnect the spark plug or battery and start the mower on a safe surface. Listen for unusual vibrations or noises and adjust if necessary.
How Do You Know If Mower Blades Are Upside Down?
If you are not sure whether your blade is installed correctly, look for these clear signs that indicate the mower blade may be upside down:
- Torn or uneven grass: The lawn appears uneven or frayed because the blade is not slicing cleanly.
- Clumping or poor mulching: Grass clippings fail to discharge properly, forming clumps that put extra strain on mower engines.
- Excessive vibration or noise: The mower shakes more than usual or produces unusual sounds. This is often caused by an imbalance from incorrectly installed blades.
- Reduced cutting efficiency: The mower struggles to cut grass and needs multiple passes over the same area. This indicates improper blade orientation and poor airflow.
- Scraping or reduced clearance: The blade or lift wings may scrape the deck, which lowers ground clearance and causes mower damage.
Common Mower Blade Installation Mistakes to Avoid
Even experienced users might make mistakes. Here are some of the most common mistakes to avoid. These issues can vary slightly depending on the mower type and blade system, but the core risks remain the same.
- Bolt too loose or too tight: Incorrect torque can make the blade wobble and even damage threads. It might also increase the risk of the blade coming off while mowing.
- Debris under the blade: Grass and dirt buildup under the blade throws off balance, which reduces cutting efficiency and causes excessive vibration during operation.
- Washers and spacers out of place: Misaligned hardware prevents the blade from sitting flush on the spindle, which can compromise both safety and mower performance.
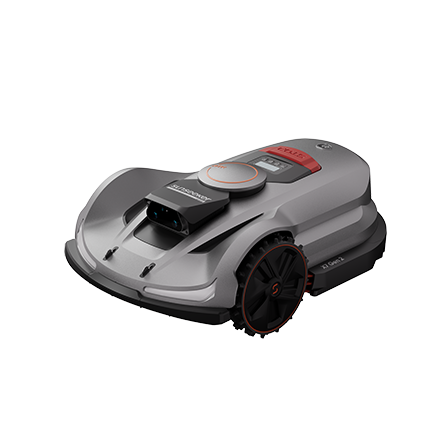
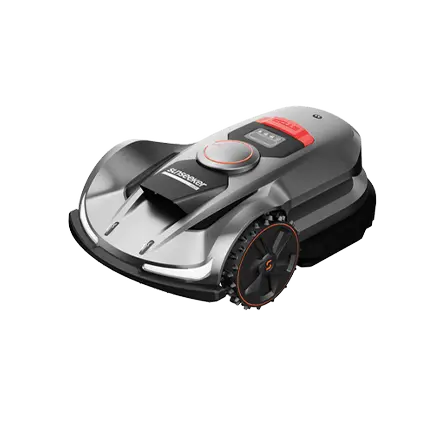
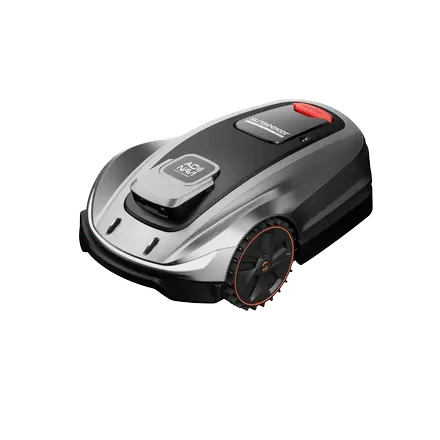
Blade orientation, removal, and reinstallation can be time-consuming, which is why some homeowners prefer robotic mowers with quick-swap robot lawn mower blades that reduce sharpening and hands-on replacement work.
The Sunseeker Elite X4 is a great option for effortless mowing. Its durable blades are designed for long-term use and come with spare replacements for quick swaps. Combined with a floating cutting system, it provides clean cuts across uneven terrain with minimal effort.