











FAQs
7/9/2026
Contents
Products
Residential Lawns






Explore
Where to Buy


Dull mower blades do more than reduce cutting performance—they tear grass rather than making clean cuts, leaving uneven tips that can turn brown and increase the risk of lawn problems. Sharpening a mower blade at home is a straightforward task that only requires basic tools like a file, a vise, and proper safety precautions. After sharpening, balancing, and reinstalling the blade correctly, your mower will cut more efficiently, the engine will operate with less strain, and your lawn can recover with healthier growth.
Is your lawn looking ragged with brown-tipped ends after mowing? Most likely that's due to dull blades tearing through the grass rather than slicing cleanly. If you haven't been maintaining your mower blades because it seems too difficult, you're not alone. Most people never touch their blades unless they take them to a shop for repair.
In this article you'll find all of the steps on how to sharpen push mower blades so you can do everything to safely and correctly remove, sharpen, balance, and reinstall your mower blades.
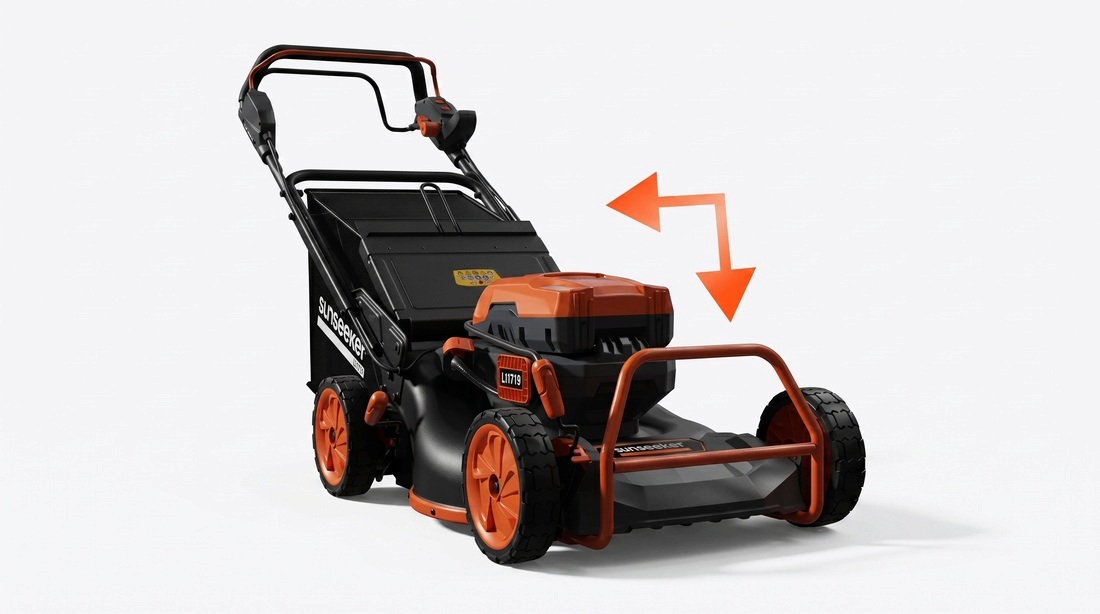
When the mower blade doesn't have an edge, it will tear each blade of grass instead of making a clean cut. This will cause the tips of the torn tissue to wilt and become brown (tip burn), and increase your lawn's risk of developing fungal infections and drought stress.
There's also the machine itself to consider. A dull blade requires more energy from the engine (using more fuel), creates more wear and tear, and shortens the life expectancy of the mower.
To know how to sharpen a push reel lawn mower, you need to know about the tools first. Below are the tools required for sharpening a push mower’s blades:
These are also the steps and precautions you need to take before getting to know how to sharpen a push reel mower and how to remove the blades from your mower.
1. Kill the engine and let it cool for 10 minutes.
2. Disconnect the spark plug wire from the spark plug and tuck the boot away from the terminal eliminate the possibility of the engine firing. One of the leading causes of engines starting while the engine is being serviced is failing to disconnect the power source.
3. Tip the mower over so that the air filter and carburetor face upward to help prevent oil from leaking into the air filter or the cylinder. Both scenarios may require costly repairs.
4. After tipping the mower, use a marker to mark one side of the blade before reinstallation. This helps identify which side of the blade must go down to prevent damaging the mower deck by installing it upside down.
5. To prevent the blade from spinning while you loosen the bolt, insert a block of wood between the blade and the deck.
6. Use a ½ inch (1.27cm) drive socket wrench to unscrew (counter-clockwise) the bolt that secures the blade to the mower.
7. Once the bolt is out, take off any washers and remove the blade. Save all hardware in a small container.
These four steps will guide you through the manual push mower blade sharpening. These steps include inspecting the blade, choosing a sharpening method, balancing the steel, and securely reinstalling it to keep your mower running smoothly.
Ensure the blade is clean on both edges and properly inspect it under suitable lighting for the following:
To sharpen a push mower’s blades, clamp it into a vise with the cutting edge up and set at a 30° to 45° angle like most homeowners do. There are three options to do this:
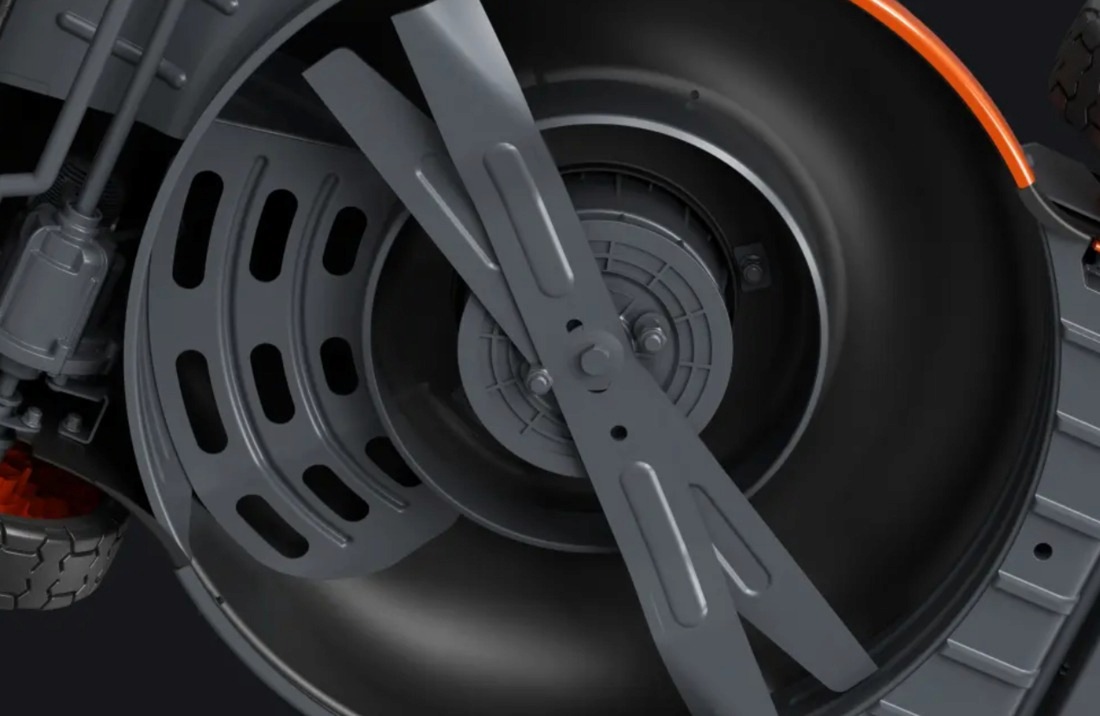
Balancing your mower blade is often overlooked in push reel mower blade sharpening. This can result in an unbalanced blade that causes vibration when spinning at 3000 RPM. This can eventually wear out the engine's bearings, break the deck's weld, and loosen all bolts from the mower.
You can balance your mower blades by using a cone-style blade balancer or hanging it on a nail. The end that sits lower is heavier and requires more metal removal. File the heavier (lower) side until both sides sit perfectly level on the balancer. Repeat until both sides are level and no movement occurs when the blade is placed on the balancer.
When reinstalling the blade, refer to your prior marking system: “grass side” of the blade faces down. Place the blade onto the spindle, aligning it properly with the previously used washers. Hand-thread the bolt initially to avoid cross-threading, then torque the bolt to the correct specifications from your owner's manual. A properly torqued bolt will keep the bolt secure and will permit easy removal next servicing. Reconnect the spark plug wire, test mow (2 minutes) and then check bolt for tightness.
Use a symptom-based approach and time-based approach to determine when to sharpen manual push mower blades: Neither approach alone should be relied on exclusively.
Timing: At least once every 20-25 hours of use (typically every 2-3 months for an average lawn during peak season).
Symptoms: As soon as you notice:
Now you know how to sharpen push mower blades and maintain the best push mower blade for clean, reliable cutting. You can easily sharpen your lawn mower blades yourself. A clean, sharp, and balanced blade cuts grass smoothly instead of tearing it, helping your lawn stay healthier and greener. Always disconnect the spark plug, mark the blade before removal, maintain the correct sharpening angle, and check the balance before reinstalling it. With regular blade care every few months, mowing becomes easier, safer, and more efficient for both your mower and your lawn.
You should sharpen the mower blades every 1-2 mowings if you mow for about 20 to 25 hours. Keep track of how long you are mowing your lawn. If you wait until you notice a problem with the mower blades, then your lawn will have already suffered from using dull blades.
Yes. Most people do not acknowledge sharpening blades on push lawn mower as frequently as needed. Dull blades produce an unsightly lawn and lead to increased incidence of fungus due to grass wilting rather than cleanly being cut; leading to a longer recovery time. A sharp blade produces the longest lasting benefit for the health of your lawn.
It won't be as effective because of limited access to the blade and difficulty maintaining the proper angle while sharpening the blade. Even if you disconnect the spark plug before performing this task, you are still taking an unnecessary risk while working around a blade. Properly removing the blade only takes about five minutes. Take the necessary precautions and do the job correctly the first time to ensure your safety and a better cut.