




FAQs
8/26/2026
Contents
Products
Residential Lawns







Explore
Where to Buy


Bare lawn patches usually recover when you remove dead material, correct the cause, loosen the topsoil, add matching seed or sod, and keep the repair evenly moist. Small spots can look better within two to four weeks, while full establishment often takes longer depending on grass type, weather, and care.
Bare spots can quickly make a healthy lawn look uneven, but the right repair depends on more than simply adding new seed. Understanding how to repair lawn patches means knowing what caused the damage, choosing the right repair method, and giving new grass the conditions it needs to recover. This guide covers common causes of bare spots, when to use seed, sod, or a patch product, how long recovery may take, and how to prevent the problem from coming back.

Before repairing a bare spot, look for the reason it formed. New grass will struggle again if the same stress is still present, so a five-minute inspection can save weeks of repeated patching.
All three methods can work, but they solve different problems. Match the repair material to the size of the spot, the speed you need, and how much follow-up care you can provide.
Option | Best for | Typical advantage | Main consideration |
Grass seed | Small to medium bare spots and matching an existing lawn | Lowest material cost and easy to blend into surrounding turf | Needs consistent moisture during germination and takes time to fill in |
Sod | Repairs that need an immediate green surface or erosion control | Instant coverage and less waiting for germination | Higher cost; edges can dry out if the soil is not prepared and watered well |
Patch product | Small homeowner repairs where convenience matters | Combines seed with mulch and sometimes starter nutrients | Seed mix may not perfectly match the existing grass, so check the label before use |
For a tiny spot, seed is usually enough. Sod makes more sense for a larger visible patch that needs quick coverage. A patch mix is convenient when you want a measured, all-in-one product, but the grass species still needs to suit your climate, light, and existing lawn.
The repair is simple, but each step has a purpose: clear away dead material, loosen the soil, add the new grass properly, and keep the soil moist while the roots grow.
Rake out brown, matted grass until you can see soil. Pull weeds and remove stones, leaves, or thick thatch that would keep seed away from the ground. For a sharply damaged spot, trim the edge into a simple shape so sod or new seedlings can establish evenly. If the patch came from a spill or pet urine, water the soil thoroughly before replanting and allow excess salts to move below the root zone.
Loosen the top 1/2 to 1 inch of soil with a hand cultivator or stiff rake. If the ground is hard, work a little deeper so new roots can grow into the soil easily. Break up any large clumps, and add a thin layer of topsoil or compost only if the area needs leveling or better soil. Keep the repaired spot even with the surrounding lawn, since low areas can collect water while raised areas may dry out faster and get cut too short by the mower.
For seed, use the label rate rather than pouring on an extra-thick layer. Too much seed creates crowded seedlings that compete for water and light. Spread half the seed in one direction and the rest across it for more even coverage, then rake lightly so seed touches soil without being buried deeply. For sod, cut a piece slightly larger than the bare area, fit it tightly against healthy turf, and press or roll it for full soil contact. For a patch mix, follow the product instructions for how much to apply and how thick the layer should be, since each product contains a different amount of mulch.
A very light covering of clean straw, seed mulch, or a germination blanket can reduce drying and protect seed on slopes. Water gently so the upper soil stays consistently damp, not muddy. Fresh seed may need light watering once or more each day during hot or windy weather, while cool, cloudy days may need less. Once seedlings are established and roots are holding the soil, reduce frequency and water more deeply. Keep people and pets off the patch until the grass can tolerate light traffic.
The first green shoots are only the beginning. Germination speed depends on species, soil temperature, moisture, and season, and the patch still needs time to develop enough roots and leaves to handle mowing and traffic.
Perennial ryegrass and many fine fescues can emerge relatively quickly under good conditions, while Kentucky bluegrass is slower and often needs around two weeks or more just to germinate. Sod looks finished immediately, but its roots still need several weeks to knit into the soil. As a practical expectation, a seeded patch can begin looking noticeably greener in 7 to 21 days, then continue thickening for another month or longer. Wait to mow until the new grass reaches roughly one-third above your normal mowing height, use a sharp blade, and avoid removing more than one-third of the leaf at a time.
If nothing appears after the normal germination window, check moisture first. Seed that dried out during early germination may fail. Also check whether the seed was washed away, buried too deeply, covered by a hard soil crust, or planted at the wrong time of year.
A repaired area is more likely to stay healthy when you prevent the problems that caused the bare spot in the first place. Focus on lawn care habits that reduce soil compaction, mowing damage, drought stress, and heavy traffic.
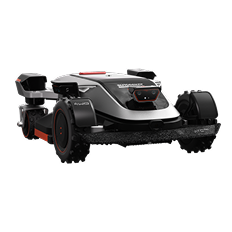
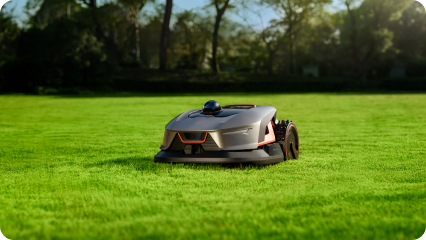
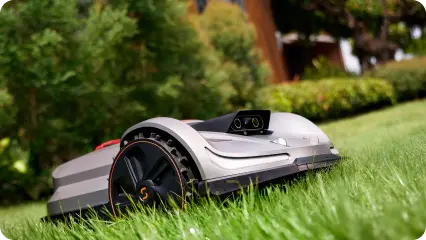
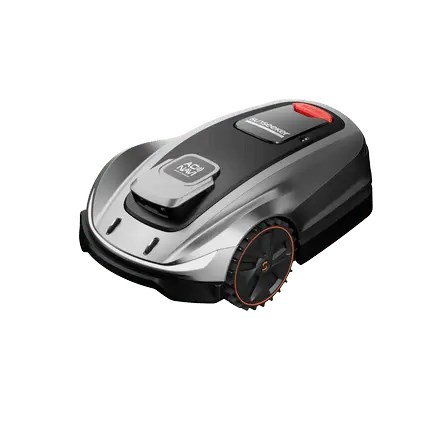
Large properties also benefit from consistent mowing patterns that avoid repeatedly scalping or stressing the same areas. The Sunseeker Elite X9 uses automatic mapping, intelligent path planning, and a 0.8-4 inch adjustable cutting-height range, which can help maintain more even mowing across expansive lawns. Its wide dual cutting system and terrain-focused drive are designed for large, complex sites where regular maintenance can otherwise become difficult.

Knowing how to repair lawn patches is not just about fixing the bare area, but also about solving the problem that caused it. Start by correcting issues such as poor watering, heavy foot traffic, pet urine, shade, pests, or mowing damage. Then remove the dead grass, loosen and level the soil, add suitable seed or sod, and keep the area moist until the roots are established. Once the patch has recovered, regular watering, soil care, traffic control, and proper mowing can help prevent the problem from returning. Since consistent mowing is an important part of this ongoing care, a robotic lawn mower for large lawns can make it easier to maintain large yards on a regular schedule.
Remove dead grass, loosen the top 1/2 to 1 inch of soil, correct obvious drainage or compaction problems, and add a grass seed mix that matches the existing lawn. Rake for seed-to-soil contact, keep the surface damp during germination, and restrict traffic until the new grass is rooted and ready for mowing.
Some seed may germinate, but results are usually patchy because seed needs reliable soil contact and moisture. Raking the surface first, spreading seed evenly, then pressing or lightly raking it into the top layer improves germination. Without good soil contact, the seed is more likely to dry out, wash away, or be eaten by birds before it can germinate.
During germination, keep the upper soil consistently damp with gentle watering. In warm or windy weather that can mean one or more light waterings per day; cooler conditions may need less. Once the seedlings are established, gradually reduce watering frequency and apply more water per session so roots grow deeper rather than staying near the surface.