





FAQs
8/11/2026
Contents
Products
Residential Lawns







Explore
Where to Buy


Thatch becomes a problem when the spongy layer of dead stems, roots, and organic debris grows thicker than about 1/2 inch. The safest fix is to confirm the buildup first, dethatch during active growth, use the right tool for the lawn size, clear the debris, then water, feed, and protect the grass as it recovers.
A lawn may start to feel soft or springy even when the grass still looks green. Water can soak in more slowly, feeding may give weaker results, and thin spots may appear as dead stems and roots build up between the soil and the living grass.
In this blog, you’ll learn how to remove thatch from lawn safely, how to measure the thatch layer, when removal is needed, which tools work best, and how to care for the grass afterward so it can recover evenly.

Lawn thatch is the dense layer that sits between green grass blades and the soil surface. It is made of living and dead stems, crowns, roots, stolons, rhizomes, and other slow-breaking organic material. A thin layer is normal, but a thick layer blocks air, water, and nutrients from reaching roots.
A healthy thatch layer is usually less than 1/2 inch thick. Once it gets thicker than that, the lawn may start to dry out faster at the root level while the surface stays damp. That pattern can encourage shallow roots, pests, and fungus.
Thatch is not the same as ordinary grass clippings. Short clippings break down quickly when the lawn is mowed at the right height. Problem thatch usually builds because the grass produces organic material faster than microbes can break it down. Compacted soil, overwatering, heavy nitrogen feeding, acidic soil, and some spreading grass types can all slow decomposition.
You do not need to remove thatch just because you can see a little brown material near the soil. The goal is to confirm that the layer is thick enough to limit growth. A quick test with a small soil plug gives a better answer than guessing from the surface.
Use a garden trowel, soil knife, or small spade to cut a wedge about 2 to 3 inches deep. Lift it out and look at the brown layer above the soil. If that layer is under 1/2 inch, leave it alone and focus on normal mowing, watering, and soil care. If it is over 1/2 inch, especially near 3/4 inch or more, removing thatch may help the lawn breathe again.
Common signs that thatch needs attention include:
These signs can also overlap with compacted soil or poor irrigation, so check the depth before you start. Removing too little thatch is not a big issue, but removing healthy turf by mistake can create bare patches that take weeks to repair.
Remove thatch when grass is actively growing and has time to recover. Dethatching pulls at the turf, so the lawn should be strong, not dormant, newly seeded, or stressed.
For cool-season grasses such as Kentucky bluegrass, perennial ryegrass, and tall fescue, early fall is usually the best window. Soil is still warm, weed pressure is lower, and cooler air helps the grass recover. Spring can work if needed, but avoid dethatching too early when the lawn is soggy or still waking up.
For warm-season grasses such as bermudagrass, zoysiagrass, and St. Augustine, late spring through early summer is usually better. Wait until the lawn has fully greened up and is growing steadily. Avoid late fall dethatching because warm-season grass may not repair itself before cooler weather slows growth.
A few timing rules help protect the lawn:
The right method depends on thatch thickness, lawn size, and grass strength. Work in stages. A careful approach removes the blocking layer while keeping healthy crowns and roots intact.
Mow the lawn slightly lower than usual before you start, but do not scalp it. For many home lawns, lowering the cut by about 1/2 inch is enough to help the rake or dethatcher reach the thatch layer. Bag the clippings so they do not mix with the debris you will remove later.
Next, check soil moisture. The lawn should be lightly moist so the tools can pull through the thatch without ripping dry turf apart. If the soil is dusty, water lightly the day before. If it is muddy or footprints stay visible, wait until the surface firms up. Working on wet soil can compact the ground and leave ruts.
A thatch rake is useful for small lawns, narrow strips, or moderate buildup. It has sharp, curved tines that cut into the layer and pull loose material toward the surface. Use firm, short strokes rather than long, aggressive pulls.
Work in one direction first, then lightly cross the area at a different angle if needed. Stop often and check what is coming up. You want brown thatch and loose debris, not large chunks of healthy green grass. For small areas, hand raking gives you control and lowers the chance of overworking a weak section.
For larger lawns or heavy buildup, a powered dethatcher can save time. Set the machine high at first so it barely reaches the thatch layer, then make a short test pass. If the machine is tearing up crowns or leaving deep grooves, raise the setting or slow down.
Most lawns do better with one careful pass than repeated deep passes. Move at a steady pace, and keep turns gentle so the machine does not dig into the turf. For severe thatch thicker than 1 inch, consider a lighter first pass or professional help.
After dethatching, the lawn may look rough. That is normal, but the loose debris should not stay on top of the grass. Rake it up carefully and remove it from the lawn. A leaf rake works well for light piles, while a lawn sweeper can help on larger areas.
If the debris is free of weed seeds, disease, and chemical residue, it may be composted. If it contains diseased grass or a lot of weeds, dispose of it according to local yard waste rules. Once the lawn is clear, inspect the surface again. Thin areas may need seed, and compacted areas may benefit from core aeration before overseeding.
Aftercare is what helps the lawn turn a rough-looking dethatching job into stronger growth. The grass needs steady moisture, open soil contact, and time to recover before heavy use.
Water the lawn lightly after clearing debris, then keep the soil evenly moist if you overseed. Mature grass usually needs about 1 inch of water per week, including rain, but new seed may need light watering once or twice a day until germination. Avoid flooding the area, since soggy soil slows oxygen movement and can disturb seed.
If the lawn is thin, overseed soon after dethatching because the opened surface gives seed better soil contact. Add a starter fertilizer only if it matches your soil test or the seed label. Wait to mow until new grass is tall enough for a clean cut, and never remove more than one-third of the blade height at a time.
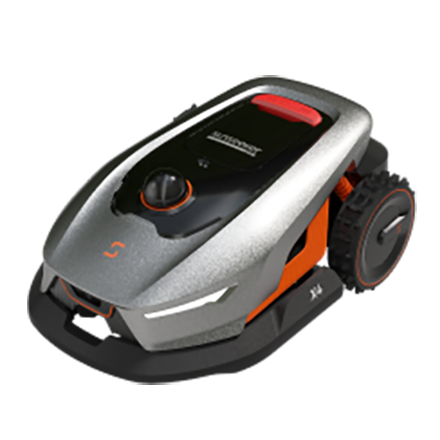
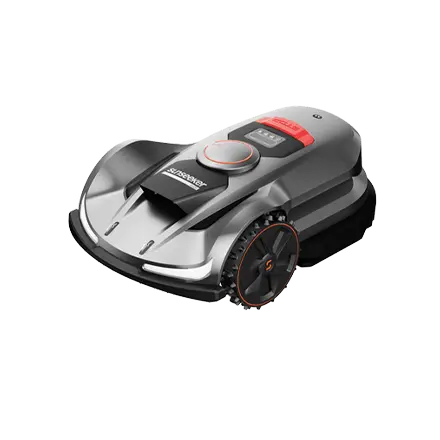
Once the lawn has recovered, regular mowing helps keep growth even and reduces the stress that can lead to recurring thatch. For established lawns, the Sunseeker Elite X5 supports steady upkeep with wire-free navigation, Vision AI obstacle detection, and app-based scheduling, which can help maintain a consistent cut through the growing season.

Do not rush fertilizer or heavy foot traffic right after removing thatch. Give the lawn a few weeks to settle, especially if you used a power rake. If the grass still looks weak after recovery, test the soil pH and nutrient levels before adding more products. Too much nitrogen can encourage fast top growth and contribute to future thatch problems.
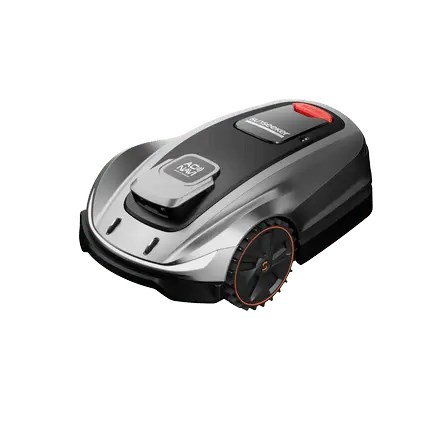
Removing thatch works best when you treat it as a measured lawn repair, not a hard cleanup job. Check the layer first, choose the right season, use a rake or dethatcher at the correct depth, and clear the loose material before watering and overseeding. With steady aftercare, grass roots can reach air, water, and nutrients more easily. For long-term routine mowing support after recovery, you can also explore a robot lawn mower that fits your lawn size and maintenance style.
They are closely related, but the terms are not always used the same way. Dethatching usually means removing the thatch layer between grass and soil. Scarifying often means a deeper, more aggressive cutting action that opens the turf surface. Some regions use the words almost interchangeably, so check the tool depth and purpose.
Yes, dethatching can damage a lawn if it is done too deeply, during dormancy, in extreme heat, or when the grass is already stressed. It can also pull up healthy turf if the machine setting is too low. Check thatch depth first, work during active growth, and start with a light pass.
A lawn should be lightly moist when you dethatch. Very dry turf can tear, while wet soil can compact and rut under your feet or equipment. If the ground is hard and dusty, water lightly the day before. If the lawn feels soggy, wait until the surface becomes firm.