





FAQs
9/9/2026
Contents
Products
Residential Lawns









Explore
Where to Buy


A durable lawn edge starts with the right material, an accurately marked line, and a trench sized for that edging system. Most low-profile metal edging is set with only about 1/2 to 1 inch visible above the soil, while block or concrete borders usually need a wider, deeper base. Check utilities before digging, secure each section firmly, and backfill evenly so the border stays straight.
A neat border makes a lawn look finished, but rushed work often leaves a wavy line, lifted joints, or edging that heaves after one season. Most failures trace back to poor material choices, inconsistent trench depth, or clashes with roots and buried utilities.
The good news is that how to put in lawn edging comes down to a few clear decisions and careful groundwork. In this guide, you’ll learn how to choose the right material, gather the tools, install the border in six steps, and keep it straight and secure.
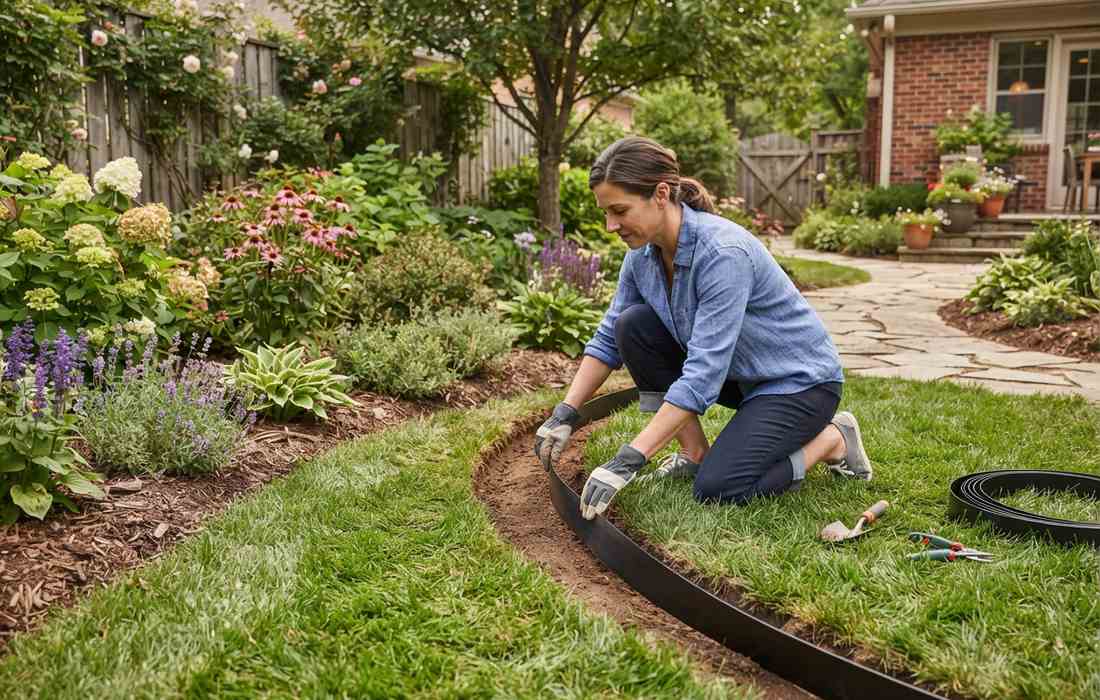
The installation method depends heavily on the type of border and the conditions along the lawn edge. Make these decisions before buying materials or cutting a trench so the finished line fits both the landscape and the maintenance routine.
Flexible steel or aluminum works well for sweeping curves and typically uses stakes or pins. Concrete, brick, and stone create a heavier visible border but usually need a wider base and more careful leveling. This quick comparison shows how the main options differ before you buy.
Edging material | Best suited for | Installation notes |
Steel or aluminum | Sweeping curves and a low, clean line | About 4 to 6 in. tall, with most of that height below grade; secured with stakes or pins. |
Concrete, brick, or stone | A heavier, more permanent-looking border | Needs a wider, deeper base and more careful leveling. |
Composite | Gentle curves where metal is not wanted | Handles broad curves; avoid radii tighter than the manufacturer allows. |
Whichever you choose, weigh soil type, frost movement, mower access, and expected traffic as well as appearance — not just the look of the material itself.
The exposed height should be high enough to define the border without becoming a trip or mower hazard. With low-profile metal edging, leaving roughly 1/2 to 1 inch above the finished soil is common because it keeps soil and mulch in place while remaining easy to work around. A manufacturer’s installation instructions should take priority if the product specifies a different reveal.
Raised masonry borders may sit several inches above the lawn, but that changes mowing access. If a mower wheel cannot ride safely along the edge, plan for a narrow trimming strip or hand finishing rather than setting the border so high that it creates a maintenance obstacle.
Lay out curves at full scale with a hose, rope, or marking paint before cutting. Flexible metal or composite edging handles broad curves well; tight corners may need preformed pieces or separate joined sections. Do not force a stiff profile into a radius tighter than the manufacturer allows.
Tree roots, irrigation lines, low-voltage lighting, and utility services can change the safest route. Do not cut major woody roots just to preserve a decorative line; shift the border when practical. In the United States, you should call 811 before you dig so underground public utilities can be marked. Submit that request a few days before work, even for a shallow project.
Private irrigation and landscape wiring may need separate locating, so use hand tools carefully near known lines.
The right tools keep the trench consistent and the line straight, which is where most edging jobs are won or lost. Here is a practical checklist to gather before you start digging.
This is the hands-on part of how to put in lawn edging, and consistency matters more than speed. Work along short sections so depth, alignment, and support can be corrected before the trench closes.
Measure the full run, using string for straight sections and a hose or marking paint for curves. Step back 10 to 20 feet to check the shape. Add about 5% to 10% to the measured length for curves, joins, cuts, and breakage.
Cut the turf vertically along the marked line, then remove soil to the depth required by the edging. For a 4-inch-tall metal profile intended to sit mostly below grade, the trench may be about 3 to 3.5 inches deep, leaving only a small reveal. Rigid pavers often need a wider trench and a compacted base.
Check depth every few feet rather than relying on eye level. A trench that rises and falls will transfer that unevenness directly to the finished border.
Clear stones, loose clods, old landscape fabric, and small roots that prevent the edging from sitting against firm soil. Cut only small roots that can be removed without harming nearby plants. If a large root occupies the trench, adjust the border line instead of creating a structural wound in the tree.
For masonry, compact the exposed subgrade before adding base material. Soft pockets beneath individual blocks are a common cause of later settling.
Place several feet of edging at a time and check the top line before fastening. For straight runs, pull a string at the intended finished height. For curves, keep the arc smooth and avoid sharp changes in direction between stakes.
Join sections with the manufacturer’s connectors and required overlap. Some commercial steel systems call for about 2.5 inches of overlap at joints; other systems butt or interlock. The supplied instructions should control because connector geometry differs.
Drive stakes or pins at the specified locations, adding support at joints and tight curves where forces are higher. Backfill a little at a time on both sides, pressing the soil firmly as you go instead of dumping it all in at once. Alternating sides helps prevent the edging from being pushed out of alignment.
For blocks, set each unit onto the prepared base, tap it into level with a rubber mallet, and recheck against neighboring units. Do not use loose topsoil as a leveling bed under heavy masonry.
Before final compaction, sight down straight sections and inspect curves from several angles. Correct waves now. Rake the lawn side smooth, replace intact turf where possible, and water disturbed soil lightly to settle voids.
Keep mulch slightly below the top and avoid leaving a trough on the lawn side that catches mower wheels or runoff.
Good alignment comes from support below the edging and equal pressure on both sides, not just from driving more stakes. A firm trench bottom, consistent depth, and careful backfill are the main controls.
On a straight run, use a taut string as the reference rather than following the cut turf edge. Check the top every 3 to 4 feet while fastening. On curves, place additional stakes near sharper bends if the manufacturer allows it. If a section keeps leaning, reopen the soil around it and correct the base instead of trying to pull it upright with a single fastener.
Freeze-thaw cycles and expansive clay can move rigid edging, so use a compacted granular base under pavers and inspect raised joints after heavy rain or winter.
Knowing how to do lawn edging upkeep is simple once the border is in: keep it visible, supported, and free of buildup. A few quick checks during the growing season prevent small shifts from becoming a full reinstallation.
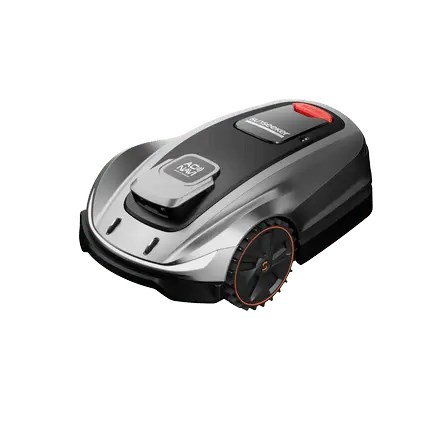
If a robotic mower is part of your routine, a changed lawn outline usually means a quick update: GPS Robot Mowers can take revised boundary coordinates, while vision- and LiDAR-based models simply rescan the lawn. Once the border has settled, the mower fits back into the maintenance plan with no perimeter wire to bury beside the new edging.
The Sunseeker Elite X4 builds a 3D lawn map with 360-degree LiDAR and Vision AI, and Sunseeker specifies stable mowing in narrow passages under 28 inches wide. Its Edge-Reach and Ride-On cutting modes are especially useful along a newly defined border, keeping the grass line clean without disturbing the installed edge.

Putting in lawn edging is mainly a precision job: choose a material that suits the site, mark the line carefully, prepare a consistent trench, and support the border before backfilling. Concrete and block systems need a stable base, while thin metal profiles depend on correct stake placement and soil support. Once installed, periodic inspections and clean mowing access will keep the line looking intentional for years. Once the border settles in, Sunseeker’s boundary-free mowers can take over the routine trimming and help keep that new line crisp.
Measure every straight run and curve along the planned border, then add roughly 5% to 10% for cuts, overlaps, corners, and mistakes. For modular units, divide the total border length by the face length of one unit and round up. Check the manufacturer’s overlap requirement before ordering because some metal systems lose several inches at each joint.
Depth depends on the product. Low-profile metal edging around 4 inches tall is often buried so only about 1/2 to 1 inch remains above grade. Concrete or paver borders may use a trench around 4 inches deep plus about 1 inch of compacted base. Always follow the specific edging instructions and local site conditions.
Yes. Precast concrete edgers or a formed concrete curb can create a durable border, but they need more base preparation than thin metal or plastic. A compacted granular foundation helps limit settling, and the finished height should still allow safe mowing access. In freeze-thaw climates, drainage and local construction practice are especially important.