











Walking barefoot across your yard can quickly reveal a sticker problem, even when the weeds are difficult to spot. Small, sharp burs can stick to socks, shoes, and pet fur, while the plants producing them may remain hidden among the grass. By the time you notice the stickers, some weeds may have already developed mature seed structures that can still hurt your feet even after the plants die.
Before choosing a treatment, you need to identify the weed producing the stickers. Lawn burweed and sandbur are two common causes in U.S. lawns, but their growing seasons differ. Understanding which one is present will help you choose the right removal method and treatment time.
Which Weed Is Producing Stickers in Your Lawn?
To identify the weed causing stickers, examine the entire plant rather than focusing only on its burs. Common sticker-producing weeds differ in appearance and growing season, so recognizing these differences can help you choose the right treatment.
Weed | What You May See | Typical Timing in Much of the U.S. |
|---|---|---|
Lawn burweed (spurweed) | A low-growing, spreading winter annual with finely divided leaves. Small, spiny burs develop near the ground where the leaves join the stems. | Germinates in fall, remains small through winter, and produces painful burs in spring. |
Sandbur (sandspur) | A warm-season grass with narrow leaves and clusters of spiny burs on its seedheads. | Begins growing as the soil warms in late spring or early summer, with burs developing during summer. |
Other sticker-producing weeds | Different leaf shapes, flowers, or seed pods. Some are broadleaf weeds rather than grasses. | Growth periods vary depending on the species and region. |
If you are unsure which weed is growing in your lawn, contact a local Extension office before applying an herbicide. Names such as sticker weed, spurweed, sandspur, and grassbur can refer to different plants depending on the region. Correct identification is important because an herbicide that is safe for bermudagrass may damage St. Augustinegrass, fescue, or other turfgrass types.
What Should You Prepare Before Removing Lawn Stickers?
Before removing stickers, gather the necessary tools and take precautions to prevent burs from spreading to unaffected areas. Proper preparation also helps protect your lawn while you remove or treat the weeds.
- Protect your hands and feet. Wear sturdy shoes, long pants, and puncture-resistant gloves when working around mature burs.
- Choose the right collection tools. Prepare a hand rake, narrow garden fork, weeding tool, or tarp to collect loose burs and plant debris.
- Keep disposal bags nearby. Use a heavy-duty yard-waste bag for seed-bearing stems and burs to prevent them from spreading through the compost pile.
- Identify your lawn grass. Determine whether you have bermudagrass, zoysia, St. Augustinegrass, tall fescue, or another grass type before choosing a chemical treatment.
- Check the herbicide label. Confirm that the product is suitable for the target weed and your grass type. Review its application month, temperature restrictions, protective equipment requirements, and reseeding interval.
- Review the weather forecast. Avoid spraying when wind could carry the herbicide into garden beds or nearby plants. Follow the product's instructions for rainfall and irrigation.
After preparing, choose a removal method based on the size of the infestation and the weed's growth stage. A few plants may be manageable by hand, while widespread growth may require an herbicide labeled for the weed while it is still young. Choose the method that best suits your situation rather than using both unnecessarily.
How Do You Remove Lawn Stickers Step by Step?
The best approach is to collect loose burs before removing or treating the weeds producing them. This helps reduce the number of sharp seed structures left on the lawn as you work. Follow these six steps to remove stickers and check for new growth.
Step 1. Mark the Infested Areas
Begin by walking slowly around your lawn and marking areas where sticker weeds are growing. Pay particular attention to driveways, sunny edges, thin patches of grass, and places where pets frequently walk. Lawn burweed grows close to the ground and may be hidden by surrounding grass, while sandbur can be identified by checking the seedheads of coarse, upright, grass-like plants. Marking each patch with flags makes it easier to find the same areas when checking the results of removal or treatment.
Step 2. Collect Loose Burrs
Before digging or spraying, put on gloves and gather any loose burs from the grass. A hand rake can help lift them from the surface, while a tarp provides a clean place to collect the material. Start at the outer edges of each patch and work toward the center to avoid dragging burs into unaffected areas. Before leaving, check your shoes, gloves, and pets' paws for any stickers that may have become attached.
Step 3. Remove or Treat the Sticker Weeds
For small infestations, loosen the soil around each plant and carefully remove it along with its roots. Lawn burweed is easier to remove when young, before its spines become hard. Larger infestations may need a post-emergent herbicide labeled for both the identified weed and your lawn grass.
In warmer regions, lawn burweed is commonly treated between December and February, before mature burs form. In cooler regions, treatment may extend into early spring, depending on local conditions, but it should still take place before the burs develop. Always follow the product's application rate and repeat-treatment interval. Do not use a crabgrass treatment unless the label specifically lists sandbur or burweed.
Step 4. Bag the Remaining Plant Debris
Once the weeds have been removed, collect the pulled plants, seedheads, and remaining burs in a bag. Avoid leaving mature, seed-bearing material on the lawn or placing it in a cool home compost pile, where it may survive. Dispose of the material according to local yard-waste regulations. If you applied an herbicide, check whether the label requires the treated plants to remain in place for a certain period before collecting them.
Step 5. Clean Tools Used in the Infested Areas
Stickers and plant fragments can spread when they remain attached to lawn equipment or footwear. Before moving to an unaffected area, brush soil and debris from your rakes, forks, mower decks, and shoes. If burs become trapped in your mower, turn off the engine and disconnect the spark plug or battery according to the manufacturer's instructions before removing them. Never reach underneath a mower deck while the machine is still connected to power.
Step 6. Check for New Burrs and Regrowth
Continue inspecting the marked areas every one to two weeks during the weed's active growing season. Even after the initial removal, new plants may appear because seeds can remain in the soil and germinate at different times. If you used an herbicide, wait until the period specified on its label before evaluating the results. Apply a second treatment only if the product permits it and the remaining weeds are still at a growth stage when treatment can be effective.
How Should You Repair Thin Grass After Sticker Removal?
Removing sticker weeds may leave thin or bare patches in your lawn. Before repairing these areas, check whether the surrounding grass can spread and fill the gaps naturally or whether you need to plant new grass.
Start by raking away dead stems and loosening the soil surface. Choose a repair method that matches your existing grass and the amount of sunlight the area receives. Warm-season lawns often use plugs or sod, while cool-season lawns may be repaired with a compatible blend of fescue, bluegrass, or ryegrass. If you applied an herbicide, follow the label's reseeding interval because some products can delay seed germination.
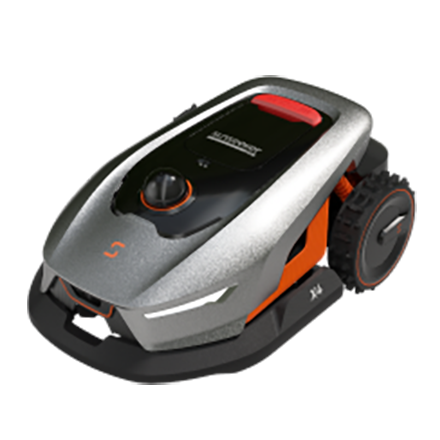
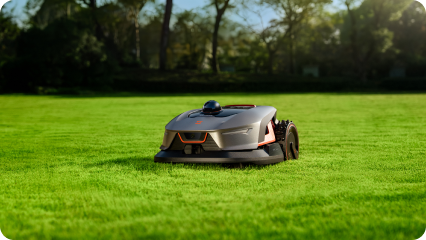
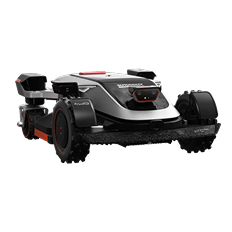
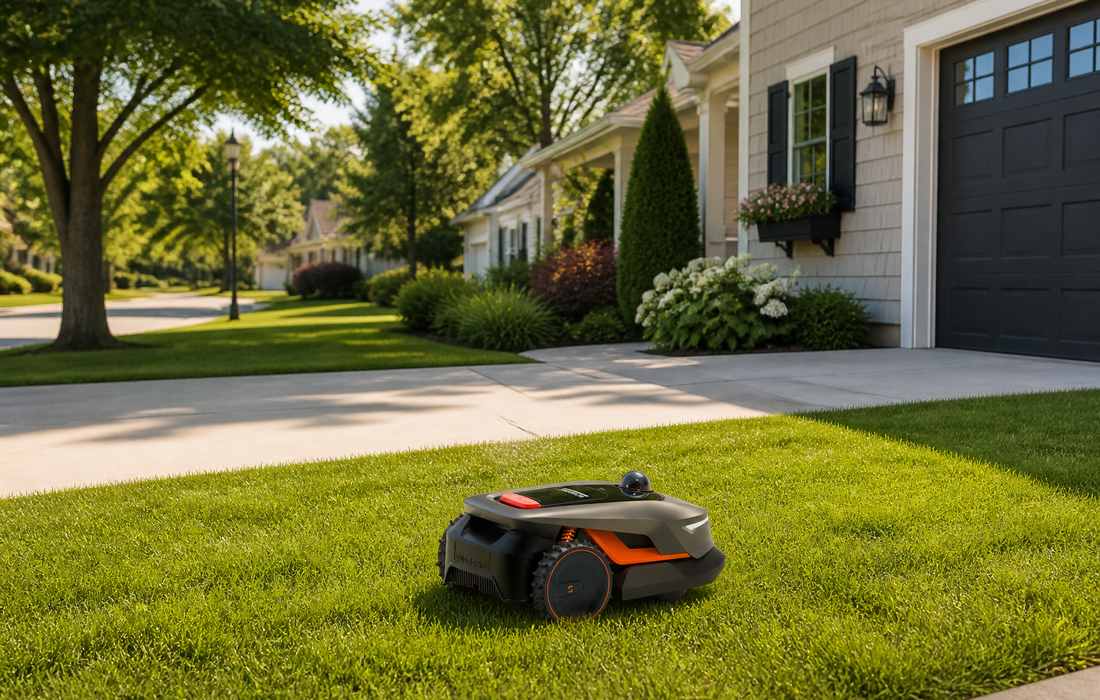
During germination, keep the repaired area moist and limit foot traffic. While the new grass is still developing roots, regular mowing can continue in the surrounding established lawn. The Sunseeker Elite X4 supports this approach with 360-degree 3D LiDAR and Vision AI to map established lawn areas around trees and garden beds. Its virtual no-go zones allow you to exclude newly repaired patches while continuing to mow the surrounding grass.