


















You may notice that one part of your lawn looks green and healthy while another area just a few feet away appears pale or thin. These differences can result from uneven sprinkler coverage, too much shade, compacted soil, or changes in soil conditions. Adding more fertilizer might make some grass greener, but it will not necessarily fix the areas where growth is weak.
To improve your lawn over the long term, you first need to understand what is preventing the grass from growing properly. This guide explains how to identify common problems, choose the right time for repairs, and determine whether your lawn needs a few small improvements or a more extensive renovation.
Why Is Your Lawn Thin or Pale?
The appearance and location of thin or pale grass can help you identify what is causing the problem. Before choosing a treatment, compare the affected areas with the rest of your lawn and look for the following signs.
What You Notice | Possible Cause | How to Confirm It |
|---|---|---|
Pale grass across most of the lawn | Low nutrient availability, unsuitable soil pH, or poor root growth | Test the soil and examine root depth |
Thin strips beside sidewalks or play areas | Frequent foot traffic or compacted soil | Check how easily a screwdriver or soil probe enters the ground |
Grass thinning beneath trees | Too little sunlight, competition from tree roots, or dry soil | Compare sunlight exposure and soil moisture with an open area |
Yellow or brown patches near sprinkler zones | Uneven watering, leaking sprinkler heads, or runoff | Run the irrigation system and use catch cans to compare water distribution |
Grass clumps or uneven color in an otherwise healthy lawn | Different grass species, disease, or uneven fertilizer application | Examine leaf shapes and growth patterns, and seek a diagnosis if disease is suspected |
Besides checking the leaves, examine the grass roots and surrounding soil. Shallow roots can cause grass to wilt quickly, while compacted soil may prevent water from soaking in properly. If unsuitable soil pH or low iron availability is causing the problem, applying more nitrogen fertilizer will not correct these soil issues. A soil test can help you identify what your lawn actually needs instead of relying on grass color alone.
When Should You Start Improving a Thin Lawn?
The best time to improve a thin lawn depends on whether you have cool-season or warm-season grass and whether you plan to use seed, plugs, or sod. Choosing a suitable growing period gives the repaired grass a better chance to establish.
Cool-season grasses, including tall fescue, Kentucky bluegrass, and perennial ryegrass, generally establish best from seed in late summer to early fall. In northern and transition regions, this often means late August through October. Spring repairs are also possible from March through May, but young grass may face more weed competition and rising summer temperatures soon afterward.
Warm-season grasses, such as bermudagrass, zoysia, and centipedegrass, grow most actively during late spring and summer. Across many southern areas, May through July is a suitable period for installing plugs, laying sod, and making other repairs once the grass has fully turned green. Avoid planting warm-season grass seed in cold March soil simply because spring has started.
You can test your soil at any time of year, but schedule soil amendments when the grass is able to use them. Cool-season grasses generally receive most of their fertilizer in fall, with additional spring feeding only when necessary. Warm-season grasses are commonly fertilized after spring green-up and throughout summer. For either grass type, make sure your fertilizer schedule also follows local regulations and the product label.
How Do You Make Your Lawn Greener and Thicker Step by Step?
A greener, thicker lawn needs healthy soil, proper watering, and consistent care. Addressing soil problems before adding fertilizer or new grass helps improve growing conditions and encourages stronger, more even growth. Follow these steps to build a healthier lawn.
Step 1. Test the Soil
Collect soil samples from several areas of your lawn, taking cores approximately 4–6 inches deep. Keep samples from noticeably different areas separate, such as a shaded, damp section and a sunny, well-drained area. Send the samples to a soil testing lab to check nutrient levels and pH. Use the results to choose the right fertilizer and determine if lime is needed to adjust soil acidity.
Step 2. Correct Soil Problems
Use your soil test results to apply lime or fertilizer at the recommended rates. If the soil is compacted, aerate during the active growing season to improve root development. For heavy clay soil, incorporate organic matter during renovation. Also, fix drainage problems and consider shade-tolerant grass where sunlight is limited.
Step 3. Restore Grass in Thin Areas
Remove dead grass and loosen the soil in bare patches before planting. Overseeding works well for cool-season lawns, while sod or plugs can help establish warm-season grasses such as Bermuda and Zoysia. Choose grass that matches your existing lawn and protect newly planted areas from heavy foot traffic until established.
Step 4. Water for the Lawn's Growth Stage
Established lawns often need around 1 inch of water per week, including rainfall, with adjustments for weather and grass type. Water deeply to encourage stronger roots. Newly seeded areas need light, frequent watering to keep the soil surface moist. As seedlings develop, gradually reduce watering frequency and increase the amount applied each time.
Step 5. Feed According to Lawn Needs
Use your soil test results to choose the right fertilizer and application rate. As a general annual reference, cool-season lawns may need 2–4 pounds of nitrogen per 1,000 square feet, while some lower-input warm-season lawns need around 1–2 pounds. Divide applications across the growing season, and use a calibrated spreader for even coverage.
Step 6. Mow for Healthy Growth
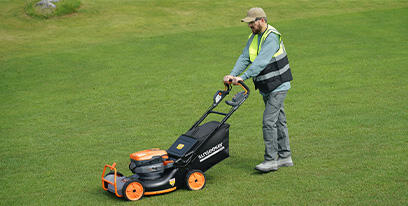
Keep cool-season grass around 2.5–3.5 inches, while many warm-season grasses can be maintained at 1.5–2.5 inches, depending on the variety. Follow the one-third rule and keep mower blades sharp for clean cuts.
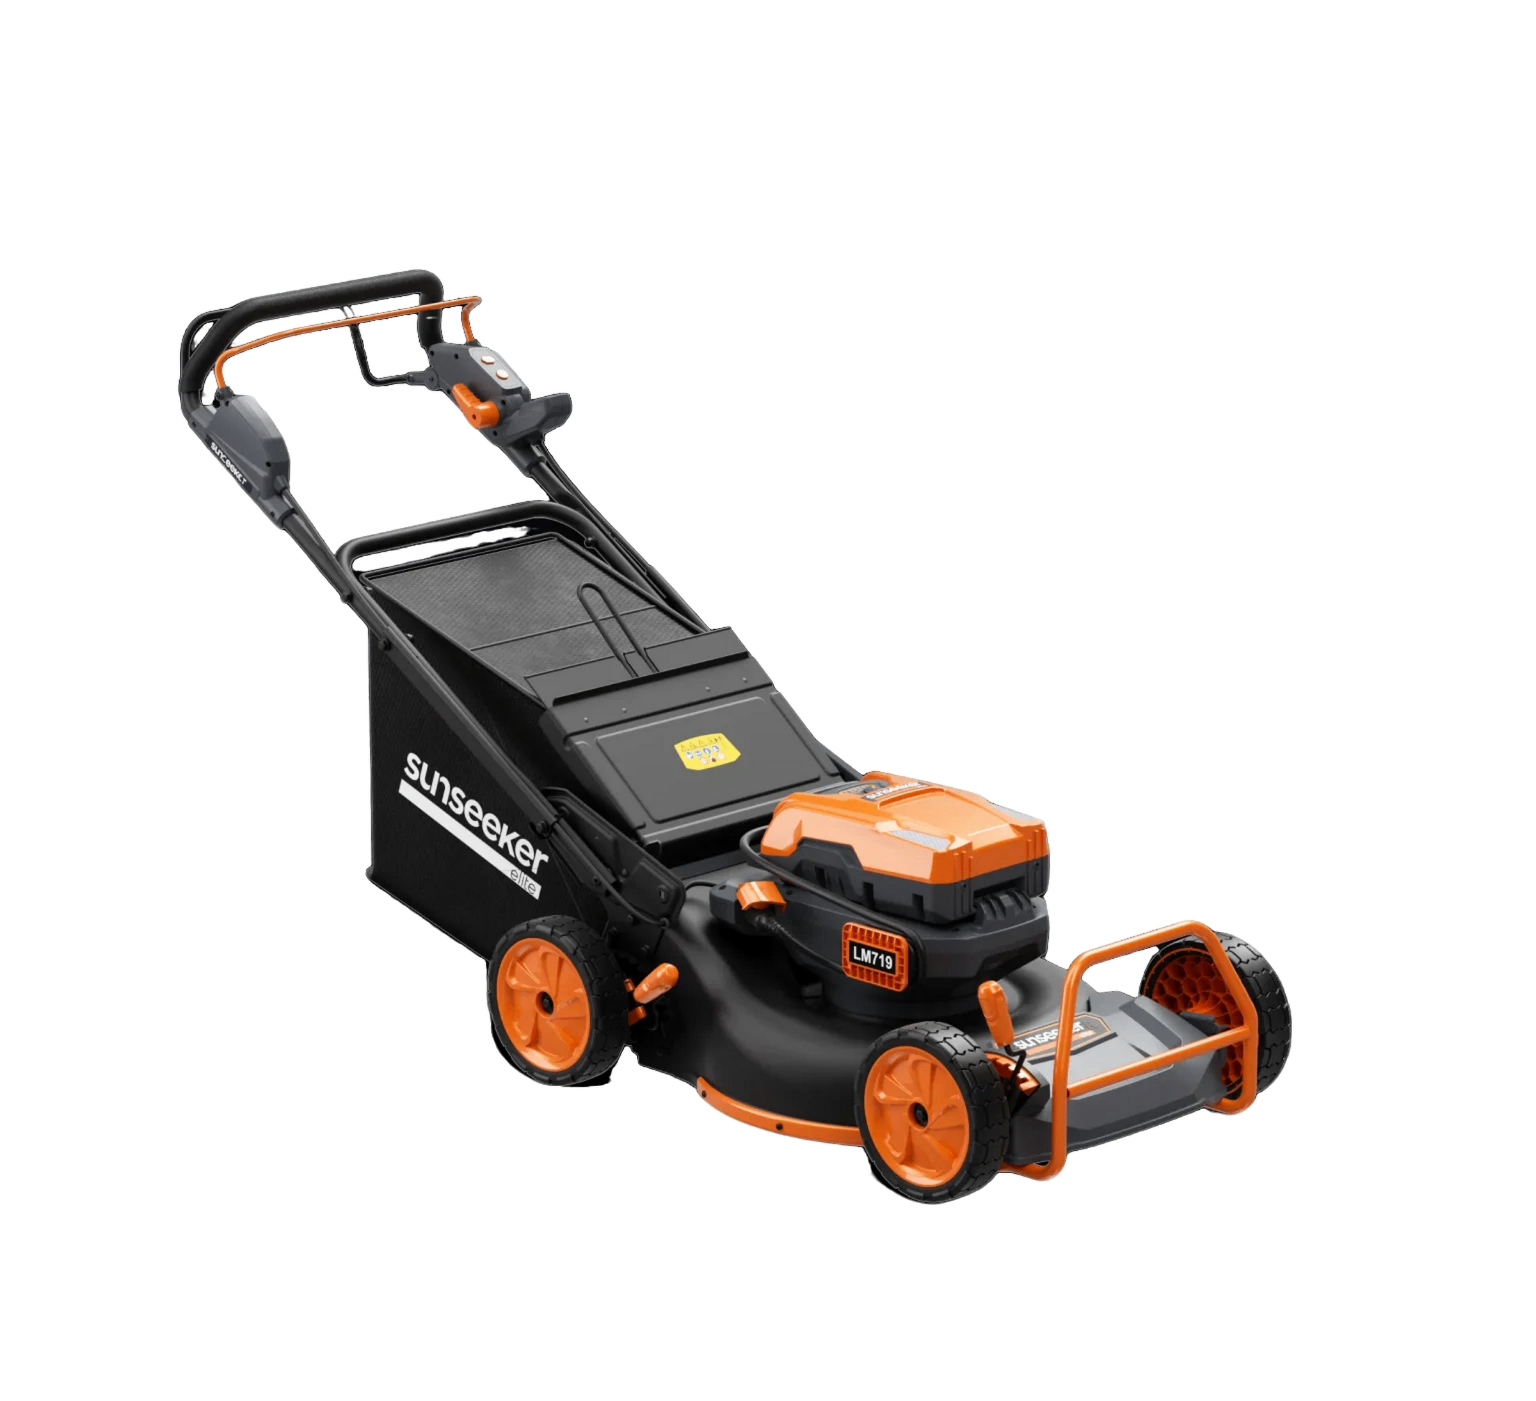
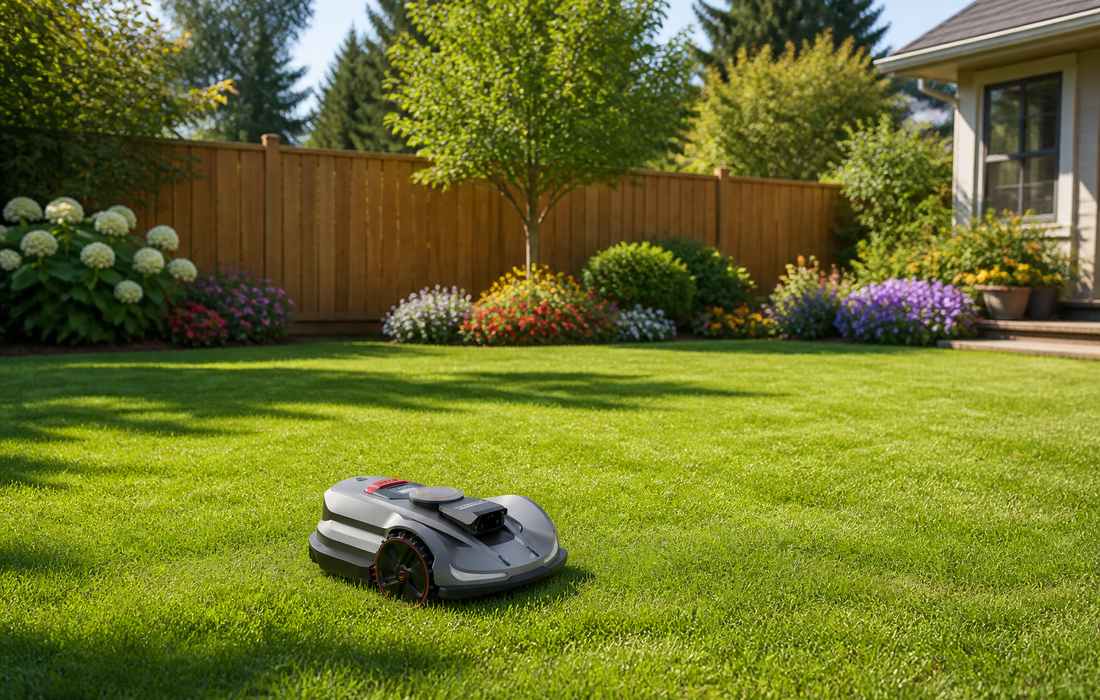
For larger yards, the Sunseeker Elite X7 Plus Gen 2 offers electronic cutting-height adjustment from 0.8 to 4 inches and all-wheel drive, making it easier to maintain regular mowing across established lawns with varied terrain.