















Uneven areas in your lawn can cause several problems, from puddles forming after rain to grass being cut too short when the mower passes over raised edges. You may also notice shallow dips collecting fallen leaves and grass clippings. Some low spots develop naturally as the soil settles, while others result from decaying tree stumps, leaking irrigation pipes, poor drainage, or soil being washed away near downspouts.
Understanding what caused the low spot will help you choose the right repair method. Shallow depressions can often be raised gradually without removing healthy grass, while deeper areas require more work to avoid burying the turf or creating soft soil that sinks again. This guide explains how to fill low spots in your lawn, choose suitable materials, and restore an even surface.
What Should You Check Before Filling Lawn Low Spots?
Before filling low spots, check their depth, size, and possible causes rather than focusing only on making the lawn look level. Understanding how the depression formed can help you avoid repeated repairs, especially when drainage problems or underground equipment are involved.
- Measure the depth and area. Place a straight board across the depression and measure the distance between the underside of the board and the lowest point. Record the length and width to estimate how much filling material you need.
- Check whether the area is still sinking. A depression that becomes deeper after each rainfall may indicate soil erosion, a leaking pipe, decaying roots or stumps, or a poorly compacted construction trench. Identify and correct the cause before leveling.
- Watch how water drains. Check whether water disappears within a reasonable time or remains for hours after nearby areas have dried. Filling a depression without fixing the drainage problem may simply move the puddle elsewhere.
- Locate irrigation lines and buried utilities. Identify sprinkler heads, valve boxes, shallow irrigation pipes, and utility routes before digging. In the United States, contact 811 before excavation that could reach underground utilities.
- Examine the surrounding grass. Healthy turf in shallow areas can often remain in place during topdressing. However, dead grass, exposed soil, or depressions several inches deep may require lifting or replacing sod.
Use a straight board to compare the depression with the surrounding lawn. If the low spot is near a building or drainage inlet, make sure the repair preserves the existing slope and intended direction of water flow.
What Material Should You Use to Fill Lawn Low Spots?
The best material for filling low spots depends on your existing soil and the depth of the depression. Shallow areas can usually be repaired with screened topsoil or a compatible mixture of topsoil and compost. Deeper areas require clean filling material that can be added and firmed in layers.
For light topdressing, choose fine, screened soil that can settle between the grass blades. A material with a texture similar to or slightly coarser than your existing soil will generally blend more easily. Pure sand is not suitable for every clay soil, while a topsoil-organic mixture may be more appropriate when you need to raise the surface and improve soil structure.
Deeper depressions require clean, screened topsoil without stones, construction debris, or fresh manure. Before replacing the sod, correct any existing soil compaction so the repaired area has a suitable base.
You should also calculate how much material is needed before ordering. For a depression with a uniform depth, use this formula: Cubic yards = square feet × average depth in inches ÷ 324. For example, a 100-square-foot area that is 1 inch deep requires approximately 0.31 cubic yard of material, while a 2-inch depth requires about 0.62 cubic yard. For uneven depressions, divide the area into smaller sections and avoid applying thick layers over living grass.
How Do You Fill Low Spots in a Lawn Step by Step?
Filling low spots involves measuring the depression, preparing the grass and soil, adding suitable material, and restoring the lawn afterward. The method depends on the depth: shallow areas can be filled gradually while leaving the grass in place, while deeper depressions may require lifting the sod to repair the soil underneath.
Step 1. Mark the Areas to Level
Start by identifying the edges of each low spot and marking them with small flags or landscape paint. Place a straight board across the depression and measure its depth at several points rather than checking only the center. Record the average depth and identify the highest part that still needs filling. This helps you add the right amount of material without raising areas that are already at the correct height.
Step 2. Prepare the Existing Turf
For shallow low spots, mow the grass at its normal height and clear away loose leaves, sticks, and clumps without disturbing the healthy turf. However, if the depression is deep enough that filling it would cover most of the grass blades, use a sharp spade to cut around the sod and carefully lift it. You can roll the sod back or keep it shaded and moist while preparing the soil underneath. Before continuing, check for roots, irrigation components, buried debris, or leaks that may have caused the depression.
Step 3. Add the Leveling Mix
Shallow depressions should be filled gradually with approximately 1/4 to 1/2 inch of material per application. Use a flexible rake or leveling lute to spread the soil between the grass blades. For deeper areas, add clean topsoil in thin layers, gently firming each layer so it can support the replaced sod without becoming excessively compacted. Avoid using a heavy roller on wet soil, as this may increase compaction and create additional problems.
Step 4. Rake the Surface Level
Once the filling material is in place, spread it evenly across the depression using a straight rake or leveling tool. Blend the edges into the surrounding lawn to prevent noticeable ridges. If you removed the sod, leave enough space for its thickness so it sits level with the surrounding grass when replaced. Check the surface from two directions and make sure water can still flow toward the intended drainage outlet.
Step 5. Restore Grass Cover
After applying a thin layer of topdressing, gently brush the grass blades upright so at least three-quarters of each plant remains exposed to sunlight. If you previously lifted the sod, return it to its original position, fit the edges closely together, and press it against the prepared soil. For areas where the original grass is dead or severely damaged, plant matching grass seed or lay new sod according to the grass type and season. However, reseeding is unnecessary when healthy sod can be returned intact.
Step 6. Water the Repaired Area
Water the repaired area enough to settle the soil and moisten the roots without creating runoff or another puddle. Replaced sod needs close contact with moist soil while its roots establish, while newly seeded areas require consistently moist surface soil during germination. As the roots develop, gradually reduce watering and return to a deeper, less frequent schedule suited to your grass and soil.
What Mistakes Should You Avoid When Filling Low Spots?
Some lawn leveling repairs fail because too much material is added at once or the original cause of the depression is never corrected. To avoid repeating the same work, watch for these common mistakes.
- Burying grass blades. Adding too much topdressing at once blocks sunlight and can smother healthy grass. Instead, raise shallow depressions gradually using layers approximately 1/4 to 1/2 inch thick.
- Using pure sand without checking the soil. Sand does not solve every clay soil problem, and materials with different textures may form separate layers rather than blending with the existing soil.
- Filling over drainage problems. Leaking irrigation lines, downspout discharge, or continuous runoff can cause the same depression to develop again.
- Rolling wet soil too heavily. Excessive rolling can compact the soil and make drainage problems worse.
- Covering sprinkler heads or valve boxes. Keep irrigation components accessible and at the correct height after leveling.
- Ignoring continued sinking. If the repaired area keeps settling, investigate the cause rather than repeatedly adding more soil without solving the underlying problem.
How Do You Check the Lawn After Filling Low Spots?
Check the repaired area after watering and again within 1 to 2 weeks to see whether the soil has settled. Place a straight board across the surface to identify any remaining uneven areas.
Rainfall provides another opportunity to check whether the repair is working. If puddles continue forming in the same place, examine the slope and drainage instead of simply adding more soil. For replaced sod, make sure the edges remain closely fitted and check whether the grass begins resisting a gentle pull as its roots establish. For newly seeded areas, watch for even grass growth and limit foot traffic until the roots have developed.
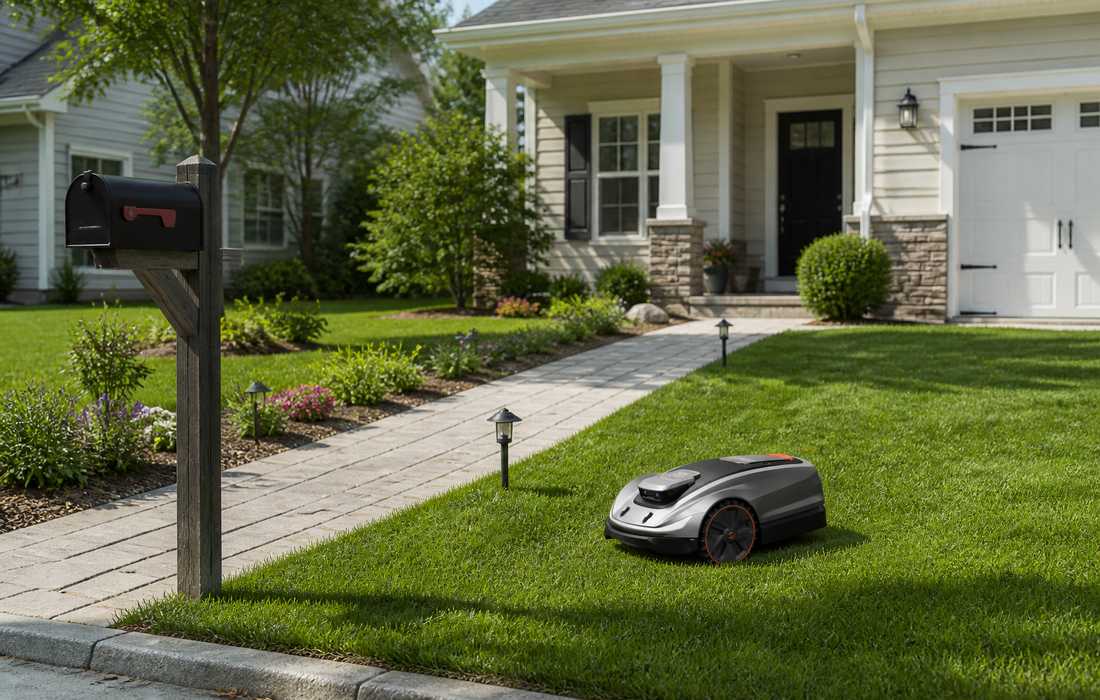
Once the repaired sod has rooted or the new grass is established, regular mowing can help the area blend with the rest of the lawn. The Sunseeker Elite X5 supports this routine with a floating cutting disc that follows lawn contours and an all-wheel-drive (AWD) system rated for slopes up to 60% (30 degrees). These features help it maintain established grass across uneven ground.