







FAQs
8/20/2026
Contents
Products
Residential Lawns




Explore
Where to Buy


To adjust sprinkler heads effectively, run a short test cycle to identify overspray on pavement or dry zones. Use a flathead screwdriver or rotor key to fine-tune the arc and radius by making small, quarter-turn increments. Ensure every head sits level and clears the grass height. Achieving head-to-head coverage minimizes waste and prevents patchy growth by delivering water directly to the root zone.
Uneven watering often shows up before the sprinkler system seems obviously broken. One part of the lawn may stay dry while another gets too much water, or a spray head may start hitting the sidewalk after soil movement, mowing, or seasonal wear.
Knowing how to adjust lawn sprinkler heads helps bring the spray back where it belongs. In this blog, you’ll learn how to spot coverage problems, check spray direction and distance, make simple adjustments, and keep water landing evenly across the lawn.

Sprinkler systems are not "set and forget" equipment; seasonal soil shifts and routine yard work can easily knocked them out of alignment. The following signs indicate that your irrigation system requires a manual tune-up:
Before reaching for tools, you must determine if the issue is a simple alignment problem or a mechanical failure. Use this diagnostic guide to choose the right fix for your sprinkler’s symptoms:
Overspray usually means the head is aimed poorly, the arc is too wide, or the nozzle throws water farther than the lawn needs. For fixed spray heads, rotate the stem or adjust the nozzle pattern so the spray stops at the lawn edge. For rotors and impact heads, reduce the arc or radius gradually. Avoid shutting the spray down so far that nearby grass loses coverage.
A weak spray can point to clogged nozzles, low pressure, a partly closed valve, or too many heads on one zone. Remove dirt around the head, clean the filter screen, and rinse the nozzle. If several heads in the same zone are weak, check the valve, pressure, and possible pipe leaks before replacing individual heads.
Rotors and impact heads can stop moving when grit gets inside the mechanism or water pressure drops. Pop-up heads may stay low when grass blocks the riser, soil presses against the body, or the spring wears out. Clean around the head first. If the body is cracked, the riser sticks after cleaning, or the head leaks at the base, replacement is usually better than repeated adjustment.
Most sprinkler head adjustments are small jobs, so you do not need a large tool kit. Keep the zone off while you loosen parts, then run short tests after each correction. The exact tool depends on the head style and brand, so check the top cap or product label if you are unsure.
Wear eye protection when testing heads at close range. If you are adjusting a zone near a driveway or walkway, keep people clear during test cycles because rotor and impact streams can be stronger than they look.
Each sprinkler type has unique adjustment points for controlling how far and where the water travels. Follow these steps to calibrate your specific head types for maximum efficiency:
Fixed spray heads produce a fan-shaped pattern and are common along small lawns, strips, and curved planting edges. First, lift the stem gently and clear dirt around the nozzle. Rotate the stem or nozzle so the pattern lines up with the lawn edge. If the throw is too far, turn the radius screw slightly clockwise, usually no more than a quarter turn at a time. If the pattern is wrong, replace the nozzle with a quarter, half, three-quarter, or full-circle pattern that matches the area.
Rotor heads move slowly across a larger area, so they need both direction and distance checks. Set the fixed left or right stop first, depending on the model. Then use the rotor key to adjust the arc so the stream stops at the correct edge of the lawn. Many rotors also have a radius screw that breaks up the stream and shortens the throw. Make small changes and watch a full rotation before judging the result.
Impact heads use a swinging arm and trip collars to control the spray path. Move the collars closer together for a smaller arc or farther apart for a wider arc. Flip the trip lever up if you want full-circle operation. If the stream is too long, use the diffuser screw to soften or shorten it. Clean grit around the arm if the head chatters, sticks, or rotates unevenly.
After adjusting each head type, run the zone long enough to see the pattern overlap. A good target is head-to-head coverage, meaning one sprinkler reaches near the next sprinkler instead of leaving a dry gap between them. Place a few straight-sided cups or tuna cans around the zone and run the system for 10 to 15 minutes. If one cup collects much more water than another, fine-tune the nearby heads or run time.
Sprinkler adjustment is not only about changing the spray angle. Some problems need cleaning, leveling, or replacement before the head can perform correctly. Use this checklist when a simple turn of the nozzle does not solve the issue.
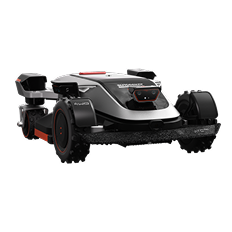
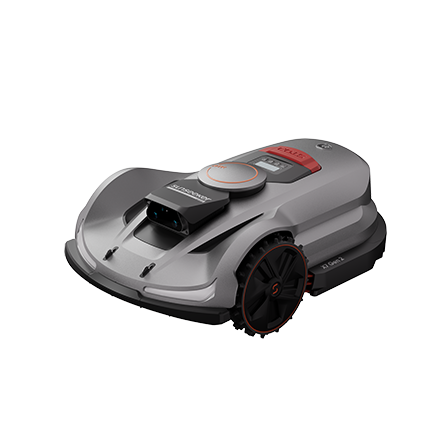
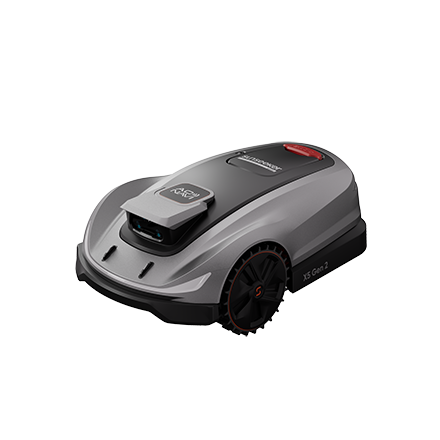
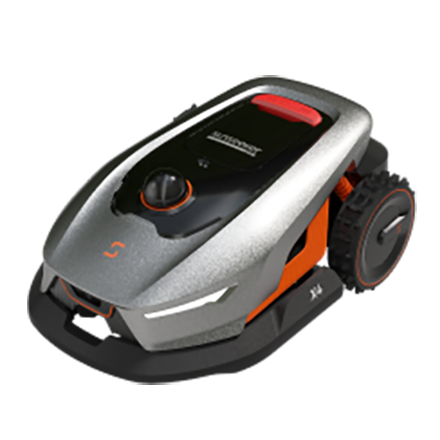
Sprinkler work and mowing routines often affect each other. Tall grass can block low spray heads, and uneven watering can leave soft patches that scalp more easily. After the irrigation pattern is tuned, maintaining a clean, even mowing routine helps the lawn respond better. Sunseeker Elite X7 Plus Gen 2 supports AWD traction, smart path planning, and electronic cutting height adjustment, which can help keep established turf consistently trimmed across larger or uneven areas while you focus on irrigation accuracy.
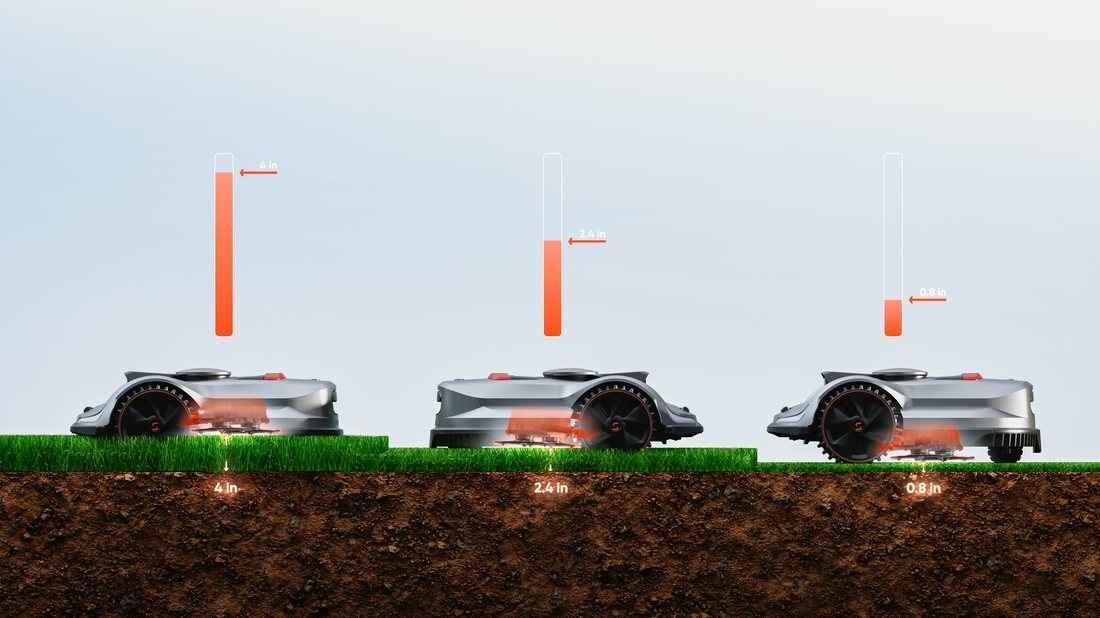
Good sprinkler adjustment starts with observation, not guesswork. Run each zone, mark dry or oversprayed areas, clean clogged nozzles, and adjust fixed spray, rotor, or impact heads in small steps. Once the water pattern is balanced, your lawn can absorb moisture more evenly and recover with less waste. For long-term lawn care, pairing efficient irrigation with steady mowing habits and suitable tools such as AWD Robotic Mowers can help keep established grass healthier through the season.
Run the zone briefly and find the heads spraying outside the lawn or missing dry spots. For fixed spray heads, rotate the nozzle or stem and adjust the radius screw. For rotor heads, set the stop point and arc with the proper key. Make small changes, then test the zone again.
A sprinkler head may stop rotating because grit is trapped in the mechanism, water pressure is too low, the filter is clogged, or the internal gear is worn. Clean the head and nozzle first. If it still sticks after cleaning and pressure checks, replacing the rotor is usually the more reliable fix.
Sprinkler heads do not need replacement on a fixed schedule. Many last 5-10 years or longer if they are protected from mower damage and hard-water buildup. Replace a head when it leaks, sprays unevenly, will not pop up, or no longer rotates correctly. Clean clogged nozzles first, because many performance problems can be fixed without replacement.