FAQs
12/30/2025
Contents


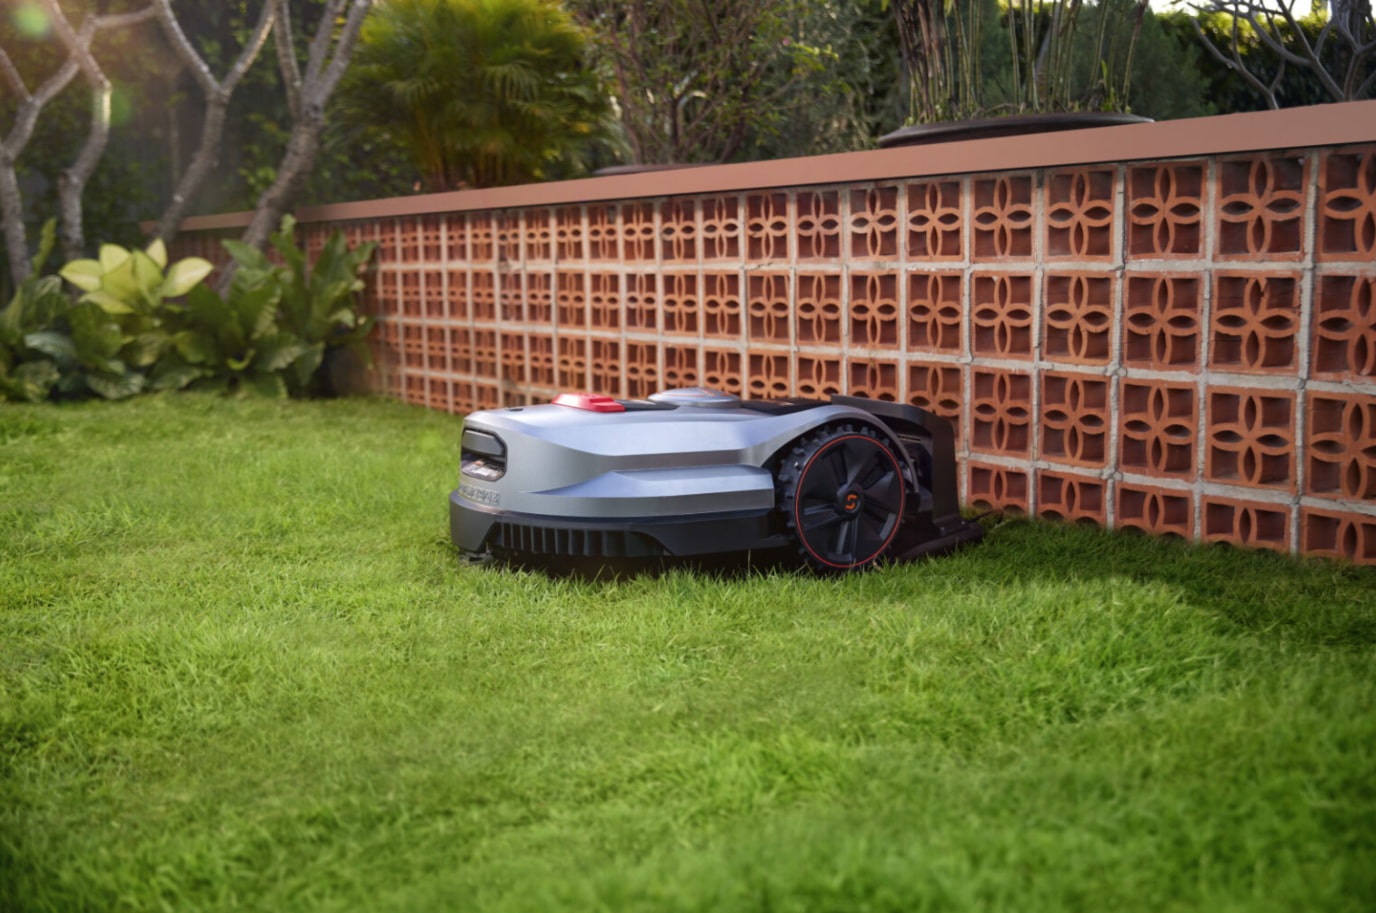
Your robot mower dutifully trims your lawn week after week, rain or shine. But when its work is done, where does it go? While these machines are built to withstand the elements, leaving them fully exposed year round might not be the best long term strategy. A dedicated garage or shelter isn’t just a luxury box. It can be a practical upgrade that protects your investment and ensures reliable operation. Lets explore whether adding a home for your robotic helper is a smart move for your garden.
Understanding what a garage actually does for your mower helps clarify its value. The benefits extend beyond simple storage.
Even weather resistant mowers face constant exposure. A garage provides a first line of defense against the suns ultraviolet rays, which can fade and degrade plastic housings over time. It shields the mower and its charging station from driving rain, snow, and ice, preventing water from pooling in sensitive areas.
This consistent, dry environment helps preserve the battery's health and protects delicate electronic components inside the mower and the base station, potentially adding years to their operational life.
One of the most immediate benefits is cleaner, more reliable charging. When the charging contacts on both the mower and the dock are exposed, they can accumulate moisture, morning dew, dirt, or even light corrosion. This can lead to failed docking attempts or interrupted charging cycles.
A garage keeps these metal contacts clean and dry, ensuring that your mower successfully connects every time it returns to base. This means a fully charged mower is always ready for its next scheduled job, with no manual intervention required.
Lets be honest, a robot mower and its charging station are functional, not always decorative. A well designed garage neatly tucks this equipment away, eliminating visual clutter from your patio or garden. It transforms your mower from a visible piece of tech into a discreet part of your landscaping.
Furthermore, it organizes the space, keeping power cables contained and providing a designated spot that prevents the unit from being an obstacle or a trip hazard in your yard.
If you’ve decided a garage is worthwhile, your next decision is how to acquire one. You have three main paths, each with its own merits.
Building your own garage is the ultimate in customization. You can design it to perfectly fit your mowers dimensions, with extra space for tools or accessories. You control the materials, allowing you to match your garden shed or house siding for a cohesive look.
In terms of cost, a DIY project using wood or basic metal can be very economical, often costing less than a pre-made option. This route is ideal for homeowners who enjoy hands on projects and want a perfect, personalized fit.
Most major robot mower manufacturers offer their own branded garages or covers. For example, you can click here to view the Sunseeker X-series Sunproof Garage. The primary advantage is guaranteed compatibility. These garages are designed specifically for your model, with precise cutouts for the mower to enter and exit, and often integrate neatly with the charging station.
Installation is typically tool free or very simple, taking just minutes. The trade off is a higher price tag and less flexibility in design or size compared to a DIY solution.

Sunseeker X-series Sunproof Garage
The market also offers generic third party shelters designed to fit a range of mower sizes and brands. These products, often made from durable plastic or coated fabric, strike a balance.
They are more affordable than branded accessories and require less effort than a full DIY build. They provide good basic protection from sun and rain. When choosing this option, carefully check the internal dimensions against your mower and charging station to ensure a proper fit.
For the DIY enthusiast, building a simple garage is a straightforward weekend project. Following a clear plan leads to a durable and functional result.
Start by measuring your equipment. Note the mowers height, width, and length, and do the same for the charging station.
Add at least 10 to 15 centimeters of clearance on all sides for easy access. Sketch a simple design a slanted roof (shed style) is easiest to build and ensures water runoff. Choose a location that is level, has good drainage, and crucially, does not block the navigation signal for your mower. Proximity to a power outlet is also a must.
Following these structured steps will help you build a sturdy, weather-resistant shelter that won't interfere with your mower's navigation.
Step 1: Material Selection
The key is to use materials that do not block navigation signals. Choose wood, treated plywood, or plastic/polycarbonate sheets. Avoid solid or thick metal roofing, as it will interfere with GPS/RTK signals, preventing your mower from finding its way home.
Step 2: Build the Base and Frame
Foundation: Start on level ground. You can use a simple wooden pallet, pressure-treated lumber skids, or even concrete pavers to create a stable, raised base that keeps the structure off damp grass.
Frame: Construct a strong frame from 2x4 or 2x2 lumber for the walls and roof supports. Use a level and square to ensure everything is perfectly plumb and true for a stable structure.
Flooring: Add a floor inside the frame. Use deck boards, plywood, or a PVC mat. This provides a clean, stable surface for the mower and protects it from wet ground.
Step 3: Walls and Roof Assembly
Walls: Attach your wall material—such as OSB, siding, or shiplap—to the frame, creating a three-sided "U" shape to leave the front open for access.
Roof Frame: Build and install roof rafters. Ensure the design includes an overhang of at least 5 cm (2 inches) on all sides to help protect the walls from rain runoff.
RoofingMaterial: Affix your chosen roofing. Thin treated wood, roofing felt with shingles, or clear polycarbonate/plastic panels are excellent choices that provide protection without disrupting satellite signals. For easier maintenance, consider attaching the roof with hinges for quick access to the mower and charging station.
Seal and Protect: Apply a high-quality exterior sealant to all seams and joints to prevent water ingress. Finish by painting or applying a wood preservative to all exterior surfaces for long-term durability.
Once the basic structure is complete, personalize it to suit your taste. You can enhance its appearance with decorative elements to seamlessly blend the garage into your garden setting.
For added functionality, consider installing interior organizers like a small shelf for replacement blades or hooks to neatly store boundary wires. The final crucial step is to ensure the charging cable is safely routed from the power source to the dock, allowing for unobstructed and reliable docking and undocking of your mower.
Before you build or buy, a few practical checks will ensure your garage project succeeds without creating new problems.
The level of protection you need depends on your weather. If you experience intense sun, prioritize UV resistant materials. In areas with heavy rain or snow, ensure your design has a steep enough roof pitch to shed precipitation and is made from thoroughly waterproofed materials. In windy regions, you may need to anchor the garage securely to the ground or a heavy base.
A garage that blocks your mower's navigation is counterproductive. For models using GPS or RTK systems, avoid roofing materials like solid metal that can interfere with satellite signals.
The garage's placement must provide a clear, unobstructed path for the mower to approach and dock with its charging station without requiring sharp turns or navigating tight spaces. Always perform multiple docking tests after positioning the garage to confirm the mower can operate flawlessly.
Proper air circulation is a critical yet often overlooked element. Good ventilation prevents heat and moisture from building up inside the enclosure, which is particularly important in sunny climates to protect sensitive electronics and battery health.
Incorporate vents near the peak of side or rear walls—using materials like metal mesh or louvered covers—to allow hot air to escape while keeping insects and debris out. This simple feature significantly extends the lifespan of the equipment stored inside.
View your garage as a long-term asset that requires minimal but consistent care. Establish a simple maintenance routine: inspect the structure semi-annually for loose fasteners or weather damage, clear debris from the roof and surrounding area, and reapply protective coatings like paint or sealant as needed. Proactive upkeep prevents minor issues from becoming major repairs and ensures your DIY garage remains functional and attractive for many seasons.
A robot mower garage is not an essential item, but it is a thoughtful upgrade that offers clear benefits in protection, reliability, and aesthetics. Whether you purchase a sleek branded cover, a practical third party shelter, or take pride in building your own, you are making a decision to care for the machine that cares for your lawn.
By considering your specific needs, climate, and skills, you can choose the option that brings you the most value and peace of mind, keeping your Sunseeker Robot Mower safe, charged, and ready for action.
The simplest design is a three-sided, open-front box with a slanted roof. Use pressure-treated lumber for the frame, attach plywood or corrugated plastic for walls and roof, and elevate it on pavers. This provides basic sun and rain protection without complex construction.
Yes, absolutely. For wired systems, simply ensure the garage design accommodates the wire path. Create a small, protected channel or gap at the base for the wire to enter without being pinched or damaged by the structure.
Yes, with proper materials and construction, a DIY garage can provide equal protection. Use weather-resistant lumber, ensure a waterproof roof, and include ventilation. While branded garages offer seamless design, a well-built DIY shelter can match durability and often allows better customization for climate challenges.