FAQs
5/18/2026
Contents


The carburetor on a push mower is often positioned behind the air filter on the engine and connected to the fuel line. This part controls the air and fuel balance for smooth operation. If the mower has trouble starting or runs unevenly, the carburetor is often the issue, and severe wear may require replacement.
When your push mower won’t start or runs poorly, one of the first things you need to do is locate the carburetor. However, many people are not sure where to begin or what they are looking for. So, where is the carburetor on a push lawn mower exactly, and what does it do? In this guide, we will answer these questions and introduce the common signs of trouble. You can also learn how to clean it properly step by step, and when it’s time to replace your carburetor for a smoother experience.
The carburetor is the heart of a gas-powered push lawn mower’s engine. It mixes the right ratio of air and fuel for efficient combustion. As the engine runs, the carburetor adjusts this mixture based on load, speed, and temperature to ensure reliable power delivery to the blade.
Without a properly functioning carburetor, your mower may struggle to start, run unevenly, or consume excessive fuel. Modern push mowers use simple float-bowl or diaphragm carburetors designed for small engines. It’s crucial to keep it clean to prevent varnish buildup from stale fuel, which is also a common problem after winter storage.
On most push (walk-behind) lawn mowers, the carburetor is located on the side or top of the engine, just behind the air filter and above the mower’s base. It is usually a silver or black metal rectangular component connected to the fuel line from the gas tank.
Here’s how to find the carburetor on a push mower.
Step 1: Turn off the mower, allow the engine to cool, and disconnect the spark plug wire to prevent accidental starting so you can safely inspect the engine components internally.
Step 2: Locate the air filter housing, which is usually a plastic cover on the side or top of the engine, secured with clips or screws for easy removal.
Step 3: Remove the air filter cover and take out the filter element, then unscrew or unclip the housing to expose the carburetor behind it.
Step 4: Identify the carburetor. It is usually a small metal component connected to the fuel line, mounted to the engine, and linked with throttle and choke control cables.
Step 5: Trace the fuel line from the gas tank to the carburetor. Take photos of all connections before removing any parts to ensure correct reassembly later.
Now that you know where the carburetor is on a push mower , it’s also important to recognize the warning signs of problems so you can fix them early and avoid further engine damage.
Over time, old fuel breaks down and forms varnish and deposits that clog the carburetor’s tiny jets and passages. A proper cleaning can remove these blockages and restore smooth operation.
Before everything else, here’s the equipment needed:
When you have the equipment ready, make sure to work in a well-ventilated area and follow the steps below.
Step 1. Prepare the mower safely
Use gloves and safety glasses for protection, then park the mower on a flat surface. Disconnect the spark plug wire, and drain fuel using clean rags or paper towels to prevent spills and fire risks.
Step 2. Access the carburetor
Remove the air filter cover using screwdrivers, take out the filter, then unbolt the housing with a socket or wrench set. Place small parts into a small container for parts to avoid loss.
Step 3. Remove the carburetor
Disconnect the fuel line using needle-nose pliers, then detach throttle and choke linkages. Loosen mounting bolts with a socket or wrench set. Carefully remove the carburetor while keeping it steady and supported.
Step 4. Disassemble the carburetor
Use screwdrivers to open the float bowl. Remove the float, needle valve, and gasket. Store all components in the small container to keep them organized.
Step 5. Clean all components
Spray carburetor cleaner into jets and passages. Use clean rags or paper towels for wiping exterior parts. Apply compressed air (if needed) to clear stubborn debris from internal channels.
Step 6. Inspect parts
Check all components for wear or damage; make sure to handle them with gloves and safety glasses. Replace worn gaskets or damaged parts before reassembly to ensure proper sealing and fuel flow.
Step 7. Reassemble and reinstall
Rebuild the carburetor and tighten bolts with a socket or wrench set. Reconnect fuel lines with needle-nose pliers, reinstall the air filter housing, and ensure all parts are secured properly.
Step 8. Test the mower
Reconnect the spark plug wire, add fresh fuel, and start the engine. Use clean rags or paper towels to wipe any leaks and confirm smooth operation under load.
If cleaning does not resolve the problem, or if the carburetor shows cracks, severe corrosion, or damaged internal components, replacement often becomes the most practical option. In many cases, it can be more cost-effective to install a new carburetor, especially when multiple small parts no longer function properly.
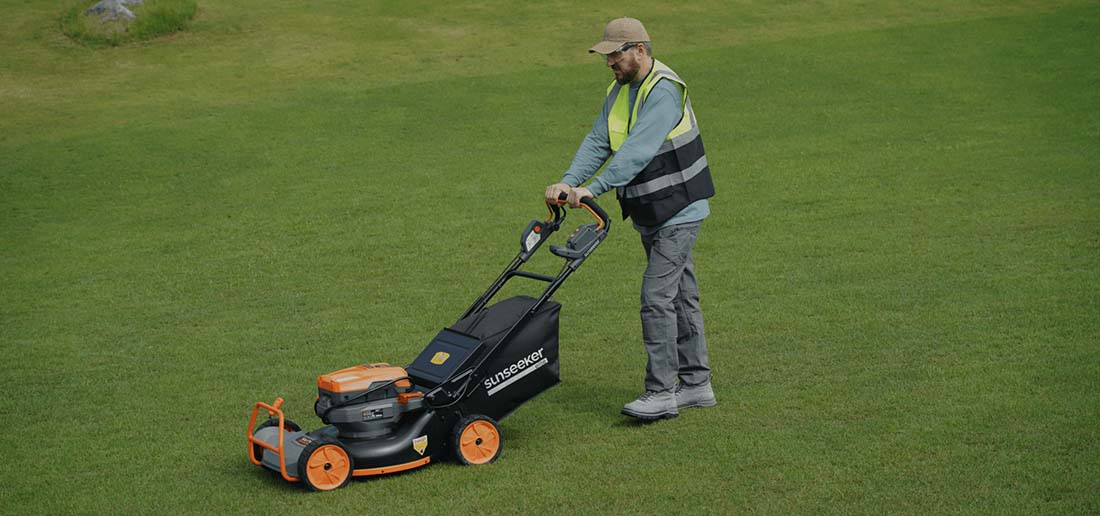
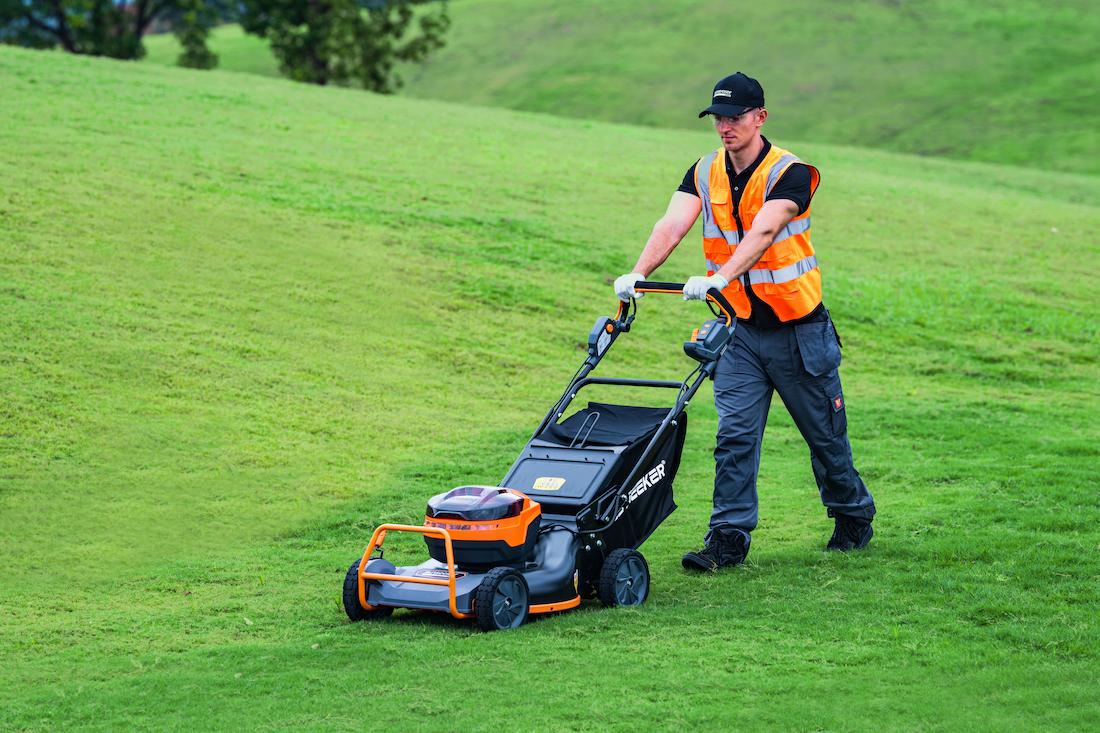
For users who want to avoid carburetor-related issues, the Sunseeker Elite Lawn Mower (Plug-in Connect) , is a strong option. This 60V cordless electric mower delivers consistent cutting power without fuel systems or engine maintenance. It also features adjustable cutting height, a dual-blade system, and plug-in charging for precise and efficient mowing every time.
If you want an even more convenient approach, robot lawn mowers offer hands-free operation and consistent results. These eliminate the need for carburetor maintenance entirely. They also provide quiet operation, automatic scheduling, and smart navigation, which saves time and improves overall mowing efficiency.
Where is the carburetor on a push mower? Generally, it’s located near the engine, attached to the air filter housing, where it mixes fuel and air for combustion. With the proper steps, you can handle basic maintenance and avoid costly repairs. If you want to eliminate carburetor-related problems altogether, it may be time to switch to battery-powered models. Sunseeker offers advanced, high-performance mowers for both home and professional use. Explore its range and upgrade your lawn care routine with less effort and greater reliability.
A clogged carburetor often causes hard starting, stalling shortly after startup, sputtering, black exhaust smoke, or the engine only running with the choke engaged. Poor acceleration and higher fuel use are also common indicators. Remove the air filter housing for inspection; if jets are blocked with varnish or debris, it definitely needs cleaning.
You can spray carburetor cleaner directly into the air intake when the engine is running or through accessible ports. This may clear minor buildup. However, for deeper clogs, it’s better to remove and clean the carburetor thoroughly, which is much more effective and ensures long-term performance.
WD-40 is not ideal as a primary cleaner because it can leave behind residue inside the carburetor. Use a dedicated carburetor cleaner designed for small engines, as it dissolves varnish and gum effectively without harming components. WD-40 may help loosen stuck linkages externally, but it’s never suitable for heavy internal use.
Generally, it’s recommended to clean the carburetor at least once a year, preferably before the mowing season or after winter storage. You can perform frequent cleaning, about every 50-100 hours, if you use ethanol-blended fuel or store the mower with fuel in the tank. To effectively prevent most starting and performance issues, regular maintenance is necessary.