



FAQs
7/17/2026
Contents
Products
Residential Lawns




Explore
Where to Buy


Most homeowners don't need to dethatch every year, but when thatch exceeds half an inch, the lawn starts to suffer in ways that watering and fertilizing can't fix. Knowing what a dethatcher does and which type fits your situation helps you act at the right time without unnecessary work.
If your lawn feels spongy underfoot, dries out quickly, or looks weak even after regular mowing and watering, thatch may be part of the problem. Thatch is a layer of dead grass, roots, and organic material that builds up between the soil and the green grass blades. A thin layer is normal, but too much can block water, air, and nutrients from reaching the roots.
That is where a dethatcher comes in. This guide explains what is a dethatcher for lawn, how it works, when your lawn may actually need one, and how to use it carefully without causing extra stress to the grass.
A dethatcher is a lawn care tool that removes thatch, the layer of dead and living organic matter (grass stems, roots, and debris) that builds up between the soil surface and the green grass above. At depths under 0.5 in, thatch is beneficial: it moderates soil temperature, reduces moisture loss, and cushions the turf surface. Once it exceeds 0.5–0.75 in, it starts blocking water, oxygen, and nutrients from reaching the root zone. When thatch reaches that level, a dethatcher is how you clear it.
In physical terms, what is a lawn dethatcher? It's a machine or hand tool with tines, blades, or flails that penetrate the turf surface, cut through the thatch layer, and pull the debris up to the surface where it can be raked away.
The term covers several distinct tool types. A lawn dethatcher in the consumer sense typically refers to a spring-tine machine suited to routine thatch management. Power rakes and vertical mowers are related but distinct, not perfectly interchangeable, and are covered in the next section.
The action and aggressiveness vary significantly by tool type. Matching the right tool to the thatch depth matters as much as timing.
Manual dethatching rake. Uses angled, spring-loaded tines to hook into the thatch and pull debris toward the user. Physically demanding but precise and inexpensive. Best for small areas, tight spaces, or spot treatment of light thatch under 0.5 in.
Electric or battery-powered dethatcher. Uses rotating spring tines driven by a motor. Gentler than blade-based tools and better suited for light to moderate thatch under 0.75 in. Best for small to medium lawns with routine thatch buildup.
Tow-behind dethatcher. Attaches to a riding mower or ATV and covers ground quickly using spring tines. Best for large lawns with moderate thatch where a walk-behind model would take too long.
Power rake. Uses a rotating drum fitted with rigid flails or blades that aggressively cut through dense thatch. Significantly more powerful than spring-tine dethatchers and can remove up to four times more material per pass. Typically rented rather than purchased. Best for heavy thatch over 0.75 in, neglected lawns, or pre-renovation preparation. Use with caution: aggressive settings can damage healthy grass and roots.
Vertical mower (verticutter). Makes deep vertical cuts into the thatch and sometimes into the soil surface. The most aggressive option, reserved for intensive lawn renovation rather than routine maintenance.
Tool Type | Thatch Depth | Best For |
Manual rake | Under 0.5 in | Small areas, spot treatment |
Electric/battery dethatcher | 0.5–0.75 in | Small to medium lawns, routine maintenance |
Tow-behind dethatcher | 0.5–0.75 in | Large lawns with a riding mower |
Power rake | Over 0.75 in | Heavy buildup, neglected lawns, pre-renovation |
Vertical mower | Severe / renovation | Full lawn renovation, reseeding prep |
Once debris is pulled to the surface, it needs to be raked up and removed. The volume can be substantial on lawns with significant buildup. A lawn vacuum speeds up this step significantly compared to hand raking, especially after power raking or vertical mowing where the material volume is highest.
The most reliable test is physical: cut a small plug or wedge from the lawn and measure the brownish, spongy layer between the soil and the green grass blades. If it measures more than 0.5 in, dethatching is worth considering. Over 0.75 in, it's actively limiting the lawn's ability to absorb water and nutrients.
Signs that thatch may be excessive:
Not every lawn needs annual dethatching. Part of understanding what is dethatcher lawn care involves knowing which grass types are prone to buildup. Grasses that spread through stolons or rhizomes, Bermuda, zoysia, Kentucky bluegrass, and creeping bentgrass, build thatch faster than clump-forming types like tall fescue and perennial ryegrass. Heavy nitrogen fertilization and excessive irrigation accelerate buildup.
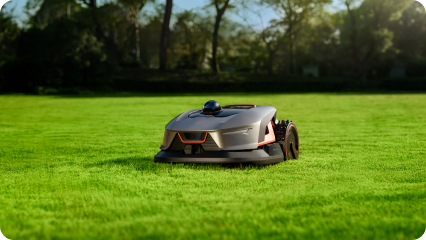
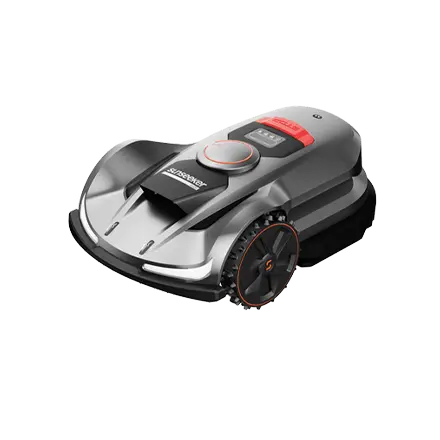
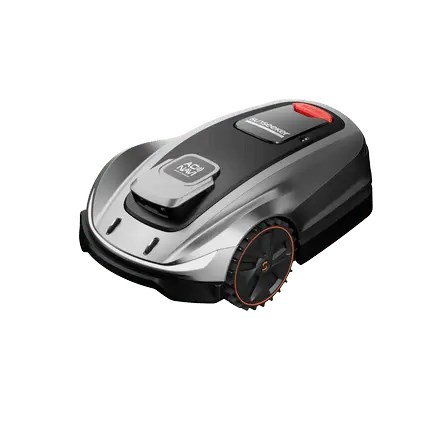
The best way to slow thatch accumulation is to prevent the conditions that cause it: over-fertilizing, excessive watering, and infrequent mowing. Regular cuts at the right height produce finer clippings that decompose faster and contribute less to the thatch layer. For large properties where keeping that schedule consistent is a challenge, a robotic lawn mower for large lawns handles it automatically. Find the right model for your lawn size and terrain.
Timing matters as much as the tool itself. Dethatching during the wrong season can damage grass that can't recover fast enough.
Cool-season grasses (Kentucky bluegrass, tall fescue, perennial ryegrass) dethatch best in late summer to early fall, late August through September in most regions. Soil is still warm from summer, accelerating recovery, while cooling air temperatures reduce stress on the disturbed turf. A secondary window in mid-spring is acceptable if fall wasn't possible, though spring dethatching can open the soil to weed germination.
Warm-season grasses (Bermuda, zoysia, St. Augustine, centipede) dethatch best in late spring to early summer, once the grass is in active growth but before peak summer heat. Avoid dethatching warm-season grasses heading into fall or winter dormancy.
General conditions to check before dethatching:
Dethatching is disruptive by design. The goal is to cut through the thatch layer without causing more damage to the healthy grass beneath. These steps minimize the risk and improve recovery.
Step 1: Mow short before starting. Cut the lawn to about half its normal height. Lower grass makes it easier for the dethatcher to reach the thatch layer without catching on long blades. The Sunseeker Elite X7 Gen 2 lets you set a target height in the app and reach it through multiple passes within its 0.8–4.0-inch range. This prepares established turf more evenly, helping the dethatcher reach the thatch without placing unnecessary stress on the grass crowns.
Step 2: Set the correct tine depth. For most residential dethatching, tines should penetrate just into the thatch layer, not more than 0.25–0.5 in into the soil. Too aggressive a setting damages crowns and roots.
Step 3: Make two passes in perpendicular directions. A single-direction pass misses debris between the tine tracks. A cross-pattern covers the area more thoroughly and produces more even results.
Step 4: Rake and remove all debris. The material pulled to the surface can be composted or disposed of, don't leave it sitting on the lawn where it will re-mat.
Step 5: Follow up with aeration and overseeding. Dethatching creates ideal conditions for these follow-up steps. Aeration opens soil compaction that often accompanies heavy thatch. Overseeding into freshly disturbed soil produces better germination rates than seeding into established turf.
Step 6: Water thoroughly. Deep watering within 24 hours helps disturbed root zones settle and begins the recovery process.

A dethatcher removes the organic layer that accumulates between soil and grass blades, restoring the lawn's ability to absorb water, air, and nutrients. What does a dethatcher do for lawns comes down to that one function, but timing, tool selection, and follow-up care determine whether it actually produces results. Check thatch depth before committing to the process, match the tool to the size and condition of the lawn, and dethatch during active growing periods when the turf can recover quickly.
Not always. A thatch layer under 0.5 in is beneficial. Dethatching becomes necessary when it exceeds 0.5–0.75 in and the lawn shows signs standard care can't fix: water pooling, drought stress, disease pressure. Most lawns don't need annual dethatching. Thatch-prone grasses (Bermuda, Kentucky bluegrass, zoysia) may need it every 1–2 years.
Cool-season grasses: late August through September. Warm-season grasses: late spring through early summer. Avoid dethatching during dormancy, peak summer heat, or close to the first frost. Allow at least 3–4 weeks of active growth after dethatching for recovery.
A standard rotary mower doesn't dethatch. Some mowers accept dethatching blade attachments, but these work best on minor thatch only. For thatch over 0.5 in, a dedicated dethatcher, power rake, or vertical mower produces better results. Renting equipment for one session is often more cost-effective than buying.