




FAQs
10/23/2026
Contents
Products
Residential Lawns







Explore
Where to Buy


A lawn leveling rake spreads topdressing across small dips and ridges so the surface becomes smoother without major regrading. Work during active growth, keep each layer thin, generally 1/4 to 1/2 inch, use crossing passes, leave most grass blades exposed, then water lightly and reassess after settling.
A yard can feel rough even when the grass looks healthy. Small dips catch mower wheels, loose topdressing collects in ridges, and settled spots make the surface feel bumpy. A leveling rake redistributes material across these minor changes instead of simply adding more soil.
Used lightly, it can smooth minor unevenness while keeping existing turf growing through the new layer. This guide explains how to use a lawn leveling rake, how much material to apply at one time, what causes uneven results, and how to tell when the lawn is ready for normal mowing again.
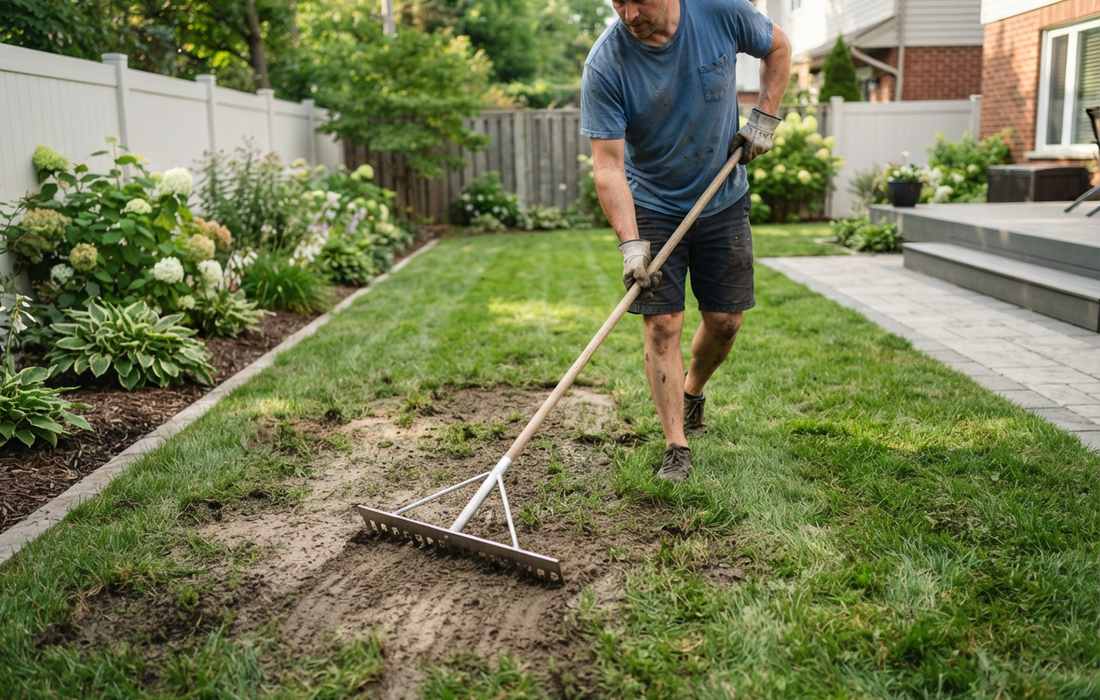
A lawn leveling rake helps smooth minor bumps, shallow dips, and uneven topdressing without damaging healthy grass. The depth and cause of the unevenness determine how much it can correct.
A good leveling pass moves a small amount of material into low areas without burying the turf or smearing wet soil. Work during active growth on a firm, dry-enough surface, then follow the steps below.
Mow at the normal height for the grass, or slightly lower if the canopy is very dense, but do not scalp it. Remove sticks, stones, leaves, and thick clippings so the rake can ride on the lawn surface instead of catching debris.
Walk the area and mark low spots, sprinkler heads, exposed roots, and places where water collects. If the soil leaves deep footprints, wait until it firms up. Compacted lawns may benefit from core aeration before topdressing because the rake does not relieve compaction.
Use a topdressing material that is physically compatible with the existing soil. For routine home-lawn leveling, apply only a thin layer at one time. About 1/4 to 1/2 inch is a practical upper range for a single pass over living turf.
Place small shovel-sized piles across low areas rather than one large heap. Covering 1,000 sq ft at 1/4 inch takes about 0.8 cubic yard of material. If a depression needs more than 1/2 inch, raise it through repeated light applications after the grass grows through.
Set the rake flat on the surface and use long, smooth push-and-pull strokes. Let the rigid head move loose material into shallow depressions while skimming excess material away from higher areas.
Avoid short chopping motions or pressing down hard. Redistribute the topdressing without cultivating the root zone. Break up any clump that the rake keeps dragging instead of forcing it across the lawn.
After the first set of long passes, turn 90 degrees and work across the same area. Crossing the direction reveals ridges hidden by one-way raking and spreads material more evenly around grass crowns.
Take a few steps back every few passes and look across the surface at a low angle. Shadows and mower-wheel tracks often reveal small ridges better than looking straight down.
The grass should still be clearly visible after leveling. If blades are buried, make another light pass or use a soft leaf rake to lift excess material out of the canopy. As a useful limit, at least about three-quarters of the grass plant should remain exposed to light after topdressing.
Pay special attention around crowns and along the edges of low spots, where material tends to collect. A thin, uneven film is easier for actively growing turf to recover through than a smooth but heavy layer.
Water just enough to settle the loose material into the canopy and reveal any remaining dips. Avoid creating runoff that can wash the topdressing back into piles or move it onto sidewalks and beds.
Let the surface settle before deciding that more material is needed. During active growth, give the grass time to grow through the layer, mow it normally, and then reassess the grade rather than adding another thick layer immediately.
Most bad finishes come from how much material is applied or how the rake is handled, not from the rake itself. The common causes below are easy to spot before they turn into new bumps.
A freshly raked lawn can look smooth before water and foot traffic settle the surface. Recheck it after the material has settled and the grass has grown through, using the points below to decide if another light pass is needed.
1. Look across the lawn after watering or rain. New shadows, puddled spots, and thin windrows show where the surface still rises or falls. Mark those areas instead of spreading another full-lawn layer.
2. Mow once the grass has grown through the topdressing. Notice where mower wheels bounce, where the deck seems to ride high, or where a low patch still feels soft underfoot. These are better clues than judging the surface immediately after raking.
3. Check grass exposure and color. Healthy turf should keep enough leaf area above the material to continue growing. If a section stays yellow or buried, remove excess topdressing before adding anything else.
4. Wait before the next pass. A light application often needs about 2 to 4 weeks of active growth before the lawn has grown through and can be judged fairly. Repeated thin corrections are safer than one deep fill.
5. Separate leveling from drainage repair. If a low area repeatedly holds water or settles again after rain, inspect soil compaction, runoff, buried debris, or grade instead of adding more surface material.
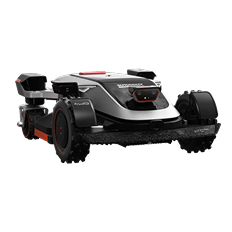
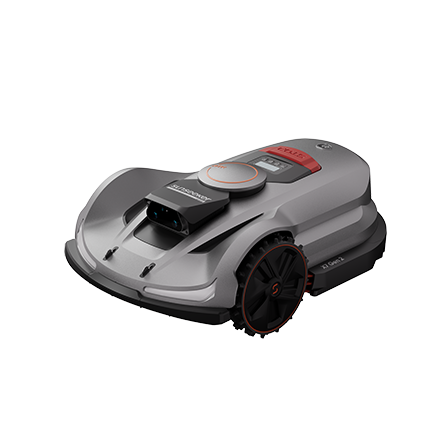
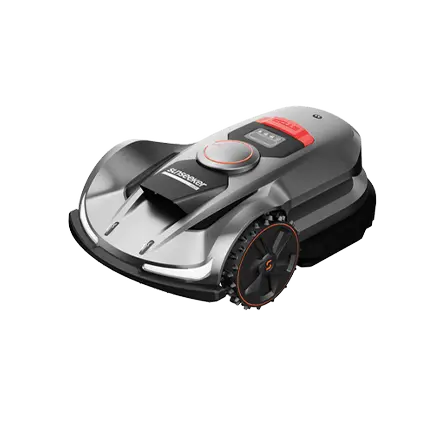
After the repaired surface has settled and routine mowing resumes, the Sunseeker Elite X5 can support regular maintenance on lawns that still have natural contours. Its AWD handles slopes up to 60% / 30 degrees, while the floating cutting disc follows changes in the lawn surface for a steadier cut as the reshaped areas mature.

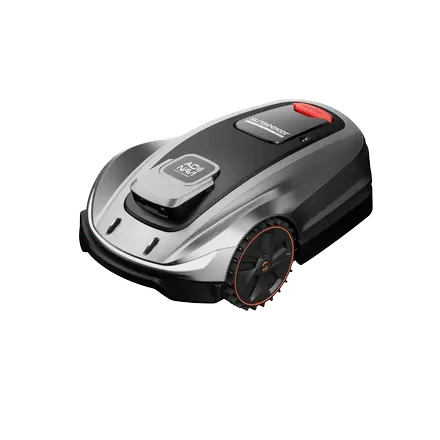
If leveling changes a lawn edge or you reshape a small zone, Robot Lawn Mowers without Perimeter Wires make future boundary adjustments easier because the mowing area can be updated virtually instead of tying the layout to a buried perimeter cable.
A lawn leveling rake works best as a finishing tool for shallow surface problems. Prepare firm, actively growing turf, spread a thin layer, work it in with long crossing passes, keep most leaf tissue exposed, and let water and growth settle the surface before judging the result. Deep depressions, drainage failures, or heavy compaction need more than raking. A patient series of light corrections gives the lawn a smoother grade without trading one uneven spot for buried or stressed grass.
Yes, for very small areas. A garden or leaf rake can spread loose soil and brush material out of the grass, but its tines are more likely to dig, catch runners, or leave grooves. For a few square feet it can work; for broader leveling, a flat leveling rake gives a more consistent finish.
Usually no. Heavy rolling, especially when soil is moist, can increase compaction and create a harder surface for roots. After light topdressing, rake the material level, water lightly, and let it settle naturally. Use a roller only when a specific seeding or sod-establishment method calls for light firming.
It is best used before seeding to smooth the seedbed. After germination, dragging a rigid rake through young grass can pull seedlings loose or bury them. Wait until the new turf is well rooted and has been mowed several times before making a light surface correction, and keep any added material very thin.