




FAQs
7/16/2026
Contents
Products
Residential Lawns






Explore
Where to Buy


Thatching a lawn involves four main steps: preparing the grass, excess thatch removal with the appropriate tool, organic material clearance, and caring for the lawn afterward. The key is to remove the thick barrier without damaging healthy roots, allowing water, air, and nutrients to reach the soil more effectively.
Understanding what is dethatching lawn helps keep the job controlled: the goal is to lift excess thatch without damaging healthy turf. The steps below focus on the technique and tools needed to do that effectively.
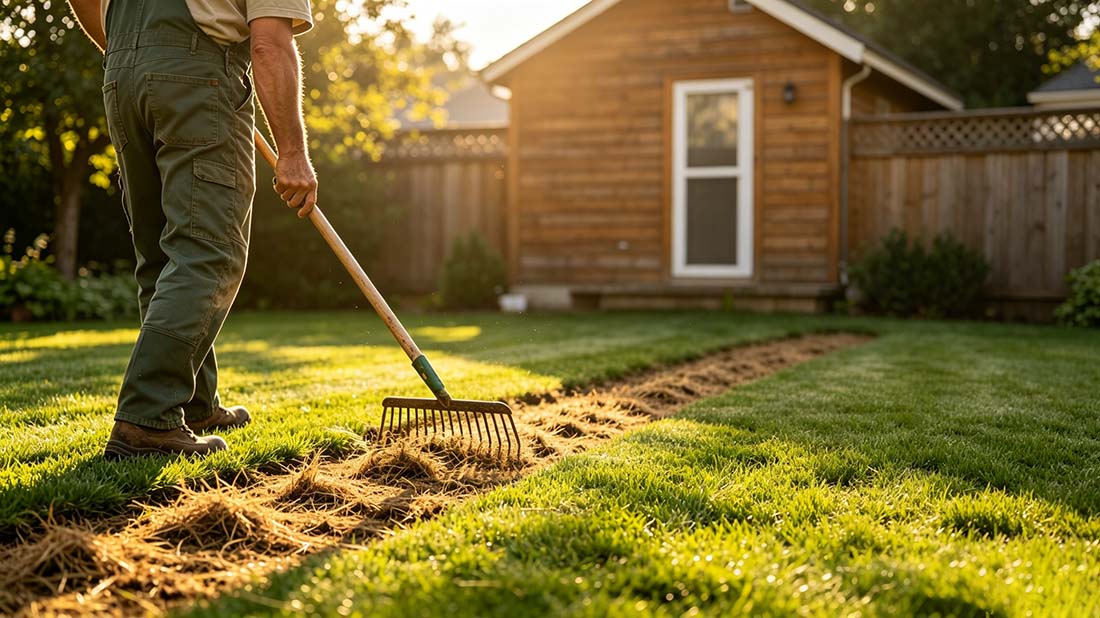
To “thatch a lawn” refers to the process of removing excessive thatch buildup, which is also known as dethatching. This process can be done using a manual dethatching rake for smaller areas or a motorized power rake for larger lawns. These tools help loosen and remove the thick, matted layer of organic material that has accumulated near the soil surface, allowing the grass to access essential resources more effectively.
Thatch is a natural layer of organic material that develops between the soil surface and the green grass blades. It consists of a combination of living and dead plant matter, including grass stems, roots, crowns, and rhizomes that accumulate over time.
However, when thatch grows beyond a healthy level, it can form a dense barrier that prevents water, nutrients, and oxygen from reaching the soil and grass roots. This can result in shallow root growth, increased vulnerability to pests and diseases, and reduced lawn resilience during heat or drought.
If you are deciding when to thatch a lawn, schedule dethatching during active growth so the grass has enough time to repair damaged areas and develop new roots. The best window varies between cool- and warm-season turf, as outlined below. To help your lawn recover quickly, it is best to remove excess thatch during periods of active growth when the grass can repair damaged areas and develop new roots. Here’s a general guideline based on common grass-growing regions across the United States:
Note: Avoid dethatching during extreme heat (above 85°F), drought conditions, winter dormancy, or shortly before the first frost.
Dethatching can be a labor-intensive task, but with the correct technique, it can be completed effectively without damaging your lawn. Before getting started, make sure you have the right tools ready for the job.
Step 1. Mow Low and Prepare the Area
Before dethatching, check the thickness of your thatch layer by cutting a small section of turf or lifting part of the grass. If the buildup is more than 0.5-1 inch thick, it is usually time to remove it.
Mow your lawn to about half of its normal height to expose the thatch layer without damaging the grass. Remove leaves and other debris from the surface, and lightly water the lawn one or two days before dethatching if the soil is extremely dry.
Step 2. Choose and Use the Right Tool
Select a dethatching tool based on your lawn size and the amount of thatch present. For smaller areas, use a dethatching rake and pull it through the grass in a crisscross pattern to loosen the buildup.
For larger lawns, use a power dethatcher or verticutter and make straight, overlapping passes across the lawn. Adjust the machine depth carefully to remove excess thatch without harming healthy grass roots. If needed, make another light pass on areas with heavier buildup instead of removing too much at once.
Step 3. Collect and Remove the Debris
After dethatching, the lawn may look messy with loosened thatch and grass material covering the surface. Use a leaf rake or mower with a bag attachment to collect the debris thoroughly.
Remove the leftover material so sunlight, water, and nutrients reach the soil more easily. You can compost the collected thatch if it is healthy plant material, or dispose of it properly.
Step 4. Inspect and Follow Up
After cleanup, check your lawn for any remaining areas with thick thatch buildup. If necessary, perform a light second pass on problem areas, but avoid excessive dethatching since removing too much material can stress the grass.
Post-dethatching care focuses on cleanup, soil improvement, and encouraging new growth. Here are the key tips to ensure fast recovery:
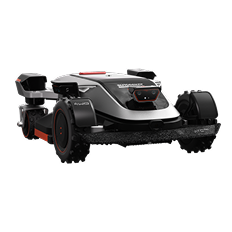
As your lawn recovers and new grass takes root, it’s crucial to maintain a gentle and consistent mowing schedule. This is where AWD robotic mowers provide a significant advantage. Unlike heavy traditional mowers that can compact freshly aerated soil or tear delicate new shoots, all-wheel-drive robotic mowers distribute their weight evenly and navigate uneven terrain with ease. They provide frequent, light cuts that return nutrient-rich clippings back to the earth, naturally fertilizing the lawn without stressing the recovering turf.

For property owners managing expansive landscapes, the Sunseeker Elite X9 is an exceptional choice. Engineered for properties up to 6 acres, this wire-free mower features an ATC Pro AWD system with independent suspension, allowing it to glide over freshly dethatched ground without causing turf damage. Meanwhile, it offers an easily adjustable cutting height (0.8-4 inches), which lets you raise the blades to protect tender new shoots as the grass establishes. Combined with 360° obstacle detection and gentle dual cutting discs, the Elite X9 delivers automated care that perfectly supports your yard's healthy return.
How do you thatch a lawn? The process starts with the right dethatching tool. You will also need to make careful passes across the grass and thoroughly remove the loosened debris to clear excess thatch effectively. However, proper post-care is just as important as the removal process itself, so remember to water, fertilize, and maintain your lawn carefully during recovery. Once your grass begins to recover, let an advanced solution handle the daily upkeep. Explore Sunseeker’s innovative mowers to maintain your revitalized lawn without the heavy lifting today!
The best way to dethatch your lawn depends on the size of your yard and the thickness of the thatch layer. For small lawns with light buildup, a manual dethatching rake is usually sufficient. For larger properties or heavy thatch accumulation, a motorized power dethatcher or verticutter provides faster, more effective removal with less physical effort.
You should avoid dethatching a lawn when the soil is completely wet or soggy, as the equipment can tear healthy grass roots and cause turf damage. The ideal condition is slightly moist soil that is soft enough for easier removal. Lightly water your lawn one or two days before dethatching if the ground is too dry.
Whether October is too late to dethatch depends on your location, grass type, and upcoming weather conditions. For cool-season grasses across the US, early October can still be suitable if you have 30-45 days before the first hard frost. However, warm-season grasses or areas facing freezing temperatures should avoid late-season dethatching.