










FAQs
7/25/2026
Contents
Products
Residential Lawns





Explore
Where to Buy


To restring a lawn trimmer, remove the spool, clean the head, cut the correct line length, wind it in the arrow direction, feed the ends through the eyelets, and snap the cap back on. The right line diameter and neat winding prevent jams, weak feeding, and early breakage.
A trimmer often runs out of line at the worst moment, usually when the lawn is nearly finished and the edges still look rough. The spool looks simple, but one wrong wind can cause the line to jam, feed unevenly, or snap as soon as it touches a fence post.
That is a common problem, especially if you have changed line size, used an old spool, or refilled the head in a hurry. The sections below break the job into clear steps, explain line types and sizes, and show how to keep the trimmer feeding smoothly after each refill.
Restringing means replacing the cutting line inside the trimmer head. On most string trimmers, that line sits on a spool and feeds out through one or two eyelets as the tip wears down during use.
The line does the cutting, not the spool or guard. When the head spins, the nylon line becomes stiff enough to slice grass and soft weeds along borders, trees, fences, beds, and paths. A bump-feed head releases line when tapped; an automatic-feed head advances it on its own.
A clean restringing job puts the correct line in the correct direction with even tension. If the line crosses over itself, sits too loose, or is forced into a spool not made for that diameter, it can lock inside the head. Good winding lets the line pull out in small amounts, so trimming feels steady rather than jerky.
Trimmer line does not need replacing only when the spool is empty. It can also become brittle, flattened, melted, or too short to feed well, especially after heavy contact with hard edging surfaces.
Replace or refill the line when you notice these signs:
Fresh line matters most before a full-yard trim, long driveway edge, or bed cleanup after mowing. If you stop every few minutes, the issue is often line age, line size, winding direction, or a dirty spool.
The safest choice is always the line diameter printed in your trimmer manual or on the spool. If you no longer have the manual, match the line to the trimmer power and the kind of trimming you do most often.
Line size | Best for | Line shape | Notes |
0.065 in | Light grass around small lawns, paths, and flower beds | Round | Common for cordless and light-duty electric trimmers. Feeds easily and puts less strain on small motors. |
0.080 in | Regular home lawn trimming and light weeds | Round or twisted | A useful middle size for many residential yards. Check that the spool allows this diameter. |
0.095 in | Thicker grass, tougher edges, and larger yards | Round, square, or twisted | Needs a stronger trimmer. Too much diameter can slow a light motor and cause feeding trouble. |
0.105 in and above | Heavy weeds and brush-style trimming | Square or serrated | Usually for gas or high-power units. Not suitable for many small battery trimmers. |
Round line feeds the easiest and works well for normal edges. Twisted line can be quieter in thicker grass. Square or serrated line cuts more aggressively, but it also wears faster against concrete, stone, and metal edging. Never force larger line into a small head. It can bind inside the spool and overheat the motor.
Most trimmer heads follow the same basic pattern. Work on a clean, flat surface so the spring, cap, and spool do not roll into the grass.
Unplug a corded trimmer, remove the battery on a cordless model, or switch off a gas trimmer and let the head stop fully. Let a warm head cool for a few minutes. Wear gloves if the old line has sharp, frayed ends.
Turn the trimmer upside down so the head faces you. Press the spool-cap tabs or unscrew the retaining knob. Hold the cap as it releases, since some heads contain a spring. Set each part down in order.
Pull out the spool and remove leftover line. Check for melted spots, dirt, wrapped grass, or small stones. Wipe the spool channel and eyelets with a dry cloth. A clean spool turns more freely and feeds with less friction.
Cut the amount recommended for your model. Many single-line heads use about 10 to 20 feet, or 3 to 6 m. Dual-line heads often need two equal lengths or one longer piece folded at the center. Do not overfill the spool.
Find the anchor hole, slot, or notch on the spool. Insert the line end, then wind in the arrow direction. Keep each wrap neat and side by side. Use light tension so the line does not spring loose.
Most spools have holding notches near the rim. Clip the line ends there, leaving about 4 to 6 in outside the spool. Place the spool back into the head, then guide each line end through its eyelet.
Snap the cap back on or tighten the knob. Reinstall the battery or power connection. Start the trimmer away from people, pets, and windows. If the line is too long, the guard blade should trim it. Test the feed before the main work.
Most restringing problems are small, but they can make a trimmer feel weak or unreliable. Check these details first.
Good feeding starts before you tap the head. Line storage, spool cleanliness, trimming angle, and normal lawn height all affect how smoothly the line advances.
Store replacement line in a cool, dry place out of direct sun. Old nylon can lose flexibility, especially in hot sheds or garages. If the line is badly cracked, replace it instead of trying to save it.
Use steady trigger pressure. Repeated stop-start trimming can twist the line and create heat inside the spool. Keep the head level, let the line tip cut, and avoid digging into soil. If you use a bump-feed head, tap it lightly while the head spins.
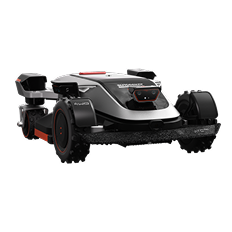
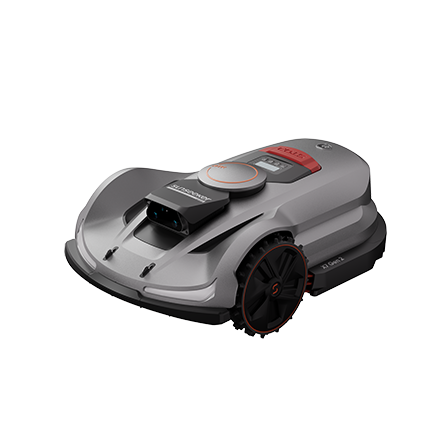
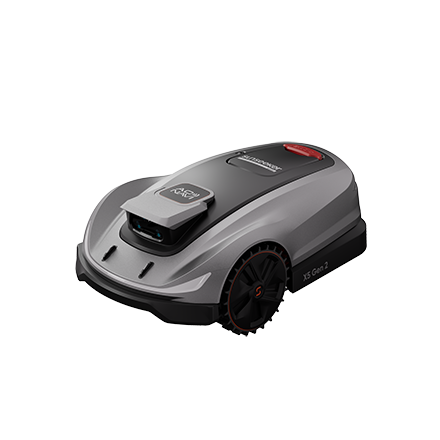
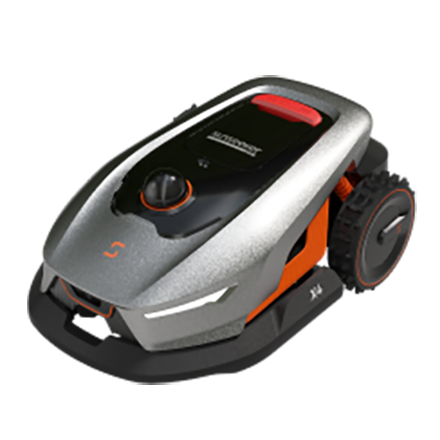
You can also reduce line wear by using the trimmer only where it is actually needed. A robotic mower such as the Sunseeker Elite X4 can maintain the main lawn regularly, while the string trimmer finishes narrow areas around trees, posts, walls, and tight corners. With less open grass to cut manually, the trimmer runs for shorter periods, helping limit heat buildup, rapid line wear, and repeated feeding problems.

Learning how to restring a lawn trimmer is mostly about matching the right line to the right head, winding it neatly, and keeping the spool clean. Once you understand the arrow direction, line diameter, and feed system, the job becomes quick and predictable. Good trimming habits also protect edges, reduce wasted line, and keep the lawn looking finished after mowing. For a steadier mowing routine around an established yard, you can also explore a robot lawn mower that helps maintain grass at a manageable height while your trimmer handles the detail work.
Remove the spool, clear out old line, and find the anchor hole or slot. Insert the new line, then wind it in the arrow direction with light, even tension. Lock the line end in the notch, feed it through the eyelet, reassemble the head, and test the feed before trimming.
Yes, most reusable trimmer spools can be refilled with bulk line. Match the diameter listed in the manual or on the spool, and do not overfill it. Some compact models use pre-wound replacement spools, but many still allow manual refilling if the spool is not damaged.
Open the head, remove the spool, and cut the recommended line length. Secure the line in the spool slot, then rewind in the marked direction. Keep the wraps neat and parallel. Leave about 4 to 6 in outside the spool, feed it through the eyelet, and snap the cap back on.