











FAQs
5/28/2026
Contents
Products
Residential Lawns









Commercial Landscapes
Explore
Where to Buy


Struggling to remember which way your mower blade goes? It’s a common dilemma, but getting it wrong can cause poor cuts, lawn damage, and excess vibration. Remember that the sharp edge faces down and the lift wings face up. Learn the safe, professional installation method in this guide.
If you have ever removed a mower blade for sharpening or replacement, you’ve probably wondered: Which way do mower blades go on? This is one of the most common questions during installation, especially when both sides of the blade look similar at a glance. But don’t worry; it’s not as complicated as it seems. This guide will introduce how to identify the correct lawn mower blade position easily. Just read on to learn the safe removal and reinstallation steps and the most common mistakes to avoid!
While there can still be slight variations depending on mower type and blade design, the general rule applies to most standard rotary lawn mower setups. This guide will introduce how to identify the correct lawn mower blade position easily. Just read on to learn the safe removal and reinstallation steps and the most common mistakes to avoid!

Proper lawn mower blade installation direction matters because even small orientation errors create big problems when blades are spinning at high speeds. Here are the key reasons to get it right:
Generally, the curved or lift side (wings/sails) of the blade faces up toward the mower deck. The sharp, beveled cutting edge faces down toward the grass. This orientation is standard for most straight and high-lift blades. The upward curve generates airflow that lifts grass for a better cut and helps eject clippings.
The rule applies to mulching blades as well: lift features up, sharp edges down. You should always double-check your mower manual for confirmation. But in most cases, the lift side up and sharp edge down is the correct lawn mower blade side up rule.
Even the best push mower blade will cut poorly if it is installed upside down, so use the methods below to confirm the correct orientation before tightening it in place.
For multi-blade setups:
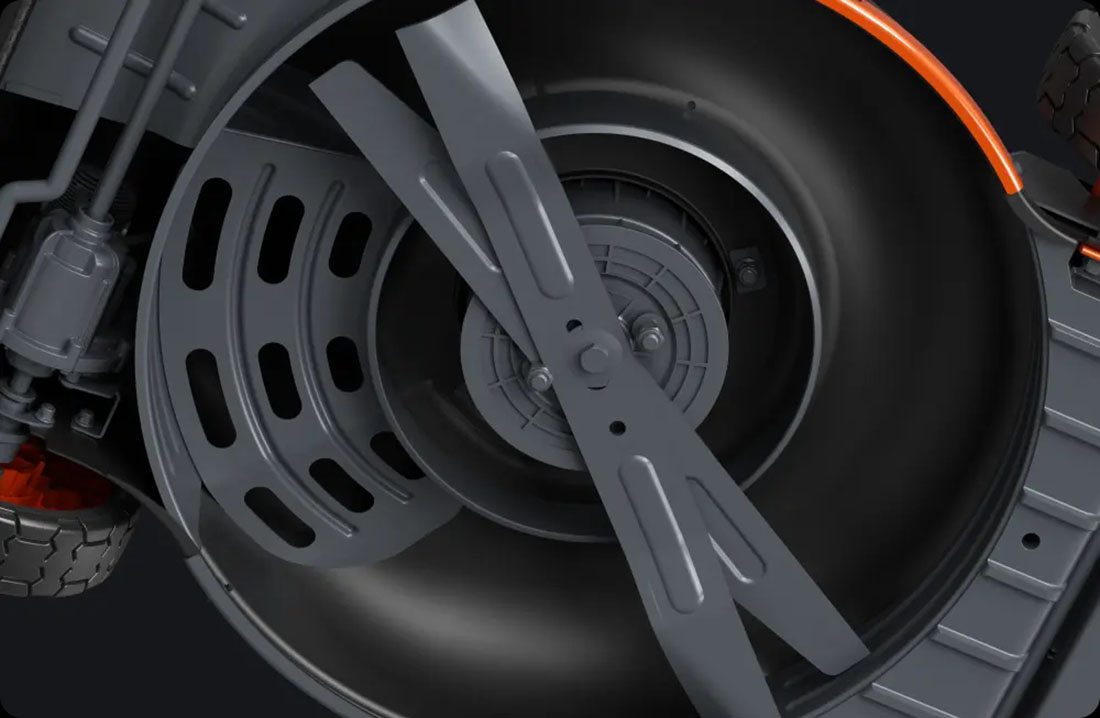
Lawn mower blade direction is only one piece of the puzzle. Now let’s take a closer look at the blade removal and reinstallation.
Before starting, gather these tools to ensure the process goes smoothly and safely:
Mower blades are extremely sharp, so extra caution is essential. Meanwhile, work in a well-lit area, keep protective gear on, and prioritize your safety throughout the entire removal and installation process. These steps apply to most standard rotary lawn mowers, but blade design and mounting details can vary slightly depending on the mower type and manufacturer.
Step 1: Disconnect the PowerFor gas mowers, remove the spark plug wire. For electric mowers, disconnect the battery. Tilt the mower to make the carburetor/motor side stay up to prevent fuel or oil leaks.
Step 2: Secure the BladePlace a block of wood or a blade lock tool between the deck and the blade to prevent spinning. Wear heavy-duty gloves to protect your hands from the sharp edges while loosening or tightening the central bolt safely.
Step 3: Remove the Old BladeCarefully loosen the blade bolt and remove it with a socket wrench or ratchet. Keep track of any washers, spacers, and other hardware; note their position. Store them safely to reuse during the installation of the new blade.
Step 4: Clean & Install
Remove dirt and debris from the blade mounting area and spindle. Place the new blade on the spindle with the lift side up and the sharp edge facing down. Align any holes and pins according to the manufacturer’s instructions.
Step 5: Tighten the Blade Securely
Hand-tighten the bolt first, then use a torque wrench to achieve the manufacturer’s recommended torque. Avoid over-tightening, which could damage threads. Make sure the blade sits flush against the spindle.
Step 6: Test for Proper Installation
Check that the blade sits flat, spins freely, and feels balanced. Reconnect the spark plug or battery and start the mower on a safe surface. Listen for unusual vibrations or noises and adjust if necessary.
If you are not sure whether your blade is installed correctly, look for these clear signs that indicate the mower blade may be upside down:
Even experienced users might make mistakes. Here are some of the most common mistakes to avoid. These issues can vary slightly depending on the mower type and blade system, but the core risks remain the same.
Blade orientation, removal, and reinstallation can be time-consuming, which is why some homeowners prefer robotic mowers with quick-swap robot lawn mower blades that reduce sharpening and hands-on replacement work.
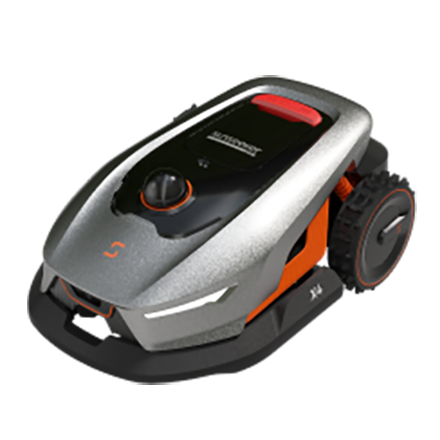
The Sunseeker Elite X4 is a great option for effortless mowing. Its durable blades are designed for long-term use and come with spare replacements for quick swaps. Combined with a floating cutting system, it provides clean cuts across uneven terrain with minimal effort.
For larger or more complex lawns, the Sunseeker Elite X5 offers stronger performance with upgraded navigation and a more advanced cutting system. It can handle slope and challenging terrain with ease, which delivers consistent cutting results regardless of your lawn's layout.
Both models work with the Standard Blades kit (24pcs) when extra replacements are needed. These high-quality, long-lasting blades are easy to swap, making routine upkeep fast and convenient.
Which way do lawn mower blades go on? For most rotary lawn mower blades, the correct lawn mower blade position should be sharp edge down, lift side. Meanwhile, always refer to your owner's manual and verify the orientation before you finish the job. If you prefer a simpler solution, consider upgrading to Sunseeker robotic mowers. They offer easy blade swaps, effortless cutting, and professional results. Explore Sunseeker and simplify your lawn care routine today!
For most standard rotary lawn mowers, install the blade with the sharp, beveled edge facing down toward the grass and the curved lift wings facing up toward the deck. Check for markings like “Grass Side” to confirm orientation. Ensure the blade sits flush on the spindle, then tighten the bolt to the recommended torque for safe, efficient cutting performance.
An upside-down blade tears grass instead of cutting cleanly, leading to uneven results and lawn damage. It can also cause vibration, reduce mulching efficiency, and strain the engine. Over time, this may damage the blade or mower deck. If you notice anything unusual, correct the orientation immediately to restore proper performance and prevent further issues.
After removing the old blade, clean the spindle and mounting area thoroughly. Position the new blade with the lift side up and the sharp edge down. Then align the center hole and reinstall washers or spacers correctly. Tighten the bolt securely using proper torque, then test for smooth rotation and stable operation before mowing.