









FAQs
5/28/2026
Contents
Products
Residential Lawns





Commercial Landscapes
Explore
Where to Buy


A sharp push mower blade keeps grass healthier because it slices cleanly instead of tearing the tips. Blade changes start with safety: disconnect power, tilt the mower correctly, block the blade, then loosen the mounting bolt. Cracks, heavy chips, strong vibration, or ragged grass after mowing usually mean the blade should be replaced.
A healthy lawn starts with a clean cut. Over time, blades become dull or damaged by rocks and roots, tearing the grass instead of slicing it. This leaves your lawn vulnerable to disease and pests. Knowing how to change a blade on a push mower is an essential skill that ensures your machine operates at peak efficiency.
Whether you use a traditional gas model or a modern electric lawn mower, the process is straightforward once you understand the safety protocols. A sharp blade reduces motor strain and provides the professional, clean finish every homeowner desires. Read on to learn how to change the blade on your mower!

To safely and effectively change a blade on push mower models, gather these essential tools before you begin:
1.Wrench or Socket Set: Most mower blades are held in place by a single large bolt. A socket wrench provides the best leverage. A "breaker bar" can also be helpful if the bolt is rusted.
2.Heavy-Duty Work Gloves: Even a dull blade can have sharp edges or burrs that can cut your skin. Thick leather gloves are a must for protecting your hands during the removal process.
3.A Block of Wood: A short piece of a 2×4 or 4×4 board is used to "jam" the blade, preventing it from spinning while you loosen or tighten the bolt.
4.Safety Glasses: Debris, dried grass, and small pebbles can fall into your eyes when you are working under the mower deck.
5.Wire Brush or Putty Knife: While the blade is off, it is the perfect time to scrape away dried grass clippings and dirt from the underside of the deck.
6.Replacement Blade: Ensure you have the correct size and type for your specific model. High-performance units often require specific parts to maintain cutting efficiency.
Safety is paramount when working near cutting components. You must ensure the machine cannot start accidentally.
Once you have your tools ready and the power source disconnected, you can begin the process to remove push mower blade and install a fresh one.
Step 1: Prep the Mower
Move your mower to a flat, stable surface like a driveway or garage floor. If it’s a gas mower, ensure the fuel tank is nearly empty to prevent spills. Remove the grass bag or mulch plug to give yourself more room to work and better visibility.
Step 2: Tilt the Mower
Carefully tilt the mower onto its side. As mentioned, ensure the carburetor is facing upward for gas models. For modern electric units, this is less of a concern, but ensure the machine is stable and won't tip back down on your hands.
Step 3: Block the Blade
Place your block of wood between the blade and the inside of the mower deck. This will wedge the blade in place so it won’t rotate when you apply force to the bolt. This is a crucial step for changing push mower blade safely.
Step 4: Loosen the Mounting Bolt
Using your socket wrench, turn the bolt counter-clockwise (in most cases) to loosen it. Mower bolts can be extremely tight due to years of use and rust. Use a long-handled wrench for better leverage if the bolt is stubborn.
Step 5: Remove the Blade
Once the bolt and washer are removed, carefully lift the old blade off the drive shaft. Take note of which side of the blade faces the ground. Most blades are stamped with "This side toward grass" to help you avoid installing the new one upside down, which would result in the blade beating the grass rather than cutting it.
Step 6: Clean the Deck
With the blade removed, use your wire brush or putty knife to scrape away the caked-on grass from the underside of the deck. A clean deck allows for better airflow, which is essential for the 3-in-1 functionality (mulching, rear discharging, or bagging) found in premium models like the Sunseeker 60V.
Step 7: Install the New Blade
Place the new blade onto the shaft, ensuring it is seated correctly on the mounting bracket or "mower boss." If you plan to install a dethatching blade push mower attachment, first confirm that it is compatible with your mower’s shaft, deck clearance, and recommended operating speed. Replace the washer and the bolt. Hand-tighten the bolt first to ensure you don’t cross-thread it.
Step 8: Tighten and Secure
Reposition your wooden block on the opposite side to prevent the blade from spinning while you tighten. Use your wrench to get the bolt very snug. If you have a torque wrench, check your owner’s manual for the specific foot-pounds required.
Knowing how to change a push mower blade is only half the battle; you also need to know when it's time for a replacement. When choosing the best push mower blade, look for one that matches your mower’s model, cutting width, mounting pattern, and preferred cutting method, such as mulching or bagging. You should replace the blade if you notice:
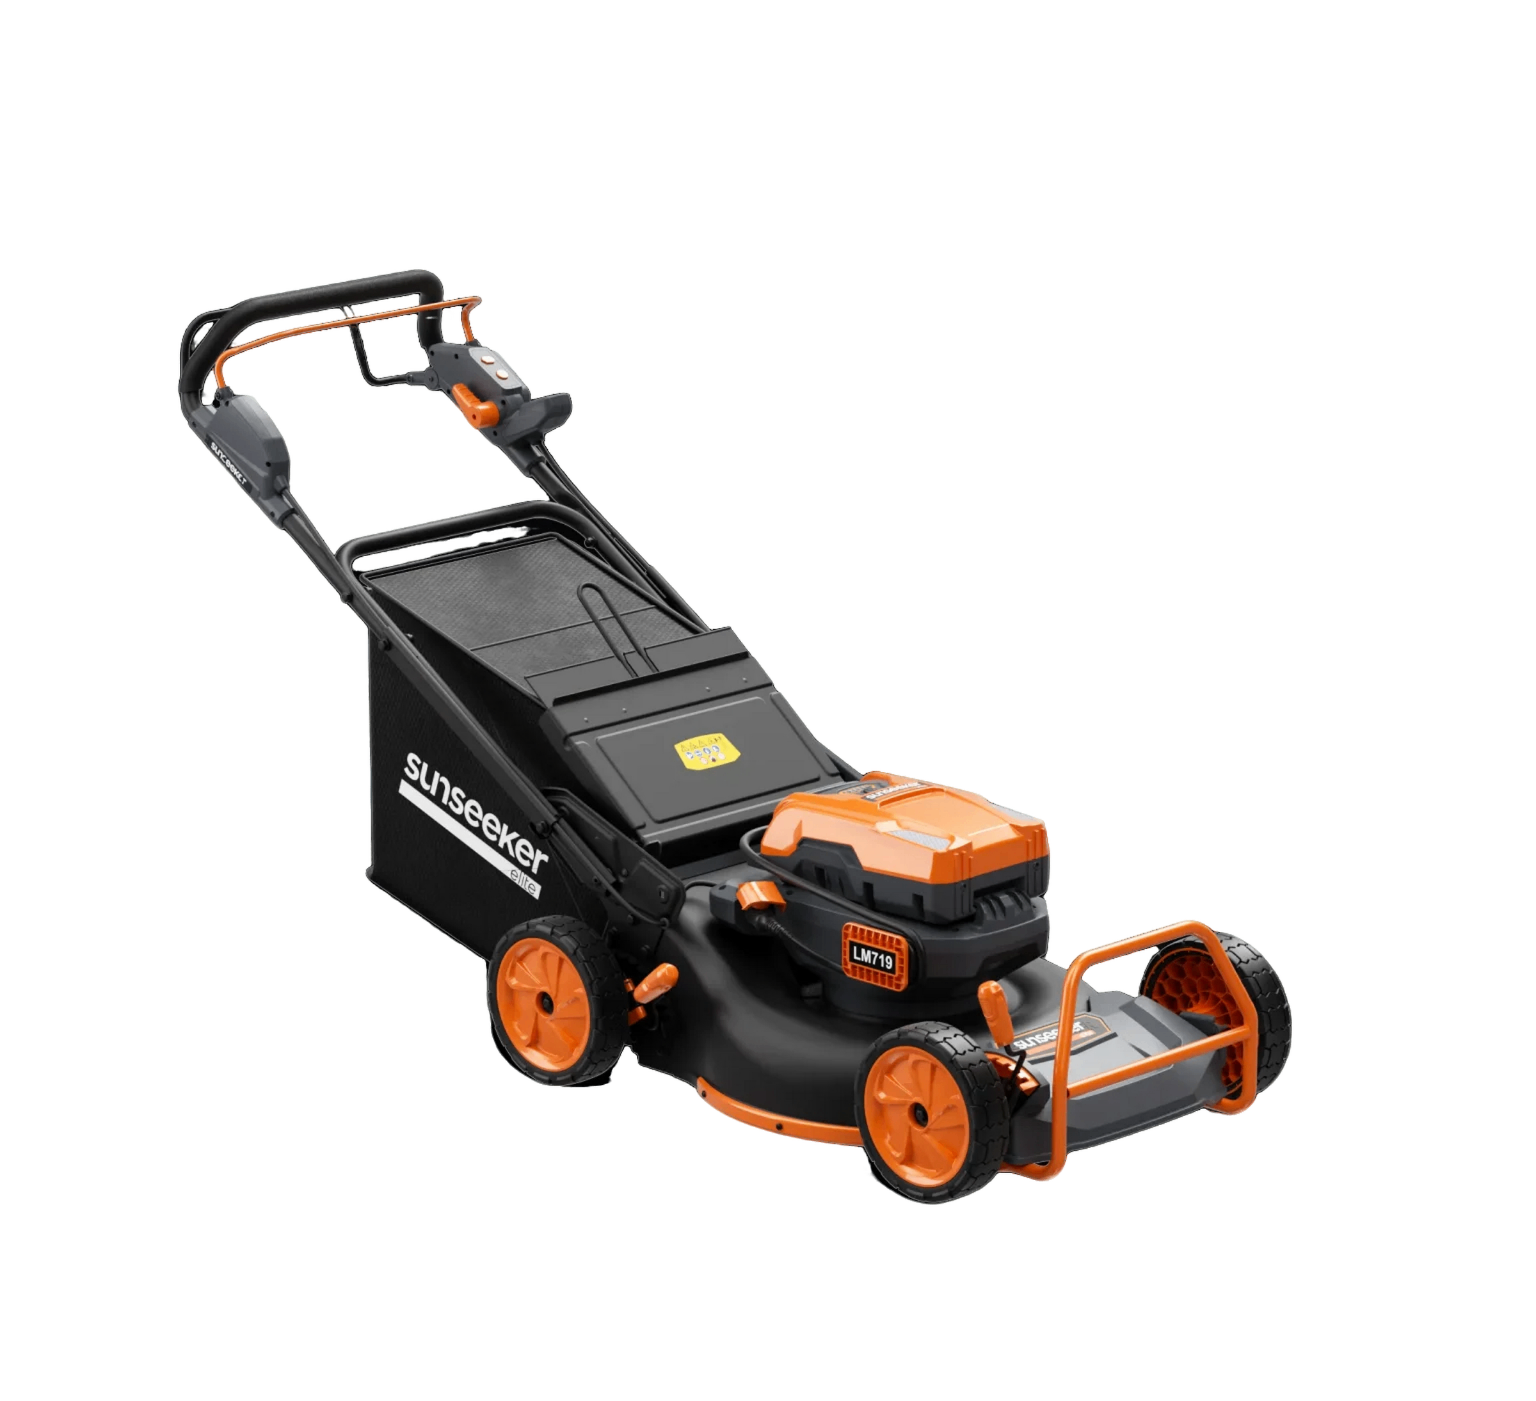
Inspect blades monthly. Replace them if you notice cracks, extreme thinning, or persistent vibration that could damage the motor. For those seeking professional results, the Sunseeker 60V Commercial Lawn Mower is an excellent upgrade. Its durable 560 mm steel deck and dual-blade system ensure a precise cut, while its 7 height settings and quiet operation (≤ 98 dB) reduce user fatigue.
When you invest in high-quality equipment, the frequency of "emergency" repairs decreases. The Sunseeker 60V also offers 7 cutting height settings (2.5 to 9 cm), allowing you to adjust for the specific growth stage of your grass, which helps keep your blades from hitting the ground in uneven areas.

Taking the time to change a blade on a push mower is a small investment that pays off in a big way. By following the steps outlined above—gathering the right tools, prioritizing safety, and following a logical sequence—you can handle this task with confidence.
If you are tired of the vibration, noise, and maintenance headaches associated with older gas-powered equipment, consider upgrading to a hassle-free electric option. For a premium, low-maintenance experience, the Sunseeker 60V Commercial Lawn Mower offers a robust, professional-grade alternative.
For the average residential lawn, you should sharpen your blade twice a season and replace it entirely every 1 to 2 years. However, if you frequently mow over sandy soil, which acts as an abrasive, or hit debris, you may need to change push mower blade units more often to maintain cutting efficiency.
On most standard push mowers, you generally unscrew the mounting bolt by turning it counter-clockwise (lefty-loosey). However, always refer to your owner's manual or look for a directional arrow on the blade or deck, as some specialized mowers may use reverse-threaded bolts to prevent them from loosening during high-speed mechanical operation.
If the bolt is stuck, apply a penetrating oil (like WD-40 Specialist or PB Blaster) and let it sit for 15-30 minutes. Use a longer breaker bar or a pipe over your wrench handle to increase leverage. Ensure the wooden block is securely wedged so the blade doesn't move while you apply maximum force to remove push mower blade bolts.