













What Is Top Dressing?
Top dressing means spreading a thin, even layer of soil-based material over an existing lawn. The goal is not to bury the grass. The goal is to improve the surface and soil while letting living blades keep growing.
For a normal home lawn, the safe depth is usually 3 - 6 mm. In very shallow low spots, you can use up to 1/2 inch, but it should be built up gradually if the dip is deeper. If the grass disappears under the dressing, the layer is too heavy. Grass still needs light and air, so the material should fall between the blades rather than sit as a blanket on top.
Top dressing is often done after aeration or overseeding because open holes and fresh seed benefit from good soil contact. It can also correct mild unevenness, improve clay or sandy soil, and add organic matter. A top-dressed lawn is still active grass, so the work needs a light touch.
What Are the Benefits of Top Dressing Your Lawn?
Top dressing works slowly, but it can improve several lawn problems at once. It is most useful when the lawn is alive but uneven, compacted, or thin.
Smoother surface: A thin layer fills small dips and softens bumps, which helps mowing feel cleaner and reduces scalping on high spots.
Better soil structure: Compost adds organic matter. Sandy mixes improve drainage in heavy areas. Matching the material to the soil helps roots grow deeper.
Improved seed contact: If you overseed, a light dressing helps seed stay moist and settle near the soil surface instead of sitting loose on top.
Healthier root zone: Quality compost can support soil life and nutrient movement. This is useful for tired lawns that have been mowed hard for years.
Less thatch stress: When used with aeration, top dressing helps break down thin thatch layers and opens the surface for air and water.
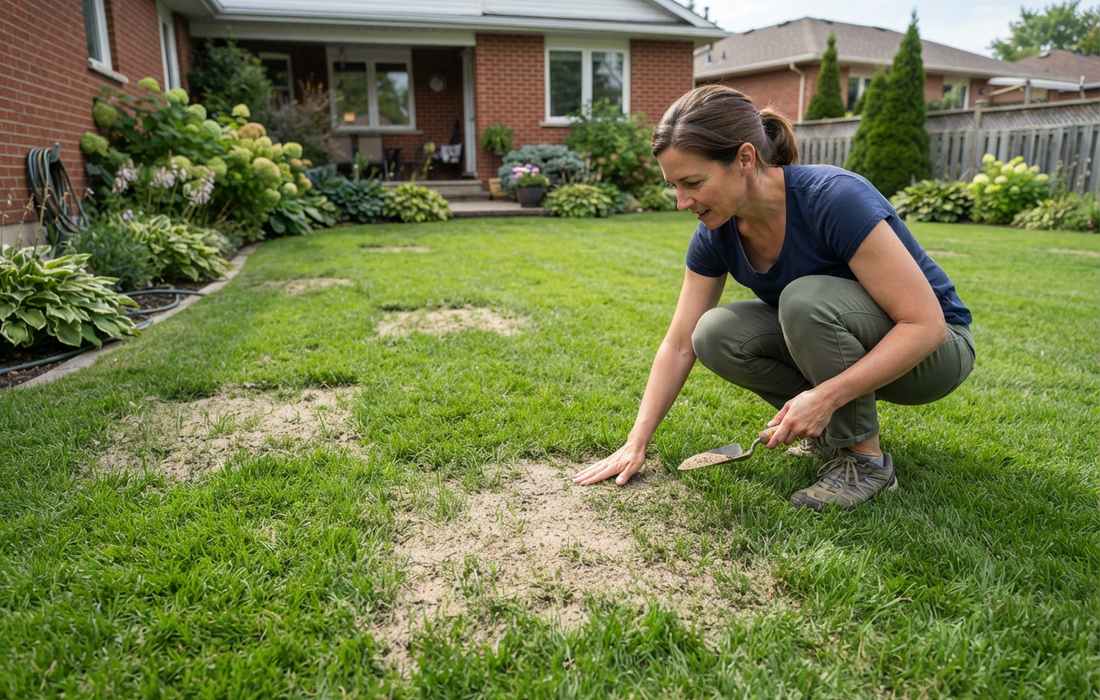
Top dressing is not a quick cover-up for dead turf, deep ruts, drainage failure, or severe compaction. Those problems need repair first. If your lawn is mostly healthy and needs help becoming thicker and more even, top dressing is a practical fix.
What Materials Can You Use for Top Dressing?
The best top dressing material depends on your soil, grass type, and main goal. Once you understand what top dressing a lawn is, decide what problem you want to solve before choosing a material, because leveling and soil improvement do not always need the same mix.
Screened compost is a common choice for general lawn health. It should be fine, mature, and free of sticks, stones, clumps, and strong odor. A screen size around 6 mm is usually fine enough. Compost improves poor soil, but a thick layer can stay wet or smother grass, so keep it light.
Screened topsoil works well when you need to fill shallow dips. It should be similar to your existing soil. Pure sand over clay can create a hard, poorly draining zone over time, while heavy clay topsoil may cap a sandy lawn. Matching texture matters.
Sand is mainly used for leveling warm-season lawns or sports-style turf, especially when the existing soil is already sandy. It spreads easily and settles into low areas, but it adds no nutrition. For many home lawns, a balanced mix is safer than pure sand.
A good all-purpose mix is often 50% screened compost and 50% screened topsoil. For light leveling, some homeowners use soil, compost, and coarse sand. Avoid mulch, fresh manure, garden soil with weed seeds, and material that forms clumps when squeezed.
How to Top Dress a Lawn Step by Step
Top dressing is easier when you prepare the lawn first and work in thin layers. A large lawn may need more time and tools, but the same basic process still applies. The main rule is simple: spread lightly, work it in, and do not smother the grass.
Step 1. Mow the lawn slightly shorter than usual
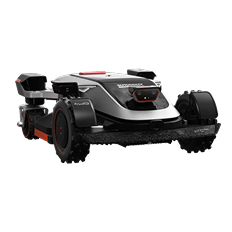
Mow one or two days before top dressing. Cut the grass a little shorter than your normal mowing height, but do not scalp it. A height of about 51 - 64 mm usually works well before top dressing because it leaves enough grass to recover while allowing the dressing material to reach the soil surface. If you use a robot lawn mower for routine upkeep, adjust the cutting height ahead of time so the lawn is ready before you spread the top dressing. Bag or remove clippings so they do not block the thin layer of soil or compost.
Step 2. Remove debris and check the lawn surface
Rake up leaves, sticks, old clumps, and loose dead grass. Walk the lawn and mark low areas, thin patches, and hard spots. If the lawn has a thick thatch layer over 13 mm, dethatch before top dressing. If the soil is hard and water runs off, core aeration first will help the dressing settle into the root zone.
Step 3. Calculate how much material you need
For a 1/4 inch layer, one cubic yard covers about 1,300 square feet. For a 1/8 inch layer, one cubic yard covers about 2,600 square feet. A 5,000 square foot lawn needs roughly 4 cubic yards for 1/4 inch coverage. Order a little extra for low spots, but do not spread more just to use it up.
Step 4. Spread the material in small piles
Place small piles across the lawn with a wheelbarrow or garden cart. For how to top dress a large lawn, work in sections of about 45–90 m². This keeps the layer consistent and stops material drying into clumps before you spread it.
Step 5. Level and brush the dressing into the grass
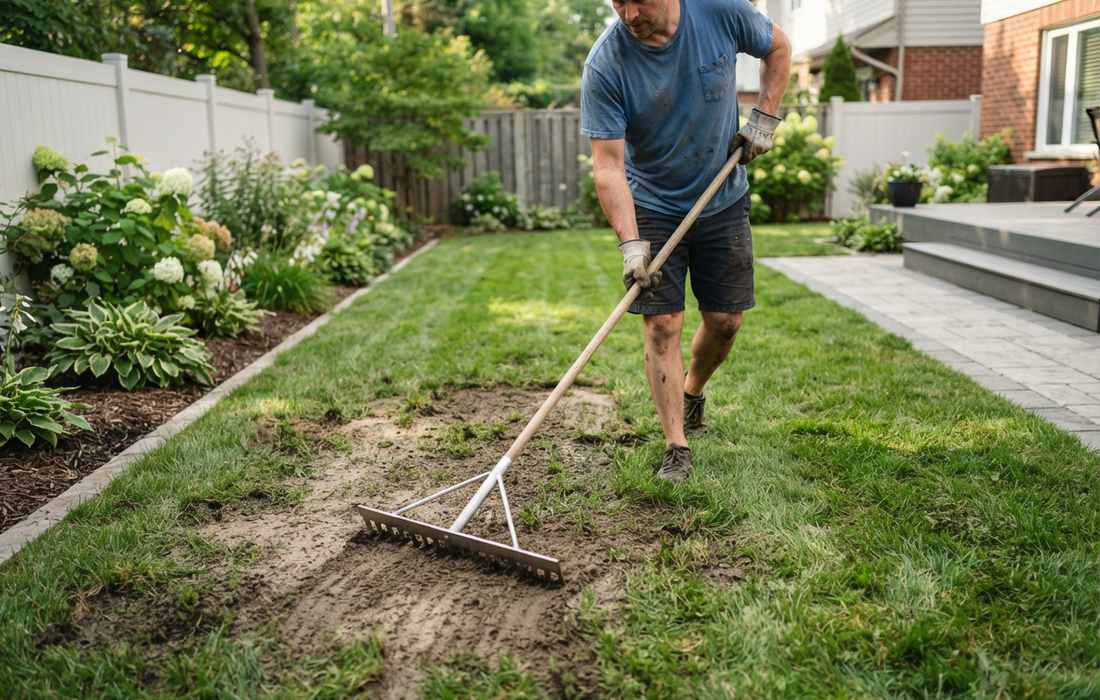
Use a leveling rake, landscape rake, lute, or the back side of a flat rake. Push and pull the material until it falls between the grass blades. The lawn should look dusty or lightly coated, not buried. In low spots, add a little more, then feather the edges so the area blends with the surrounding grass.
Step 6. Water gently and keep traffic off the lawn
Water lightly after spreading. Aim to settle the material, not wash it away. About 1/4 inch of water is enough for the first watering. Keep people, pets, and heavy equipment off the lawn for at least 24 to 48 hours. If you overseeded too, keep the top 1–1.5 cm of soil lightly moist until germination.
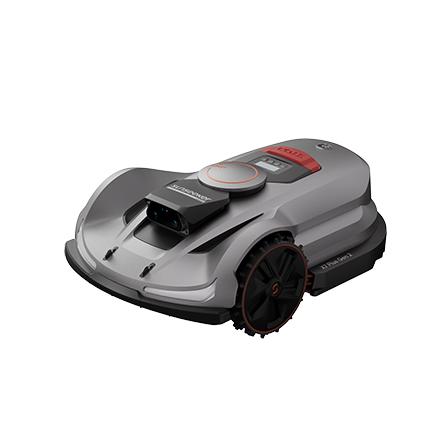
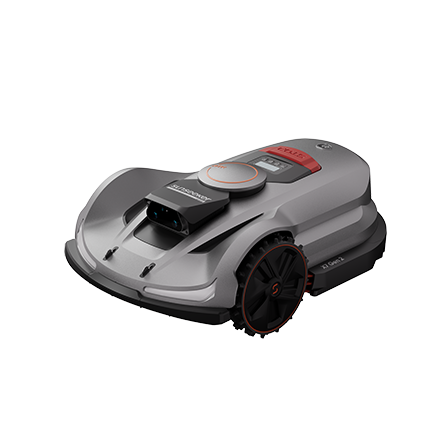
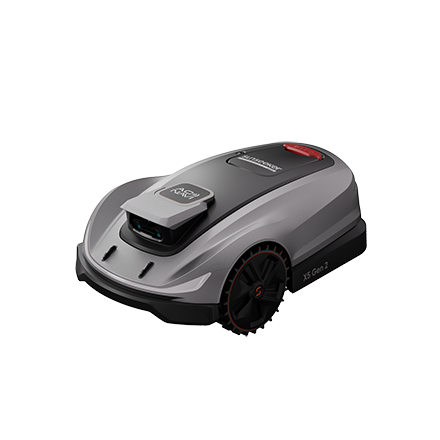
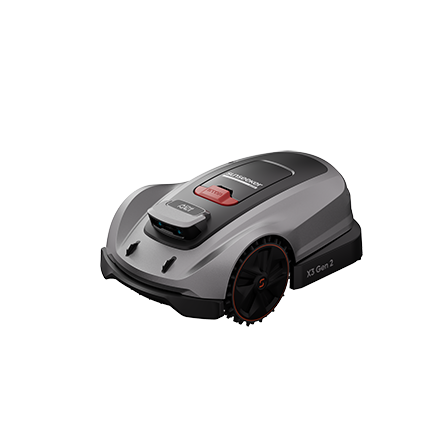
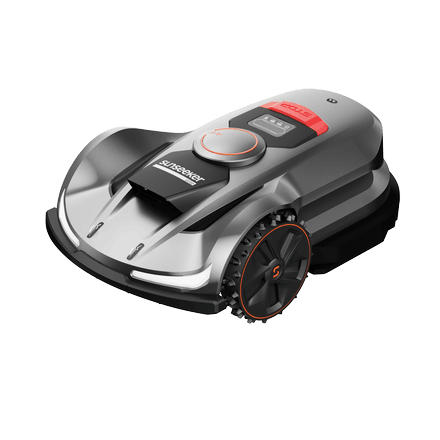
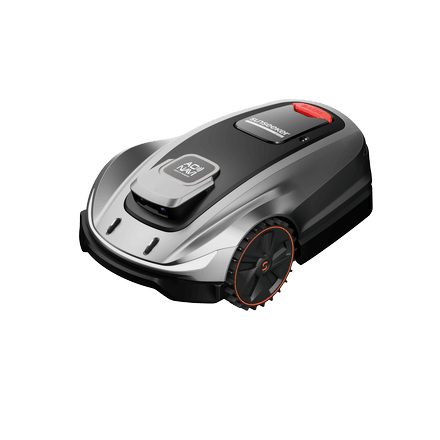
After top dressing, steady mowing helps the lawn recover cleanly because grass responds better to small, regular cuts than to harsh trimming. For larger or uneven yards, the Sunseeker Elite X7 Gen 2 can help reduce routine mowing work with wire-free mapping, virtual boundaries, smart path planning, app control, all-wheel drive for slopes up to 70% / 35°, and a floating dual cutting disc that follows uneven ground. It is a practical fit for homeowners who want a consistent finish after soil improvement work without pushing a mower over every section themselves.